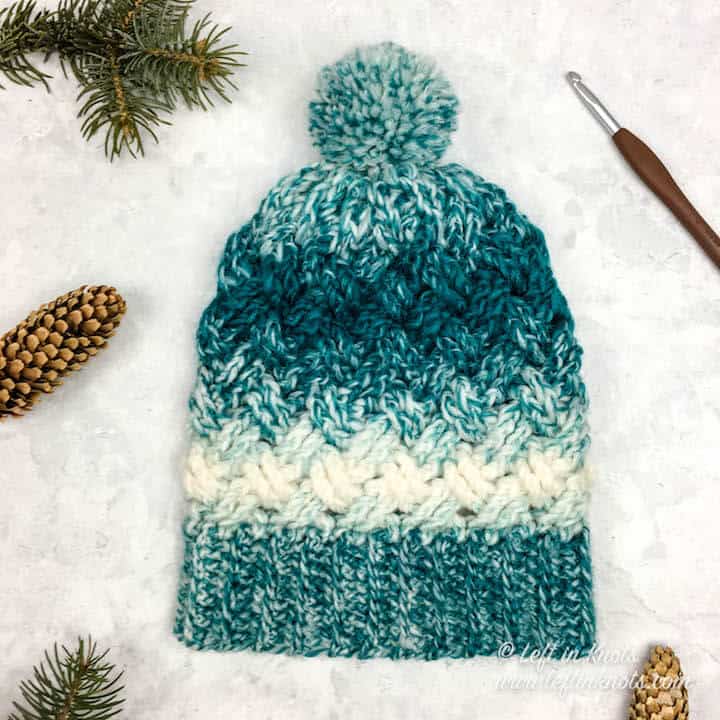
Make the easy Crochet Explorer's Beanie with Lion Brand Mandala Ombré yarn or your favorite Category 4 worsted weight yarn. The subtle texture and classic beanie shape make it an ideal unisex hat for men or women; boys or girls. Keep reading for the free crochet pattern and video tutorials.
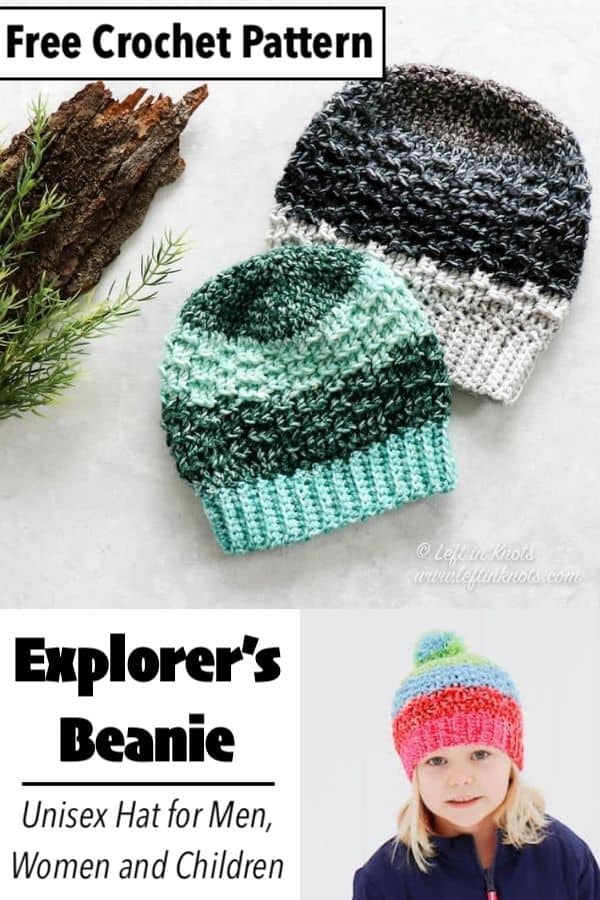
Crochet an Easy Ombré Beanie
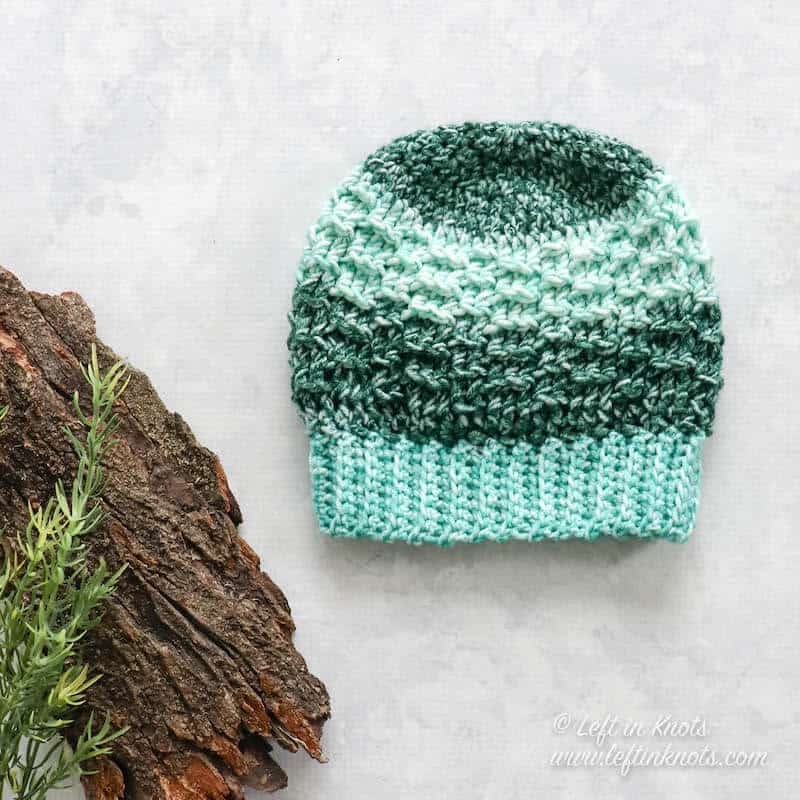
If you are looking for an easy way to learn some new crochet stitches and techniques - the Explorer’s Beanie is the perfect place to start! This hat is a fast crochet project that incorporates some basic techniques to create a warmer, thicker texture perfect for men or women.
Crochet this Beanie for Kids and Adults
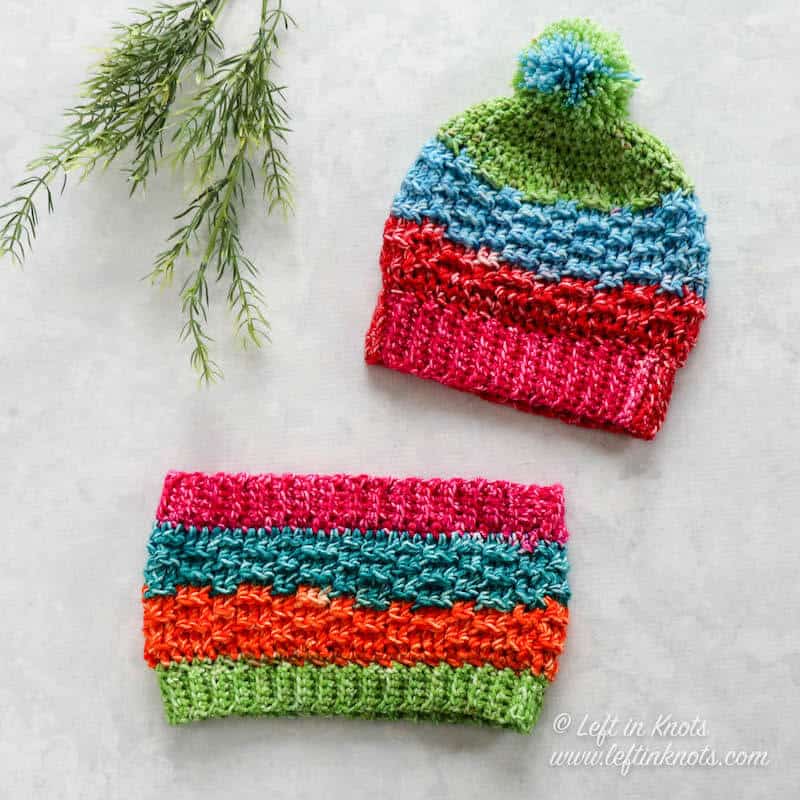
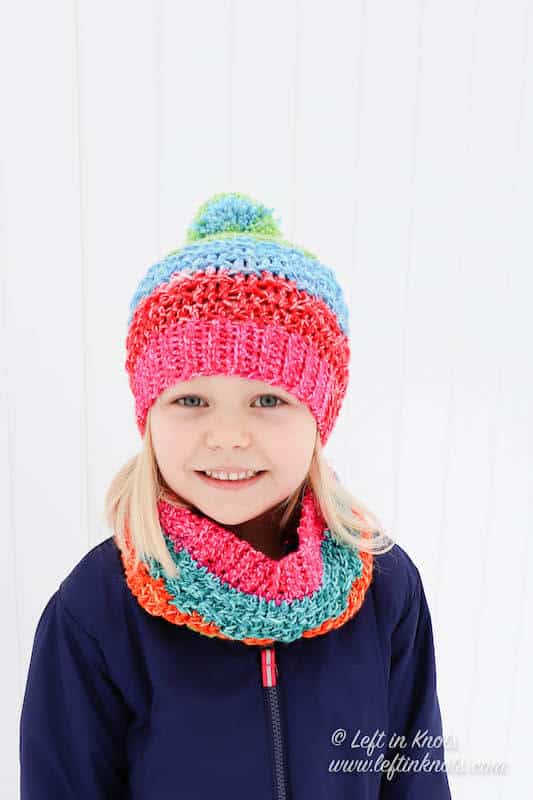
This crochet pattern is written in two sizes: child and adult. I made two for my kiddos (I know they’re young, but they have BIG heads. No toddler sized models around here) and one for my husband. This hat is a quick and satisfying project that you can make in no time!

Make this Hat with Scrap Yarn or Stash Leftovers
I used Lion Brand Mandala Ombré yarn for this hat. I LOVE it. It’s so soft and I really like that they have both colorful and neutral selections. However, you certainly don’t have to use the yarn that I did. Any category 4 worsted weight yarn that you’ve got in your stash should do the trick. Just be sure to check your gauge!
Show off Your Crochet Projects
I hope you have fun with the Explorer’s Beanie pattern! Don’t forget to share pictures of your projects with my in my Facebook Group or by tagging @leftinknots on Instagram.
Explorer’s Beanie - Free Crochet Pattern
Supplies:
- Worsted Weight Yarn (approx. 150 yards needed for adult size hat). The yarn pictured in samples is Lion Brand Mandala Ombré
- 5.5mm Crochet Hook (I LOVE Clover Amour)
- Scissors - I always keep these travel scissors in my hook case
- Yarn needle
- Pom pom maker or faux fur pom (optional) or crochet your own new-sew faux fur pom with this pattern.
Abbreviations (written in U.S. terms):
- ch: chain
- st(s): stitch(s)
- sl st: slip stitch
- BLO: back loop only
- SC: single crochet
- HDC: half double crochet
- FPHDC: front post half double crochet
Gauge
Diameter after Round 4 = 3”
Finished Size:
Adult Width = 8”
Adult Height = 8.5”
Child Width = 7.5”
Child Height = 8”
Related Video Tutorials
How to Crochet the Magic Cirlce - the right handed video loads with the page
Find the left handed tutorial here
How to Crochet in the 3rd Loop (Right Handed Tutorial)
Find the Left Handed Tutorial Here
Find the Left Handed Tutorial Here
Pattern Notes
- Chain stitches at the beginning of rounds do not count as a stitch.
- The end of each round is joined to the first st of the round with a sl st.
Matching Patterns
Instructions
Child
Round 1: ch 2, 10 HDC in magic circle (10)
Round 2: ch 2, 2 HDC in each st around (20)
Round 3: ch 2, *2 HDC, HDC, repeat from * around (30)
Round 4: ch 2, *2 HDC, HDC in next two sts, repeat from * around (40)
Round 5: ch 2, *2 HDC, HDC in next three sts, repeat from * around (50)
Round 6: ch 2, *2 HDC, HDC in next 9 sts, repeat from * around (55)
Round 7: ch 2, HDC in each st around (55)
Round 8: ch 2, HDC, FPHDC in 3 sts, *HDC in 2 sts, FPHDC in 3 sts, repeat from * around, HDC in last st
Round 9: ch 2, FPHDC, HDC in 3rd loop in next 3 sts, *FPHDC in 2 sts, HDC in 3rd loop in next 3 sts, repeat from * around, FPHDC in last st
Round 10: HDC in 3rd loop, FPHDC in 3, *HDC in 3rd loop in next 2, FPHDC in 3, repeat from * around, HDC in 3rd loop in last st
Round 11-18: repeat Round 9 (odd) and Round 10 (even)
Round 19: HDC around
Making the Brim
Starting where you ended Round 19, ch 9 sts. In the second chain from the hook, SC in the remaining 8 ch stitches. When you get back to the beginning of the ch, sl st into the first st of Round 19. This creates your first row of ribbing.
Row 2: sl st into the next st of Round 19, ch 1, SC in BLO across to create your next row of ribbing. Turn. (8)
Row 3: ch 1, SC in BLO across. Sl st into the next open st of Round 19. (8)
Row 4-55: Repeat Rows 2 (on even rows) and 3 (on odd rows) until you have gone around the entire base of the hat.
After completing Row 55: Working through the BLO of Row 55 and your starting chain, sl st across to seam the cuff together. sl st into the last st of Round 19. Tie off yarn and weave in ends.
Adult
Round 1: ch 2, 10 HDC in magic circle (10)
Round 2: ch 2, 2 HDC in each st around (20)
Round 3: ch 2, *2 HDC, HDC, repeat from * around (30)
Round 4: ch 2, *2 HDC, HDC in next two sts, repeat from * around (40)
Round 5: ch 2, *2 HDC, HDC in next three sts, repeat from * around (50)
Round 6: ch 2, *2 HDC, HDC in next four sts, repeat from * around (60)
Round 7: ch 2, HDC in each st around (60)
Round 8: ch 2, HDC, FPHDC in 3 sts, *HDC in 2 sts, FPHDC in 3 sts, repeat from * around, HDC in last st
Round 9: ch 2, FPHDC, HDC in 3rd loop in next 3 sts, *FPHDC in 2 sts, HDC in 3rd loop in next 3 sts, repeat from * around, FPHDC in last st
Round 10: HDC in 3rd loop, FPHDC in 3, *HDC in 3rd loop in next 2, FPHDC in 3, repeat from * around, HDC in 3rd loop in last st
Round 11-20: repeat Round 9 (odd) and Round 10 (even)
Round 21: HDC around
Making the Brim
Starting where you ended Round 21, ch 9 sts. In the second chain from the hook, SC in the remaining 8 ch stitches. When you get back to the beginning of the ch, sl st into the first st of Round 21. This creates your first row of ribbing.
Row 2: sl st into the next st of Round 21, ch 1, SC in BLO across to create your next row of ribbing. Turn. (8)
Row 3: ch 1, SC in BLO across. Sl st into the next open st of Round 21. (8)
Row 4-60: Repeat Rows 2 (on even rows) and 3 (on odd rows) until you have gone around the entire base of the hat.
After completing Row 60: Working through the BLO of Row 60 and your starting chain, sl st across to seam the cuff together. sl st into the last st of Round 21. Tie off yarn and weave in ends.
More Free Crochet Patterns You'll Love


Find all FREE CROCHET PATTERNS here
Now the legal stuff...You may sell items made from this pattern, but please credit me as the original designer. Also, please do not share the written pattern in print or electronically. The photos on this webpage belong to Megan Meyer of Left in Knots and may not be used for product sales/product listings. You may share a link back to my blog if you would like someone else to see or work with this pattern. Thank you for your cooperation and if you have any questions please feel free to contact me!
This post contains affiliate links. Thank you for supporting free patterns and yarn deals from Left in Knots!