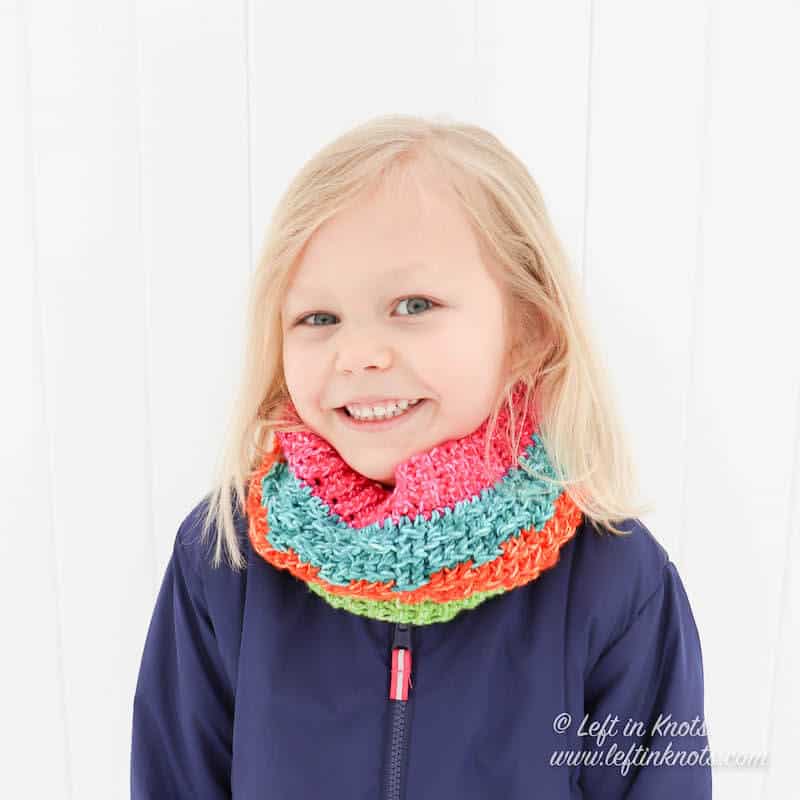
The Explorer’s Cowl uses easy crochet stitches to create a warm winter scarf with subtle texture. This cowl pattern is written in sizes child and adult, and it looks great on its own or with the matching Explorer’s Beanie. Keep reading for the free crochet pattern.
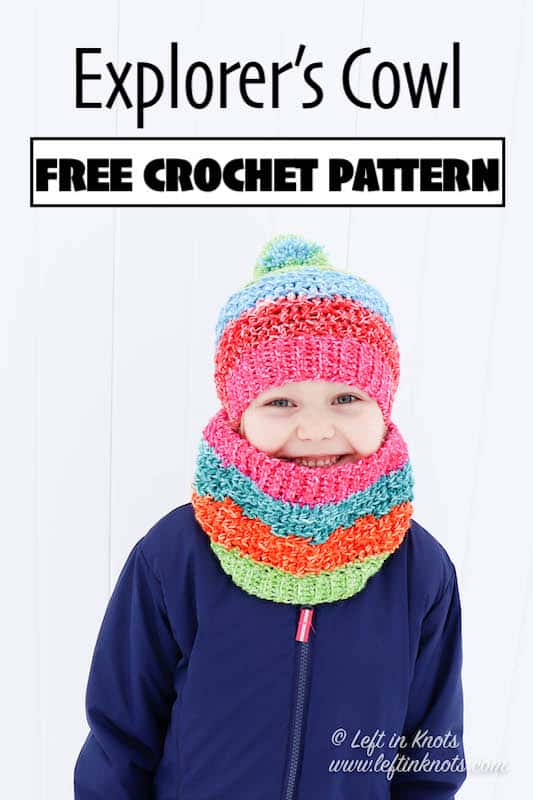
Crochet an Explorer's Cowl for Children and Adults
My daughter always complains about her cheeks getting cold when she plays outside - so crocheted scarves and cowls are a must for us around here! I love making matching mommy/daughter patterns for the two of us so I designed this cowl in both child and adult sizes.

Try Crocheting a New Texture
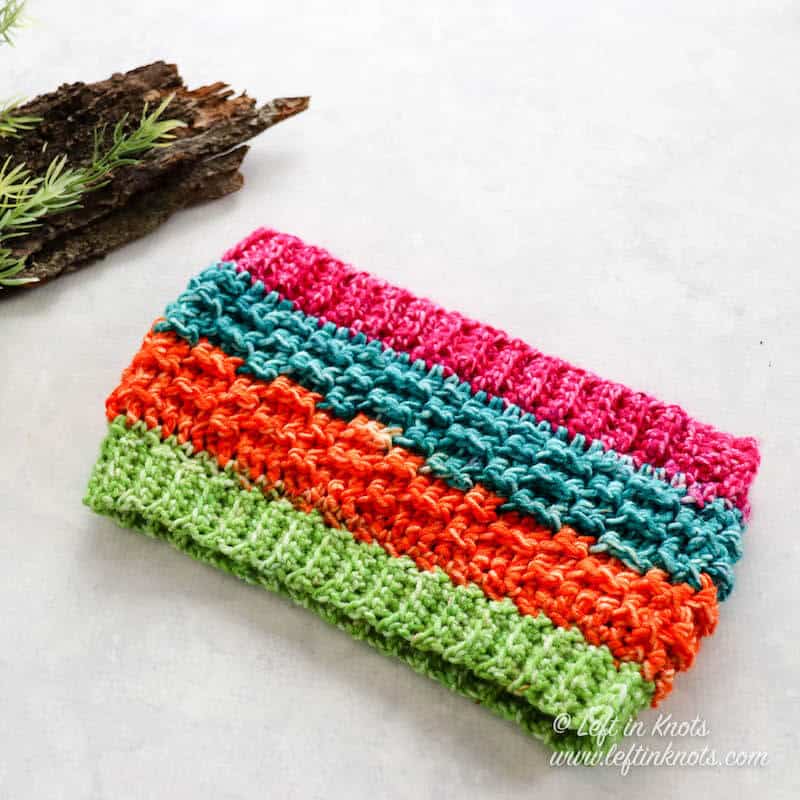
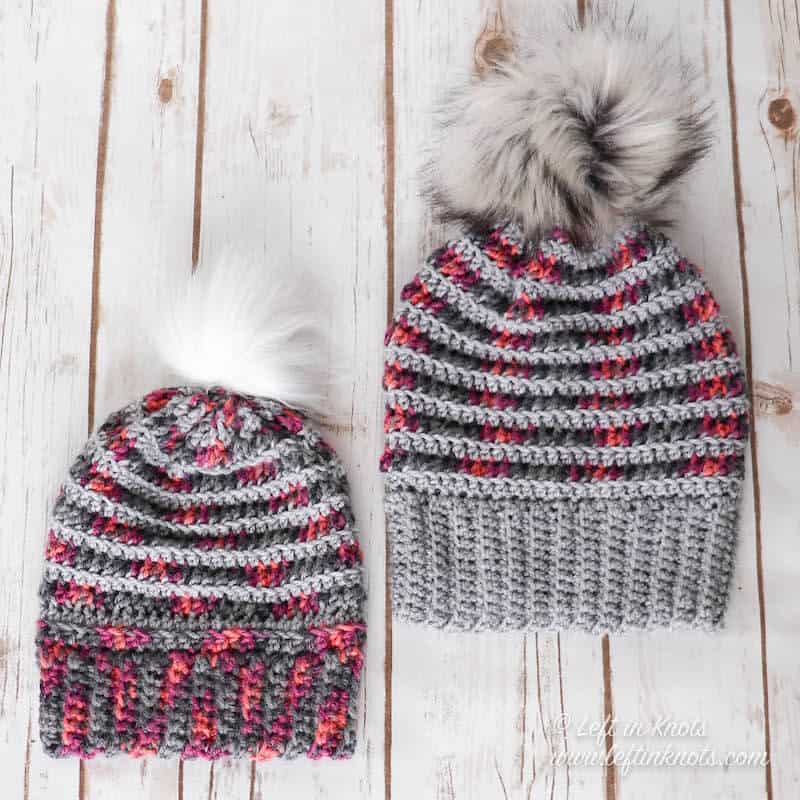
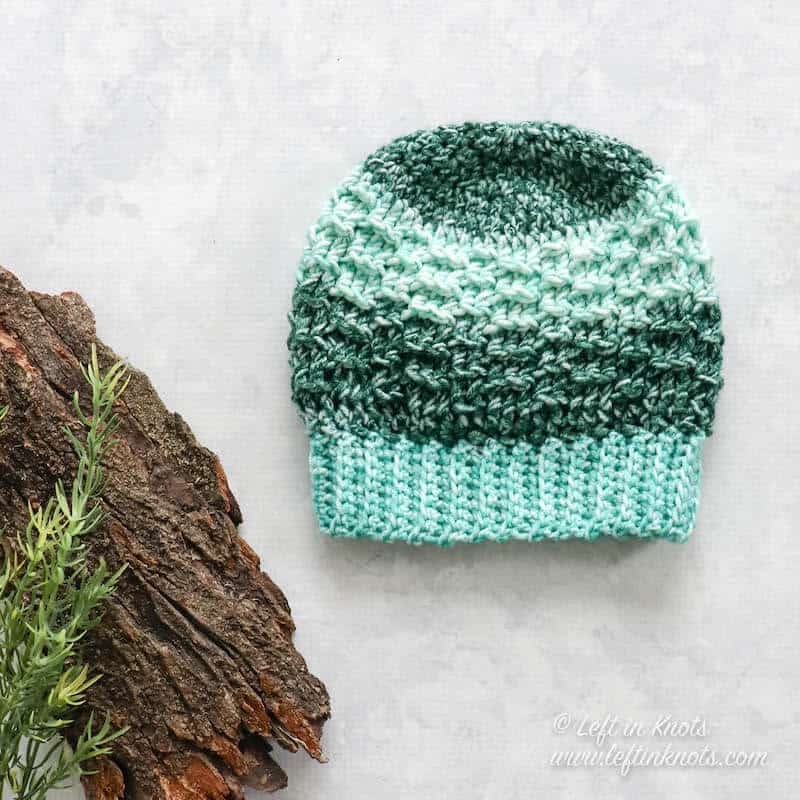
The Explorer’s Cowl was designed to complement the Explorer’s Beanie pattern that I recently published. The stitches are simple, but the texture they create really is eye catching. It also makes the fabric a bit thicker and warmer for those of us who live with months of cold winter weather!
Make this Cowl with Scrap Yarn or Stash Leftovers
I used Lion Brand Mandala Ombré yarn for this cowl. I LOVE it. It’s so soft and I really like that they have both colorful and neutral selections. However, you certainly don’t have to use the yarn that I did. Any category 4 worsted weight yarn that you’ve got in your stash should do the trick. Just be sure to check your gauge and make sure that you have enough yarn before you get started on your project.
Show off Your Crochet Projects
I hope you have fun with the Explorer’s Cowl pattern! Don’t forget to share pictures of your projects with my in my Facebook Group or by tagging @leftinknots on Instagram.
Explorer’s Cowl - Free Crochet Pattern in Two Sizes
Supplies:
- Worsted Weight Yarn (approx. 210 yards needed for adult size cowl). The yarn pictured in samples is Lion Brand Mandala Ombré
- 5.5mm Crochet Hook (I LOVE Clover Amour)
- Scissors - I always keep these travel scissors in my hook case
- Yarn needle
Abbreviations (written in U.S. terms):
- ch: chain
- st(s): stitch(s)
- sl st: slip stitch
- BLO: back loop only
- SC: single crochet
- HDC: half double crochet
- FPHDC: front post half double crochet
Finished Size:
Adult Width = 14”
Adult Length = 8”
Child Width = 10”
Child Length = 5.5”
Related Video Tutorials
How to Crochet SC Ribbing - the Right Handed video loads with the page
Find the left handed tutorial here
How to Crochet in the 3rd Loop (Right Handed Tutorial)
Find the Left Handed Tutorial Here
Find the Left Handed Tutorial Here
Pattern Notes
- Chain stitches at the beginning of rounds do not count as a stitch.
- The end of each round is joined to the first st of the round with a sl st.
Matching Patterns
Instructions
Child
Note: You will be working in rows first to make the ribbed edge of the cowl
ch 6
Row 1: SC in the second ch from the hook and SC across (5). Turn.
Row 2-70: ch 1, SC in the BLO across. Turn.
When you finish the ribbed band, fold it so that Row 1 and 70 are on top of on another. Working through the back loop of Row 70 and the front loop of Row 1, seam the two rows together by slip stitching across. Do not cut your yarn. Continue on to work in rounds along the “raw” edge of ribbed band.
Round 1: ch 1, SC around the top of the band working one stitch per row (70).
Round 2: ch 2, HDC, FPHDC in 3 sts, *HDC in 2 sts, FPHDC in 3 sts, repeat from * around, HDC in last st
Round 3: ch 2, FPHDC, HDC in 3rd loop in next 3 sts, *FPHDC in 2 sts, HDC in 3rd loop in next 3 sts, repeat from * around, FPHDC in last st
Round 4: HDC in 3rd loop, FPHDC in 3, *HDC in 3rd loop in next 2, FPHDC in 3, repeat from * around, HDC in 3rd loop in last st
Round 5-11: repeat Round 3 (odd) and Round 4 (even)
Round 12: ch 1, SC around
Making the Second Ribbed Band
Starting where you ended Round 12, ch 6 sts. In the second chain from the hook, SC in the remaining 5 ch stitches. When you get back to the beginning of the ch, sl st into the first st of Round 12. This creates your first row of ribbing.
Row 2: sl st into the next st of Round 12, ch 1, SC in BLO across to create your next row of ribbing. Turn. (5)
Row 3: ch 1, SC in BLO across. Sl st into the next open st of Round 12. (5)
Row 4-70: Repeat Rows 2 (on even rows) and 3 (on odd rows) until you have gone around the entire base of the hat.
After completing Row 70: Working through the BLO of Row 70 and your starting chain, sl st across to seam the cuff together. sl st into the last st of Round 12. Tie off yarn and weave in ends.
Adult
Note: You will be working in rows first to make the ribbed edge of the cowl
ch 6
Row 1: SC in the second ch from the hook and SC across (5). Turn.
Row 2-98: ch 1, SC in the BLO across. Turn.
When you finish the ribbed band, fold it so that Row 1 and 98 are on top of on another. Working through the back loop of Row 98 and the front loop of Row 1, seam the two rows together by slip stitching across. Do not cut your yarn. Continue on to work in rounds along the “raw” edge of ribbed band.
Round 1: ch 1, SC around the top of the band working one stitch per row (98).
Round 2: ch 2, HDC, FPHDC in 3 sts, *HDC in 2 sts, FPHDC in 3 sts, repeat from * around, HDC in last st
Round 3: ch 2, FPHDC, HDC in 3rd loop in next 3 sts, *FPHDC in 2 sts, HDC in 3rd loop in next 3 sts, repeat from * around, FPHDC in last st
Round 4: HDC in 3rd loop, FPHDC in 3, *HDC in 3rd loop in next 2, FPHDC in 3, repeat from * around, HDC in 3rd loop in last st
Round 5-19: repeat Round 3 (odd) and Round 4 (even)
Round 20: ch 1, SC around
Making the Second Ribbed Band
Starting where you ended Round 20, ch 6 sts. In the second chain from the hook, SC in the remaining 5 ch stitches. When you get back to the beginning of the ch, sl st into the first st of Round 20. This creates your first row of ribbing.
Row 2: sl st into the next st of Round 20, ch 1, SC in BLO across to create your next row of ribbing. Turn. (5)
Row 3: ch 1, SC in BLO across. Sl st into the next open st of Round 20. (5)
Row 4-98: Repeat Rows 2 (on even rows) and 3 (on odd rows) until you have gone around the entire base of the hat.
After completing Row 98: Working through the BLO of Row 98 and your starting chain, sl st across to seam the cuff together. sl st into the last st of Round 20. Tie off yarn and weave in ends.
More Free Crochet Patterns You'll Love

Find all FREE CROCHET PATTERNS here
Now the legal stuff...You may sell items made from this pattern, but please credit me as the original designer. Also, please do not share the written pattern in print or electronically. The photos on this webpage belong to Megan Meyer of Left in Knots and may not be used for product sales/product listings. You may share a link back to my blog if you would like someone else to see or work with this pattern. Thank you for your cooperation and if you have any questions please feel free to contact me!
This post contains affiliate links. Thank you for supporting free patterns and yarn deals from Left in Knots!