Crochet this Ombre Granny Cowl by making a quick and easy change to a classic granny square. Making this cowl with bulky yarn means it works up extra fast! Keep reading for the free crochet pattern.

Crochet an Ombre Cowl with the Granny Rectangles
Granny squares are a crochet classic, but what happens when you give them the smallest modern twist? You get ombre granny rectangles! The crochet granny rectangles can be stitched together to make just about anything, but in this instance I decided to make a chunky and warm cowl for winter.

A Bulky Cowl that is Fast to Crochet
Crochet granny squares are a classic for a reason. They are easy, fast and versatile. Combining this easy crochet stitch with bulky yarn means that this cowl will be quick to make. This makes it a perfect last minute holiday gift, craft fair item or donation!

Make this Cowl with Scrap Yarn or Stash Leftovers
This crochet pattern only uses 50 yards of chunky yarn for each color - so get ready to raid your stash. Play with different color combinations to find your favorite!

Show off Your Crochet Projects
I hope you have fun with this pattern. I can't wait to see what colors you choose! Don’t forget to share pictures of your projects with my in my Facebook Group or by tagging @leftinknots on Instagram.
Ombre Granny Cowl - Free Crochet Pattern
Supplies:
- 3 colors of Category 5 yarn (50 yards of each color). The yarn pictured is Lion Brand Hue and Me Yarn in colors 'Juniper', 'Agave' and 'Sea Glass'
- 8.0mm Crochet Hook (I LOVE Clover Amour)
- Scissors - I always keep these travel scissors in my hook case
- Yarn needle
Abbreviations (written in U.S. terms):
- ch: chain
- st: stitch
- sk: skip
- sl st: slip stitch
- SC: single crochet
- DC: double crochet
Gauge:
Each granny rectangle is 8" x 6"
Finished Size:
Width = 13.5”
Length = 10”
Pattern Notes
- The chain stitches at the beginning of each granny stitch round DO count as a stitch.
- In the pictured sample Color A: Sea Glass, Color B: Agave, Color C: Juniper
Instructions
Granny Rectangle 1 (make 2)
ch 8
Round 1 (color A): DC in 4th ch from the hook, add 2 more DC into that ch space, ch 2, 3 DC sts in next ch space, ch 1, sk 1, 3 DC sts in next ch space, ch 2, 3 DC sts in last ch, ch 2, 3 DC sts in back of next ch st, ch 1, sk 1, 3 DC sts in back of next ch st, ch 2, sl st to the ch 3 from the beginning of the round with a sl st.

Round 2 (color B): attach yarn in a ch 2 corner, (ch 3, 2 DC, ch 2, 3 DC) in the ch 2 space, ch 1, (3 DC, ch 2, 3 DC) in the next ch 2 space, ch 1, 3 DC sts in the ch space from the previous round, ch 1, (3 DC, ch 2, 3 DC) in the next ch 2 space, (3 DC, ch 2, 3 DC) in the next ch 2 space, ch 1, 3 DC sts in the ch space from the previous round, ch 1, attach to the ch 3 from the beginning of the round with a sl st.

Round 3 (color C): attach yarn in a ch 2 corner, (ch 3, 2 DC, ch 2, 3 DC) in the ch 2 space, ch 1, 3 DC sts in the ch space from the previous round, ch 1, (3 DC, ch 2, 3 DC) in the next ch 2 space, *ch 1, 3 DC sts in the ch space from the previous round, repeat from * one more time, ch 1, (3 DC, ch 2, 3 DC) in the next ch 2 space, ch 1, 3 DC sts in the ch space from the previous round, ch 1, (3 DC, ch 2, 3 DC) in the next ch 2 space, *ch 1, 3 DC sts in the ch space from the previous round, repeat from * one more time, ch 1, attach to the ch 3 from the beginning of the round with a sl st.
Tie off yarn leaving approx. a 10” tail.
Granny Rectangle 2 (make 2)
Follow the same instructions as Granny Rectangle 1, except use Color C for Round 1 and Color A for Round 3.
Sewing the rectangles together
Face your granny rectangles right side up. Using the tail left from the last round and a yarn needle; stitch the rectangles together one at a time along the long edge. Alternate between color schemes. Each time you join a new rectangle, tie off the yarn and weave in your ends.
When all 4 rectangles are joined, join the first and the last rectangle together to make a cowl.
Adding the border
Round 1: Attach Color C along the top edge of the granny rectangles. Ch 1 and SC around the entire edge. Attach to the first st of the round with a sl st.
Round 2: Switch to Color B, ch 1, SC around the entire edge. Attach to the first st of the round with a sl st.
Round 3: Switch to Color A, ch 1, SC around the entire edge, attach to the first st of the round with a sl st.
Repeat Border Rows 1-3 along the bottom edge of the cowl. Tie of yarn and weave in all remaining ends
More Free Crochet Patterns You'll Love
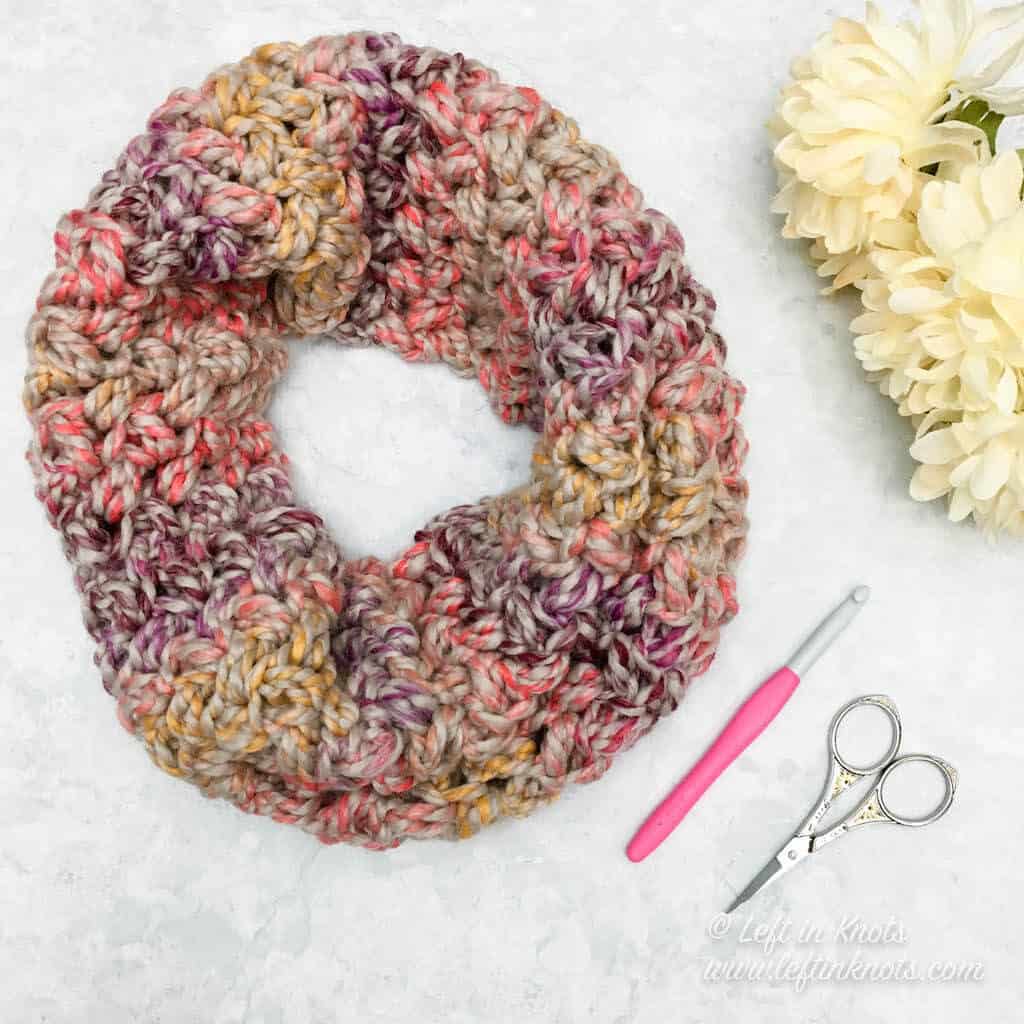
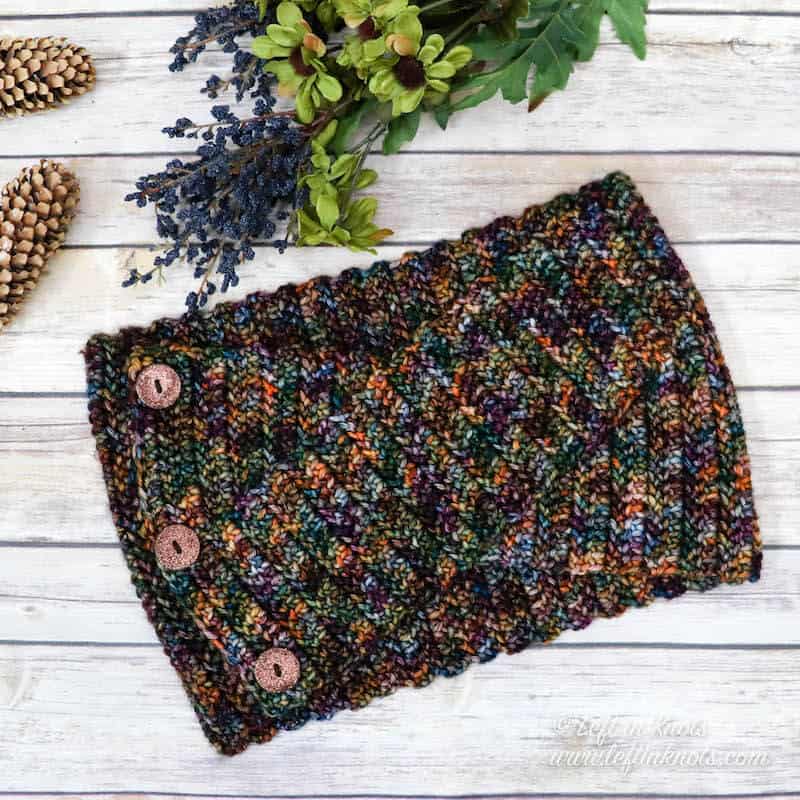
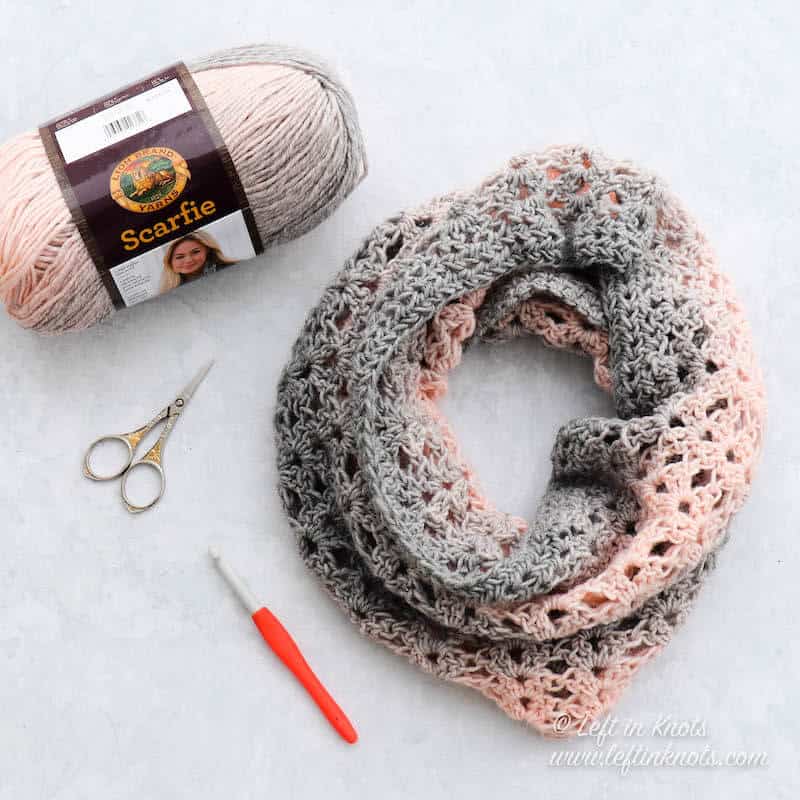
Find all FREE CROCHET PATTERNS here
Now the legal stuff...You may sell items made from this pattern, but please credit me as the original designer. Also, please do not share the written pattern in print or electronically. The photos on this webpage belong to Megan Meyer of Left in Knots and may not be used for product sales/product listings. You may share a link back to my blog if you would like someone else to see or work with this pattern. Thank you for your cooperation and if you have any questions please feel free to contact me!
This post contains affiliate links. Thank you for supporting free patterns and yarn deals from Left in Knots!
