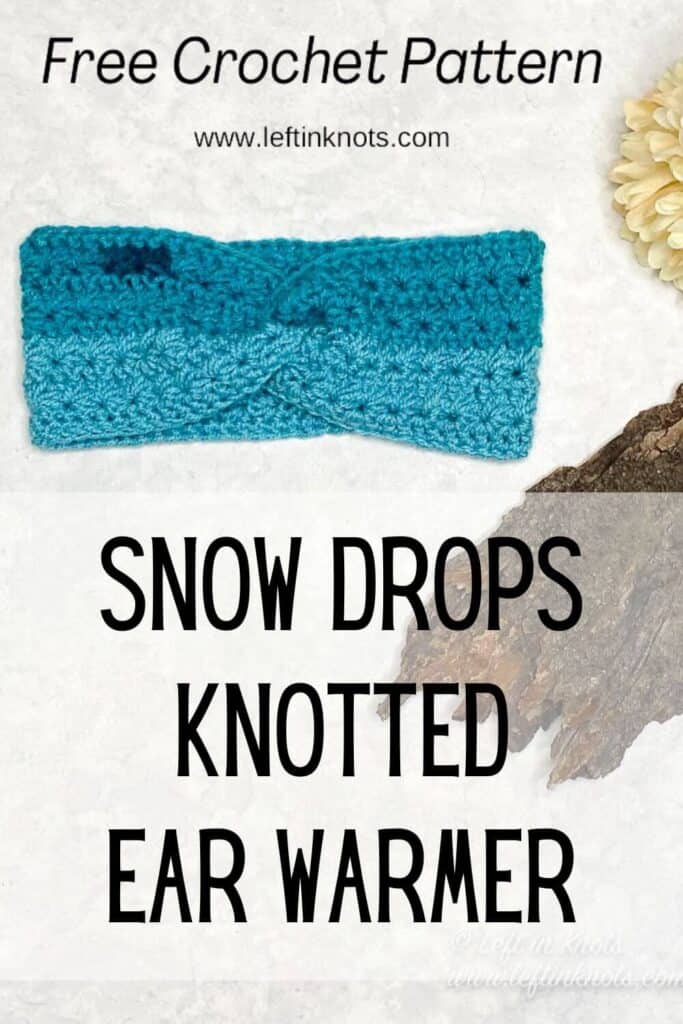
Crochet this Knotted Ear Warmer by using a simple rectangle, the star stitch and this free pattern. This pattern is fast and inexpensive to make with your leftover yarn scraps! Keep reading for the free Snow Drops Knotted Ear Warmer crochet pattern.
A Crochet Knotted Ear Warmer Made with Yarn Scraps
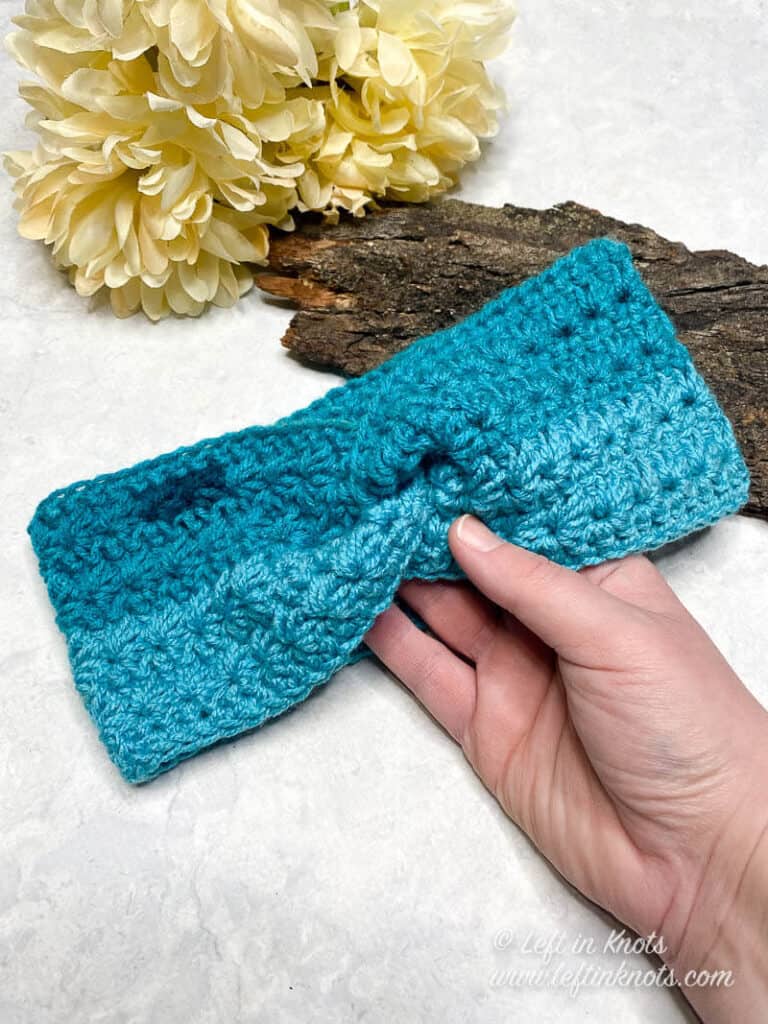
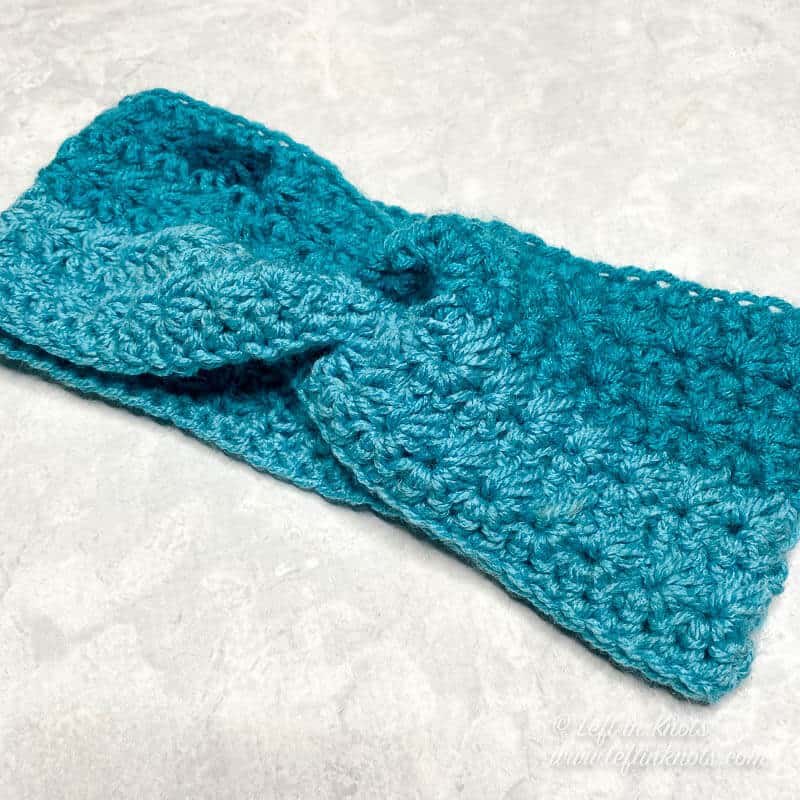
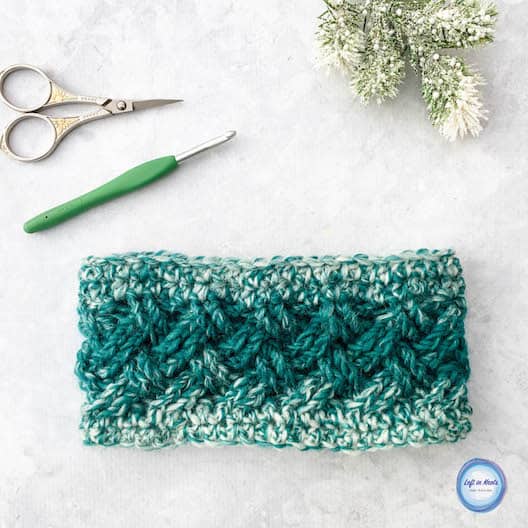
With the seemingly impossible twist in the front - this knotted appearance is really made from just a simple crochet rectangle. The Snow Drops Knotted Ear Warmer pattern adds another option to my most popular collection of free crochet patterns.
Make this Crochet Ear Warmer with Leftover Yarn
Crochet this knotted ear warmer with just 70 yards of worsted weight yarn. I used Caron Cakes yarn which is why it has the color block appearance. To achieve this same effect you could use two or three different scraps of leftover yarn from your stash. This ear warmer is truly quick and inexpensive to make!
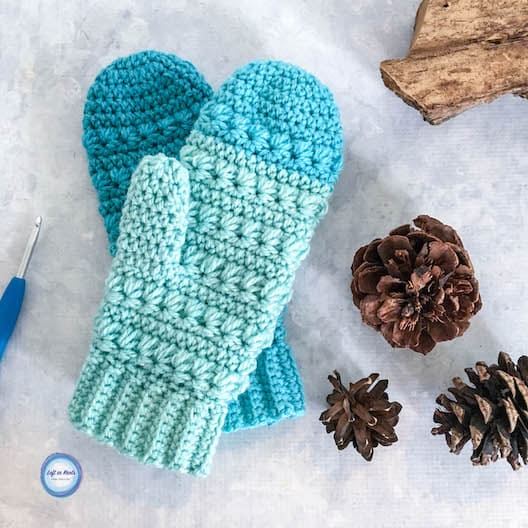
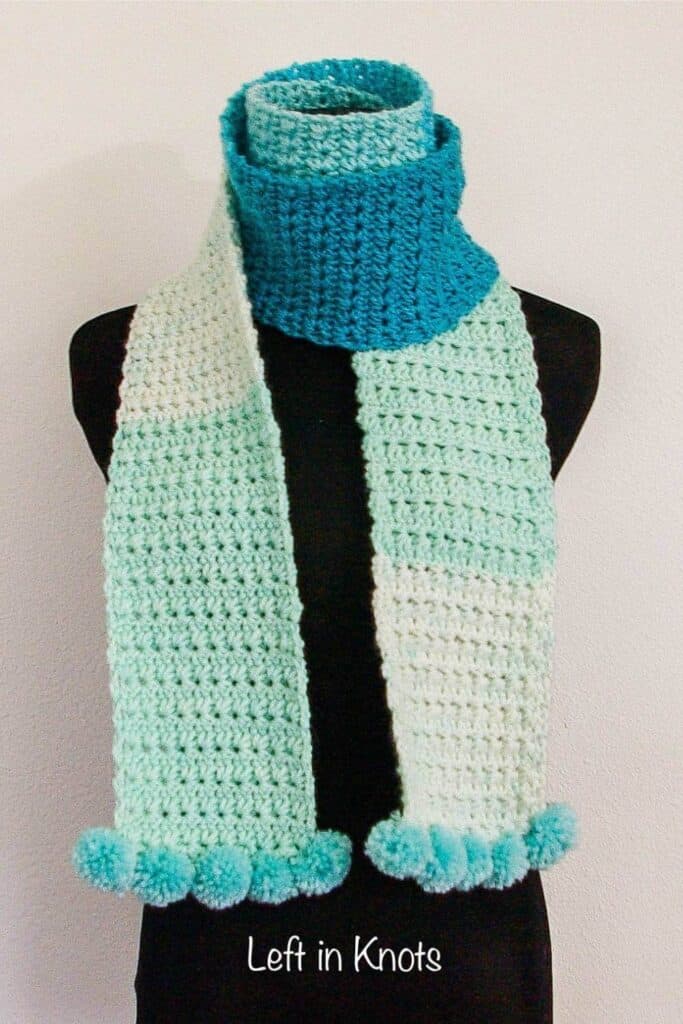
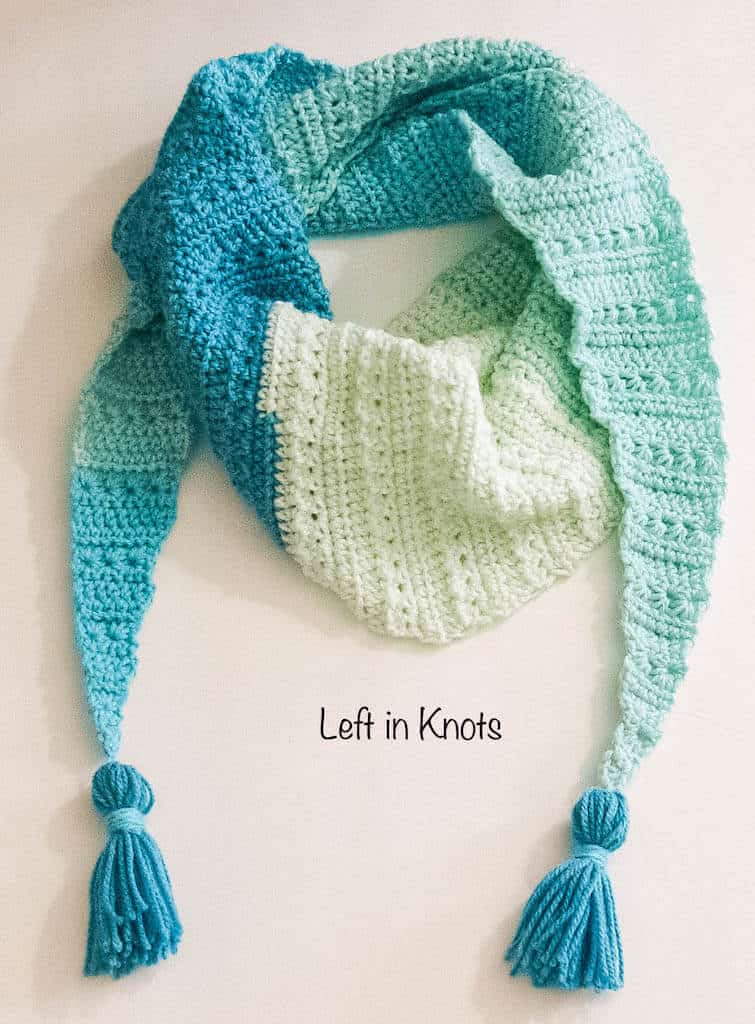
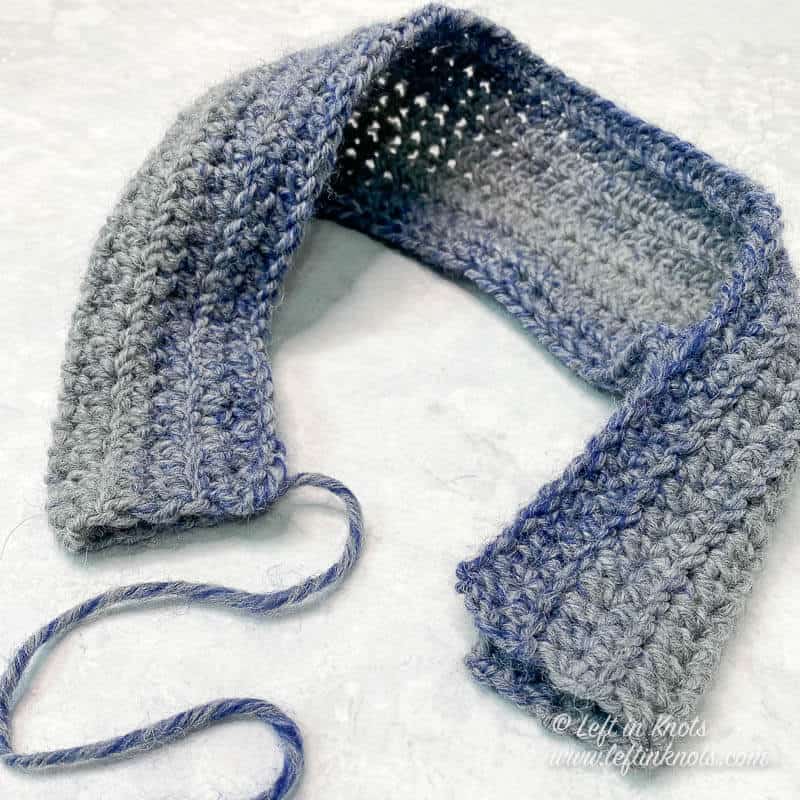
The Snow Drops Crochet Pattern Collection
If you love this Snow Drops Knotted Ear Warmer you will also love to make the other patterns in the Snow Drops Crochet Pattern Collection! Check them out here:


Show off Your Crochet Projects
Don’t forget to share pictures of your projects with me in my Facebook Group or by tagging @leftinknots on Instagram. I can’t wait to see what you make!
Snow Drops Knotted Ear Warmer - Free Crochet Pattern
Supplies:
- Caron Cakes yarn (‘Faerie Cake’ pictured) or approx. 7 yards of a comparable Category 4 yarn.
- I/5.5mm crochet hook - I love Clover Amour.
- Yarn needle
- Scissors - I always keep these travel scissors in my hook case
Abbreviations (written in U.S. terms):
- ch: chain
- LOH: loops on hook
- SC: single crochet
- HDC: half double crochet
Special Stitch
Star stitch:
First star stitch of a row: Ch 2, Insert hook into back loop of the second ch from the hook and pull up a loop (2 LOH), insert hook into front loop of the same ch stitch and pull up a loop (3 LOH), insert into the next 3 sts and pull up a loop through each one (6 LOH). YO and pull through all 6 loops, ch 1 to make the "eye" of the star.
Star stitch: Insert hook into the "eye" of the previous star and pull up a loop (2 LOH), insert hook into the last post of the previous star and pull up a loop (3 LOH), insert your hook into the last stitch of the previous star and pull up a loop (4 LOH), insert hook into the next 2 sts and pull up a loop in each one (6 LOH). YO and pull through all 6 loops, ch 1 to make the "eye of the star.
Related Video Tutorial
How to Crochet the Star Stitch in the Round (find the left handed video here)
Gauge:
Approx. 22" long after Row 1
Finished Size:
Length (before joining): 22”
Width: 4”
Pattern Notes:
- The chain stitches at the beginning of each row do not count as a stitch.
Instructions
ch 70
Row 1: SC in the second ch from the hook and SC across (69)
Row 2: ch 2, make the first star stitch of the row, star stitch across, HDC in the last st (34 stars + 1 HDC). Turn
Row 3: ch 1, 2 SC in each "eye of the star" from the previous row. SC in last stitch of the row (69). Turn.
Row 4-9: Repeat Rows 2 and 3
Row 10: ch 1, SC across. Tie off yarn leaving a long tail.
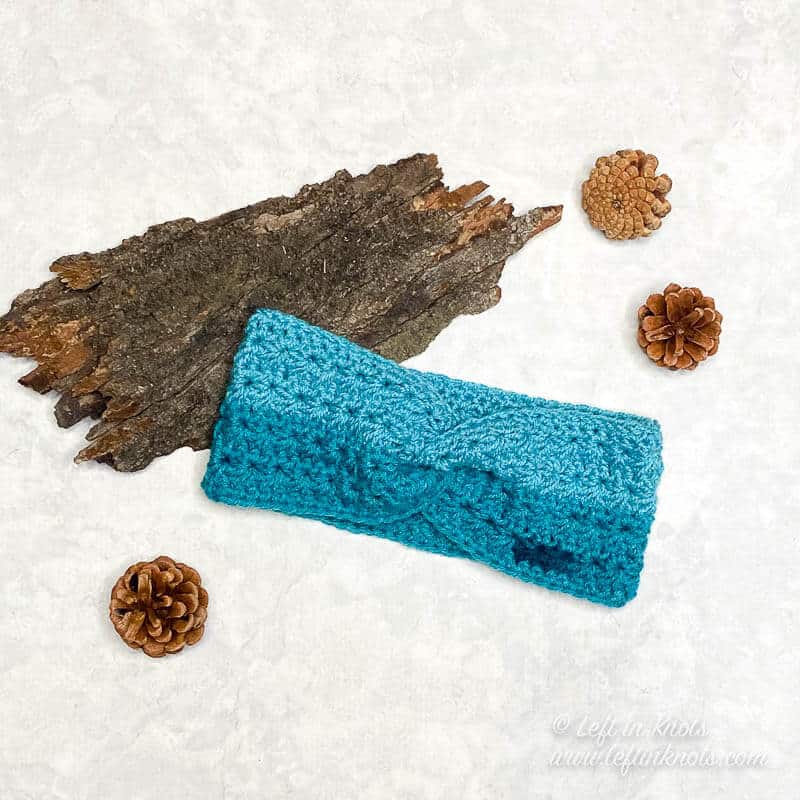
Creating the Twist
Fold your rectangle right side in so that the two long sides meet (the short sides will be folded in half).
Hold the two folded short sides (photo 1). Place each folded short end together so that where they join alternates between sides (see Photo 2)
Step 1 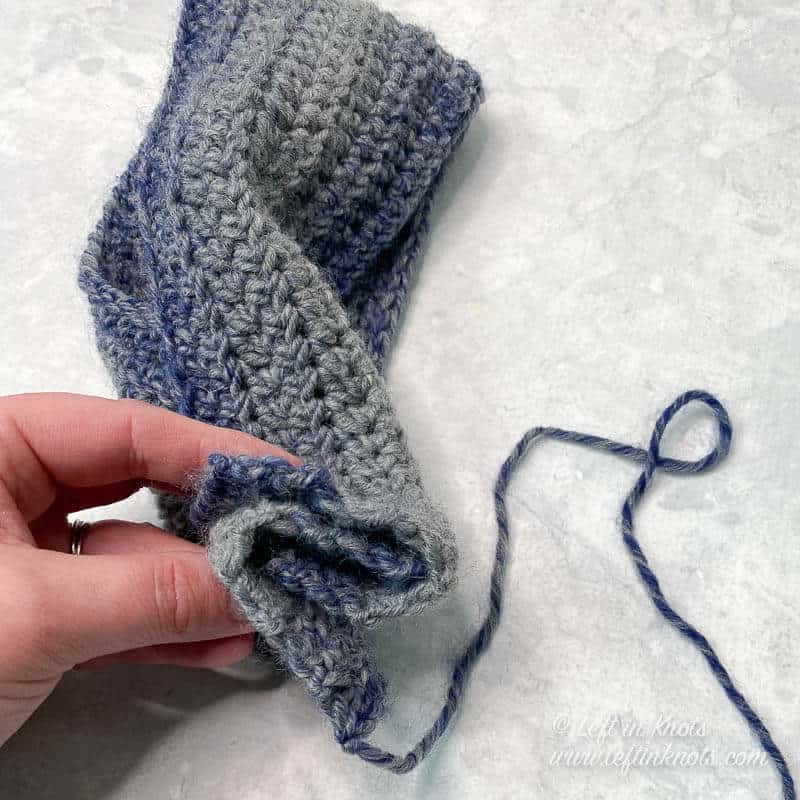
Step 2 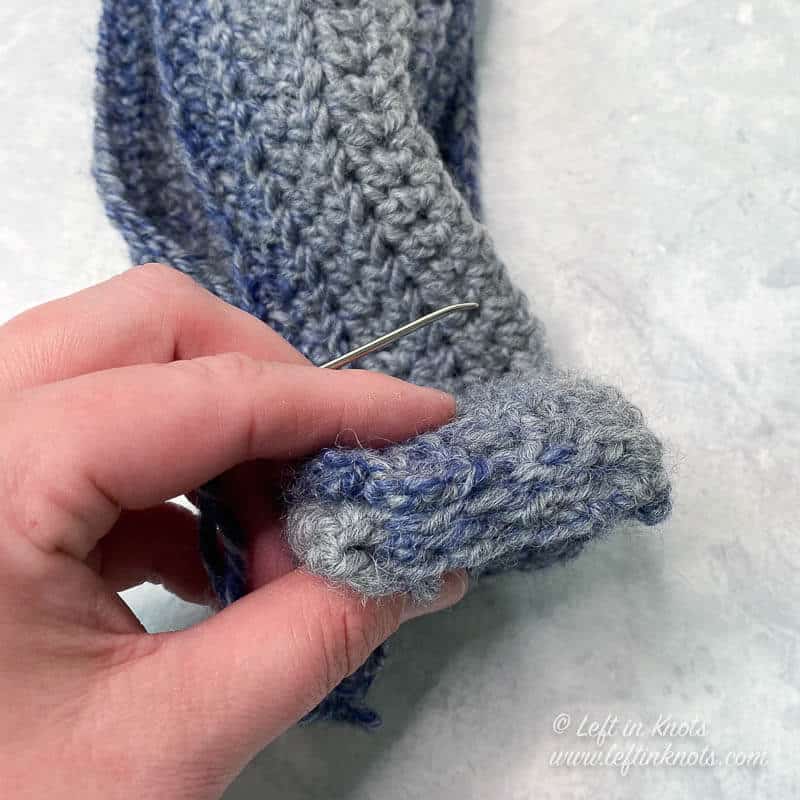
Step 3
Using the tail of yarn from the last row and a yarn needle, sew back and forth between all 4 layers of the short edge until they are completely seemed together (photo 3).
Flip the ear warmer right side out, and you will see the twist! Tie off yarn and weave in ends.
More Free Crochet Patterns You'll Love
Find all FREE CROCHET PATTERNS here
Now the legal stuff...You may sell items made from this pattern, but please credit me as the original designer. Also, please do not share the written pattern in print or electronically. The photos on this webpage belong to Megan Meyer of Left in Knots and may not be used for product sales/product listings. You may share a link back to my blog if you would like someone else to see or work with this pattern. Thank you for your cooperation and if you have any questions please feel free to contact me!
This post contains affiliate links. I receive a small commission for any purchases made through these links at no additional charge to you.