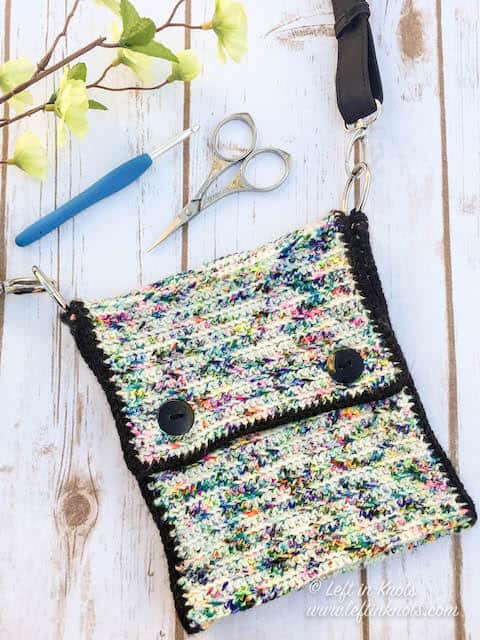
This one skein crochet crossbody purse uses simple stitches and provides helpful photos for assembly. This free pattern is easy and fast to make. Use a special skein of hand dyed yarn or any light worsted weight yarn; customize it with your preferred purse strap, closures and buttons.
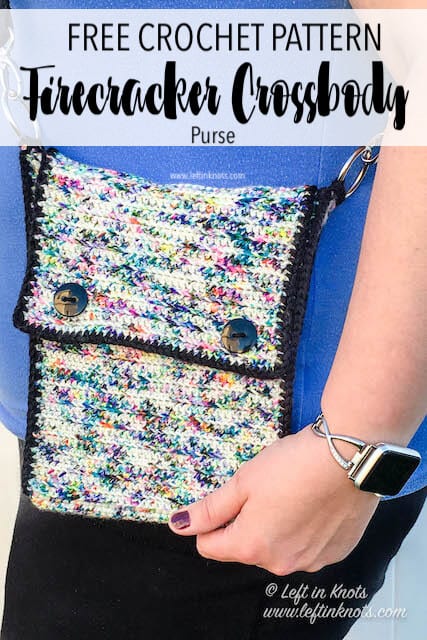
Free One Skein Crochet Crossbody Purse Pattern
This pattern uses simple SC stitches in the front and back loop to create just a little bit of texture while letting the gorgeous hand-dyed yarn shine! This purse is so quick and easy to make, and it is the perfect size for bringing all of your summer essentials to the park, a family gathering or a quick shopping trip. I accented the edging of my purse with a solid color, but if you prefer to use all the same yarn that would look fabulous, too 😉
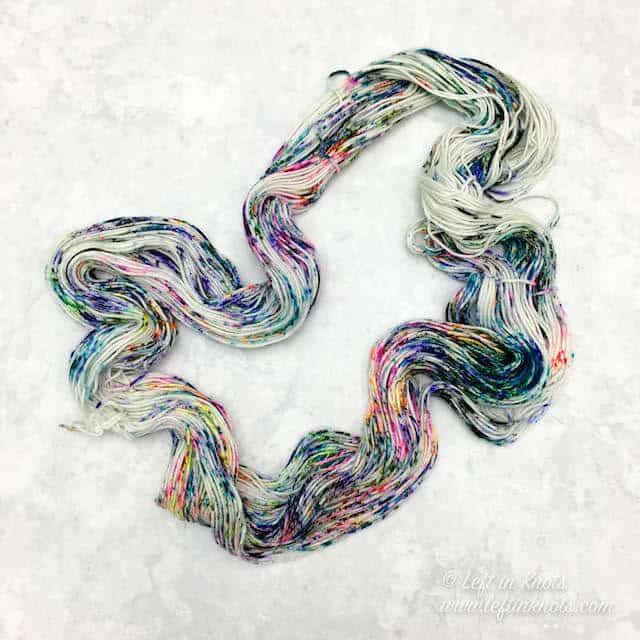
Hand Dyed Yarn from Colour Redefined
This pattern was designed to feature yarn dyed by Colour Redefined and is the newest addition to my collection of one-skein hand-dyed crochet patterns. The colorway I used was ‘Kill Joy’, and I am in LOVE with how this yarn worked up. It includes bright pops of neon colors with black speckles scattered throughout.
No Hand-Dyed Yarn in Your Stash?
Now I know that hand-dyed yarn isn’t always the easiest to come by, so definitely feed free to use any yarn you have in your stash for this hat! BUT if you are just dying (hehehe) to try some hand dyed yarn of your own be sure to check out all of Christina’s yarn in her shop. There are so many different colorways that I want to add to my stash - it was hard to pick just one! ‘Autumn Stroll’ is the next on my wishlist.
Show off Your Crochet Projects
Don’t forget to share pictures of your projects with me in my Facebook Group or by tagging @leftinknots on Instagram. I can’t wait to see what you make!
Firecracker Crossbody Purse - Free Crochet Pattern
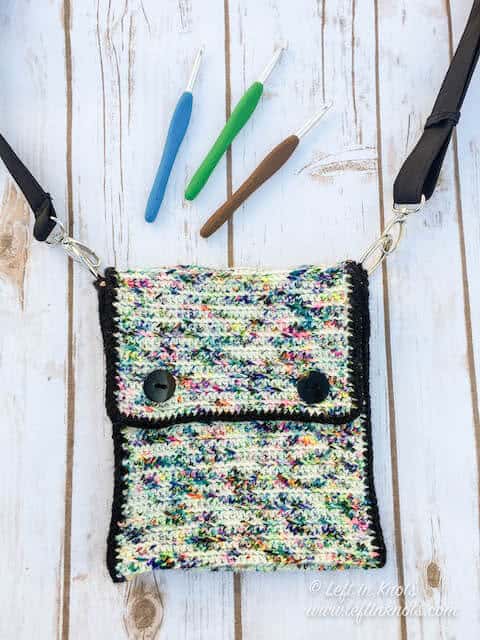
Supplies:
- Approx. 200 yards of a Category 3 or 4 yarn - I used a hand-dyed DK weight yarn from Colour Redefines ‘Kill Joy’
- 4.5 mm crochet hook - I love Clover Amour
- 2 - Magnetic purse closures
- 2 - metal rings
- 2 - buttons
- Purse strap
- Scissors - I always keep these travel scissors in my hook case
- Yarn needle
Abbreviations (written in U.S. terms):
- ch: chain
- sl st: slip stitch
- FLO: front loop only
- BLO: back loop only
- SC: single crochet
Gauge
11 sts x 11 rows = 2” square in SC
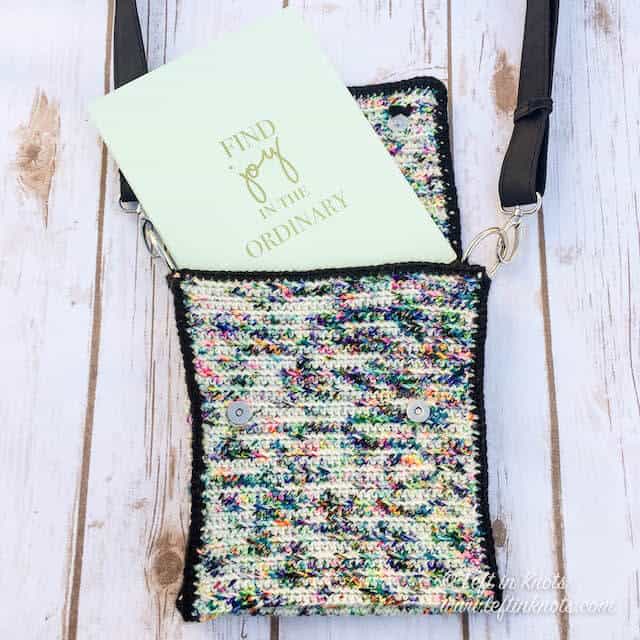
Finished Size:
- Width = 7”
- Length = 8.5”
Pattern Notes
- Chain stitches at the beginning of rows do not count as a stitch
Instructions
Main Panel (make 1)
ch 39
Row 1: SC in the second ch from the hook and SC across (38). Turn.
Row 2-40: ch 1, SC in first st, FLO SC in 36 sts, SC in last st (38). Turn.
Row 41: ch 1, SC in first st, BLO SC in 36 sts, SC in last st (38). Turn.
Row 42-46: ch 1, SC across (38). Turn.
Row 47: ch 1, SC in first st, BLO SC in 36 sts, SC in last st (38). Turn.
Row 48-86: ch 1, SC in first st, FLO SC in 36 sts, SC in last st (38). Turn.
Row 87: ch 1, SC in first st, BLO SC in 36 sts, SC in last st (38). Turn.
Row 88-92: Row 42-46: ch 1, SC across (38). Turn.
Row 93-112: ch 1, SC in first st, FLO SC in 36 sts, SC in last st (38). Turn.
Side Panels (make 2)
ch 7
Row 1: SC in the second ch from the hook and SC across (6). Turn.
Row 2-40: ch 1, SC in each st across (6). Turn.
Assembly Instructions
Line up the side panels with the main body of the purse. The top of the panel should line up between Row 1 and Row 40 of the main panel (Fig. 1). Pin the side panel into place. Line up the bottom of the side panel between Row 41 and Row 46 of the main panel (Fig. 2). Pin the side panel into place. Line up the final edge of the side panel between Row 47 and Row 87. Pin the side panel into place. Starting at Row 1 of the main panel, SC through both the main panel and the side panel along the seam to connect them (Fig. 1). Continue crocheting all the way around until you have attached all 3 pinned edges of the first side panel. Continue to SC around the edge of the main panel (Row 88 and beyond) until you reach the next side panel (Fig. 4). SC through both the main panel and the side panel starting at Row 87 on the opposite side (Fig. 5). Continue crocheting all the way around until you have attached all 3 pinned edges of the second side panel (Fig. 6). You will end back at Row 1 on the opposite side of the piece from where you started. Cut and tie off your yarn.
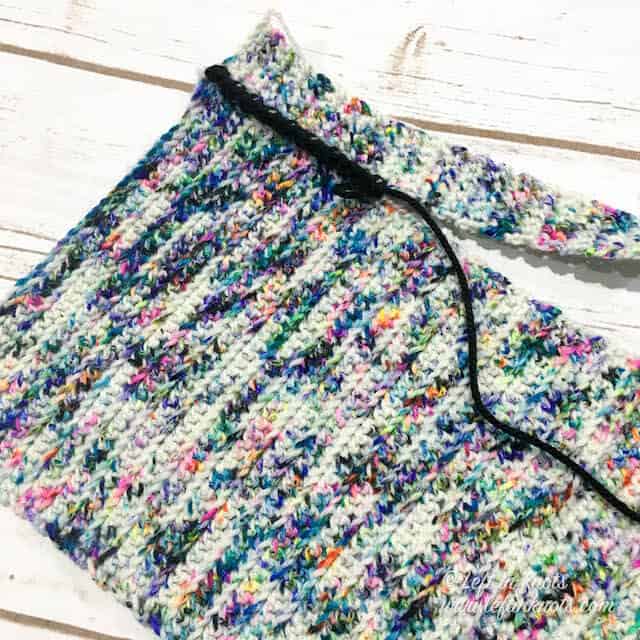
Fig 1 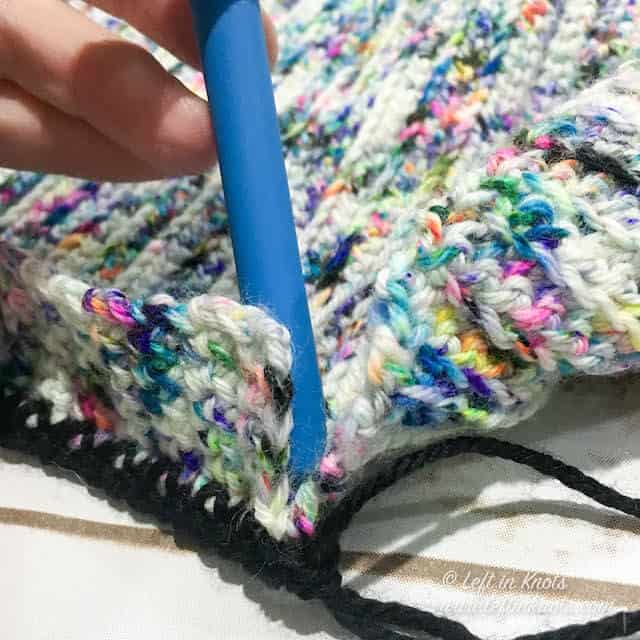
Fig 2 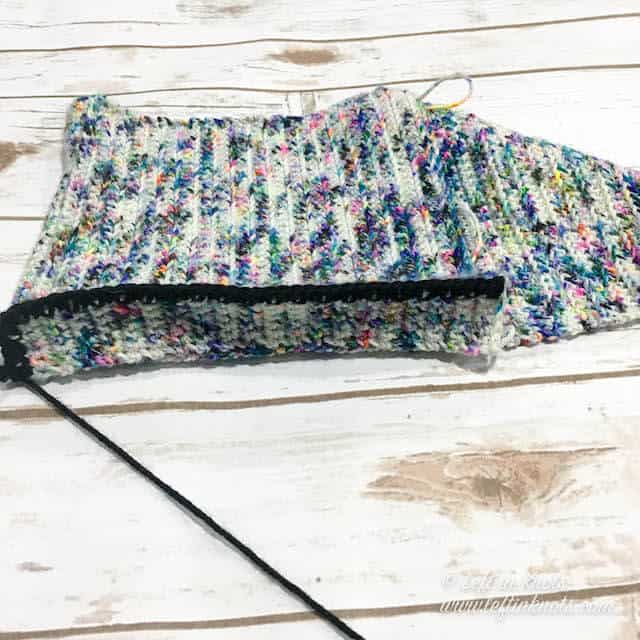
Fig 3 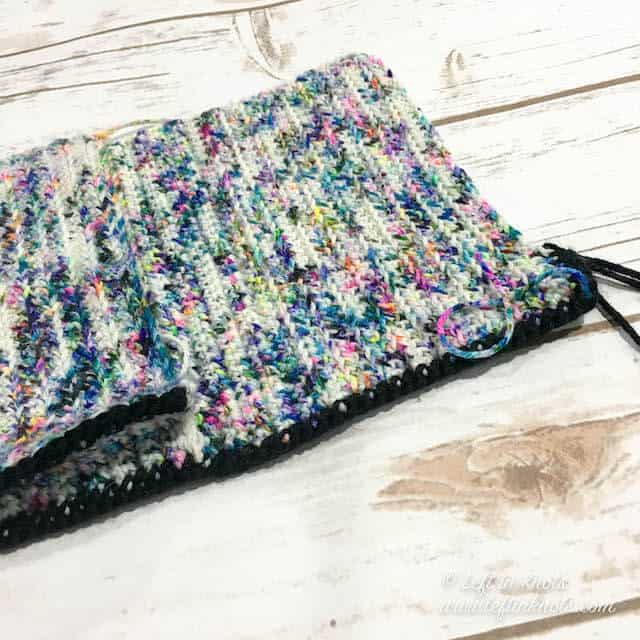
Fig 4 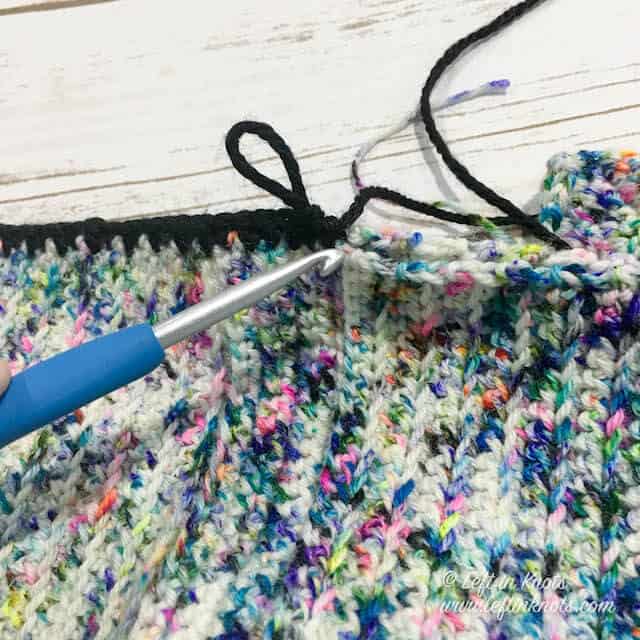
Fig 5 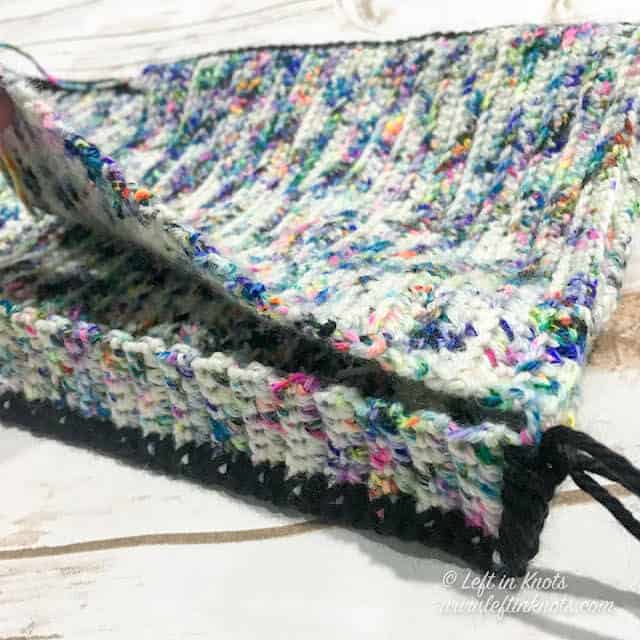
Fig 6
Reattach your edging yarn to the top edge of your purse (Fig. 7). Place one metal ring along the top of the side panel, and crochet around it to attach it to your purse (Fig. 8). Continue to crochet along the edge of the purse. When you reach the next side panel, place your other metal ring along the top and crochet around it to attach it. When you have stitched along the entire edge of the purse opening, cut and tie off yarn (Fig. 9). Weave in all ends. Attach the purse strap, magnetic closures, and buttons as desired.
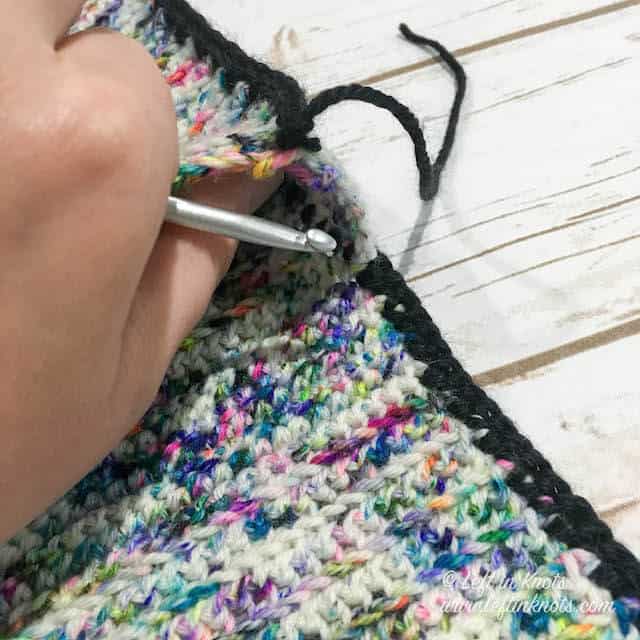
Fig 7 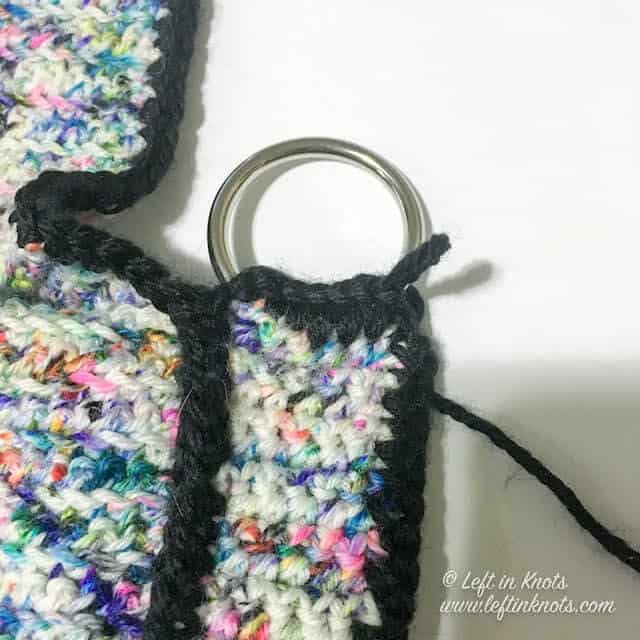
Fig 8 Fig 9
More Free Crochet Patterns You'll Love
Find all FREE CROCHET PATTERNS here
Now the legal stuff...You may sell items made from this pattern, but please credit me as the original designer. Also, please do not share the written pattern in print or electronically. The photos on this webpage belong to Megan Meyer of Left in Knots and may not be used for product sales/product listings. You may share a link back to my blog if you would like someone else to see or work with this pattern. Thank you for your cooperation and if you have any questions please feel free to contact me!
This post contains affiliate links. I receive a small commission for any purchases made through these links at no additional charge to you.