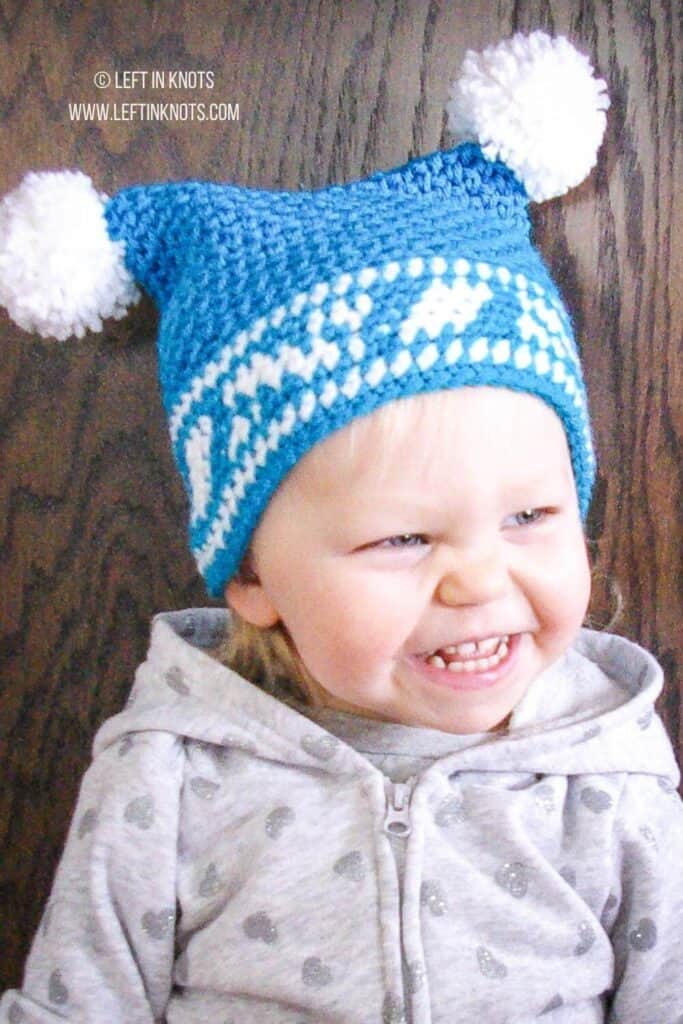
Learn how to make a tapestry crochet toddler hat with this free crochet pattern. This double pom pom hat is a fun and whimsical piece your kids will love to wear.
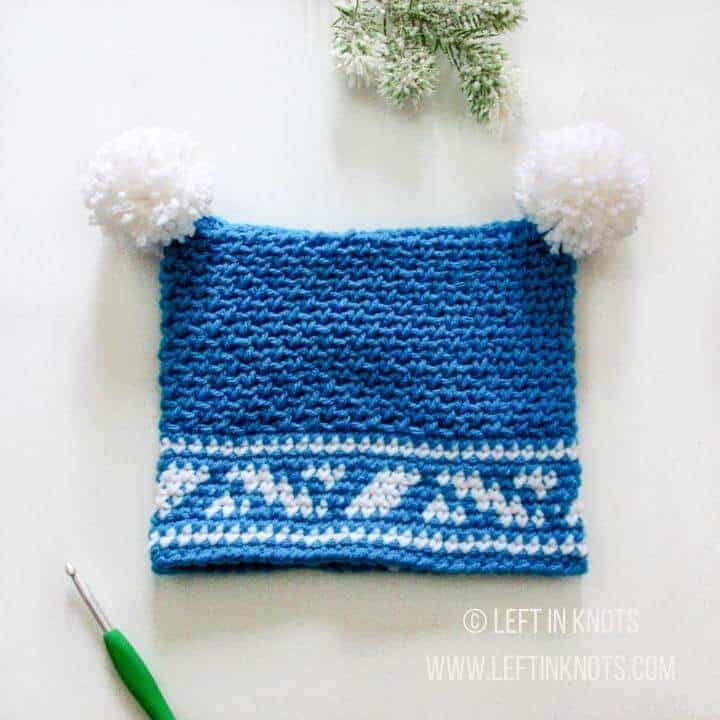
Personally, this is my first double pom hat. It is a SUPER easy way to make a hat, and since my daughter refuses to wear pigtails - I can at least get that effect when she wears this hat.
Show off Your Crochet Projects
Don’t forget to share pictures of your projects with me in my Facebook Group or by tagging @leftinknots on Instagram. I can’t wait to see what you make!
Supplies
- Worsted weight yarn in two colors (less than one skein of each). I used Red Heart with Love in Blue Hawaii and White
- I/5.5 mm crochet hook (I use Clover Amour)
- Yarn needle
- Scissors (I always keep these travel scissors in my hook case)
- Clover Large Pom Pom Maker
Abbreviations
- ch: chain
- sl st: slip stitch
- SC: single crochet
Gauge
14 sts x 14 rows = 4" square in SC
Finished Size:
Width: approx. 8.5"
Height (excluding pom pom): approx. 7"
Pattern Notes
- Ch stitches at the beginning of the round do not count as a stitch UNLESS otherwise noted (see 'Hat' portion of the pattern for details)
- The end of each round is attached to the first st of the round with a sl st.
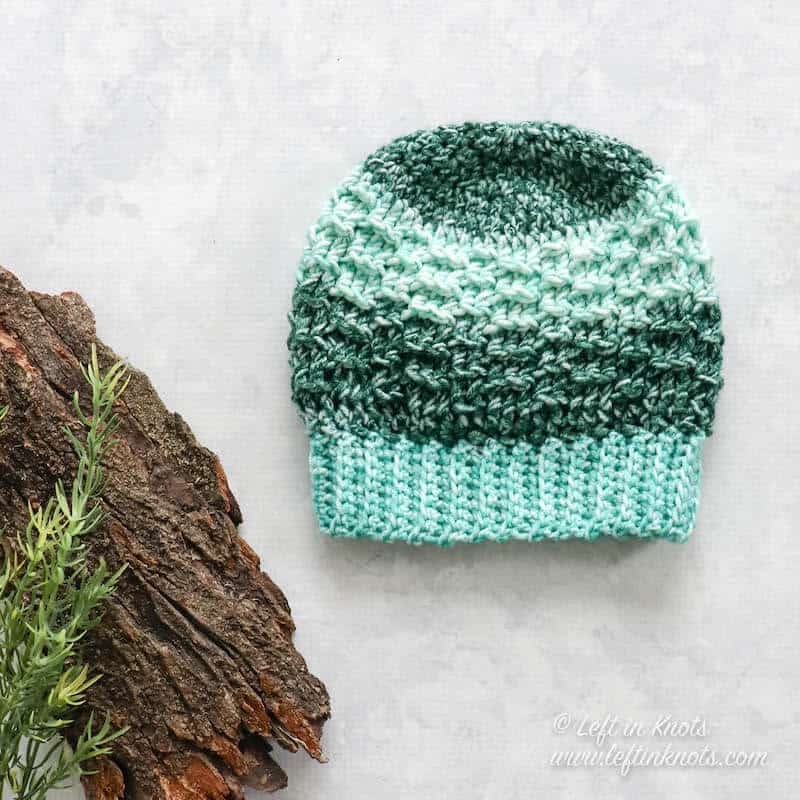
- I only made this hat in a toddler size, and therefore the pattern is written in that size. You can easily adjust the size by adding or subtracting repeats of the Aztec print pattern pictured below. Each repeat adds or subtracts approx. 4" from the total circumference.
- The length of this hat can be modified by adding or subtracting rows of the Moss Stitch portion of the hat.
- For the Aztec print portion of the pattern-yarn should be carried for the color changes (aka tapestry crochet)
Instructions
Aztec Print Band
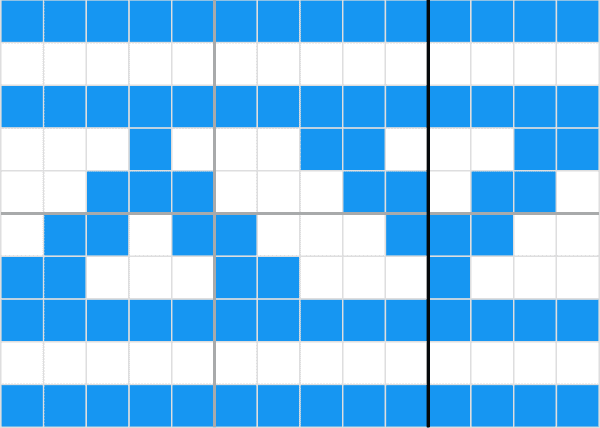
- Color A: Blue Hawaii/Color B: White
- The use of SC stitches throughout the band is implied. For pattern instructions I will note the color changes.
Ch 56, attach the end of your ch to the first ch with a sl st, making sure there are no twists.
Round 1: (With color A) ch 1, SC around (56)
Round 2: (Color B) ch 1, SC around (56)
Round 3: (Color A) ch 1, SC around (56)
Round 4: ch 1, (2 A, 3 B, 2 A, 3 B, 1 A, 3 B) repeat this sequence a total of 4 times around
Round 5: ch 1, (1 B, 2 A, 1 B, 2 A, 3 B, 3 A, 2 B) repeat this sequence a total of 4 times around
Round 6: ch 1, (2 B, 3 A, 3 B, 2 A, 1 B, 2 A, 1 B) repeat this sequence a total of 4 times around
Round 7: ch 1, (3 B, 1 A, 3 B, 2 A, 3 B, 2 A) repeat this sequence a total of 4 times around
Round 8-10: repeat rounds 1-3
Hat (this portion of the hat uses the Moss Stitch. Even numbered rows will begin with 2 ch stitches. This counts as your "beginning ch" AND your ch 1 required to continue the Moss Stitch pattern.)
Round 11: ch 1, *SC, ch 1, skip 1, repeat from * around (28 SC, 28 ch)
Round 12: ch 2, SC in next ch space of previous round, *ch 1, skip 1, SC in next ch space of previous round, repeat from * around (this round will end with a sl st into the ch 2 from the beginning of the round)
Rounds 13-28: Repeat Rounds 11 and 12 respectively.
At the end of Round 28 (or once you have reached your desired length) tie off the yarn and cut it leaving a 12+" tail. Using a yarn needle, loop stitch across the top to close the seam. Tie off the yarn. Make two large pompoms and attach them at each point on top of the hat. Weave in all ends.
More Free Crochet Patterns You'll Love
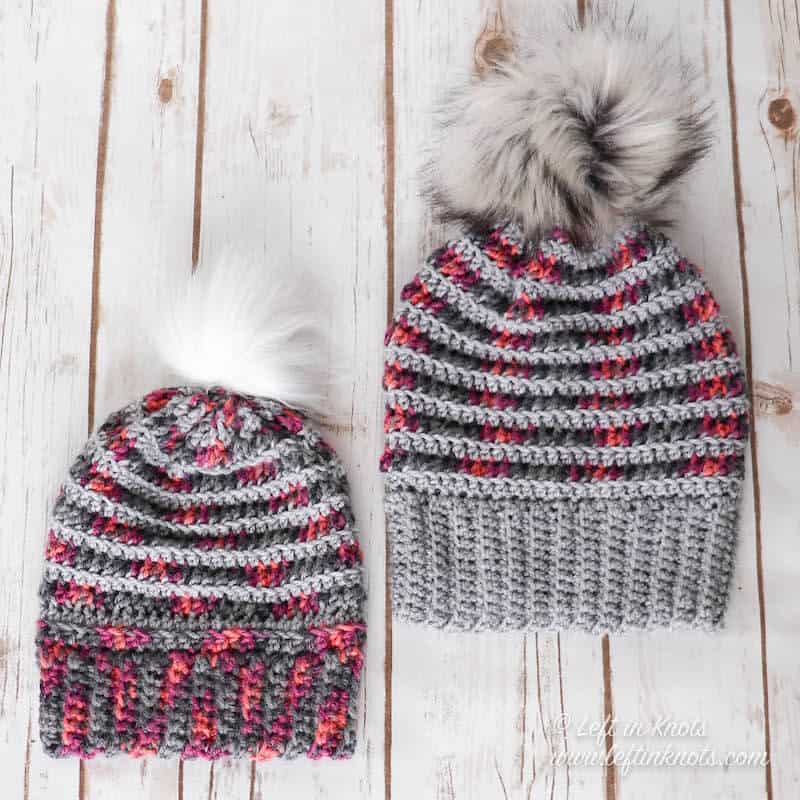

Find all FREE CROCHET PATTERNS here
Now the legal stuff...You may sell items made from this pattern, but please credit me as the original designer. Also, please do not share the written pattern in print or electronically. The photos on this webpage belong to Megan Meyer of Left in Knots and may not be used for product sales/product listings. You may share a link back to my blog if you would like someone else to see or work with this pattern. Thank you for your cooperation and if you have any questions please feel free to contact me!
This post contains affiliate links. Thank you for supporting free patterns and yarn deals from Left in Knots!