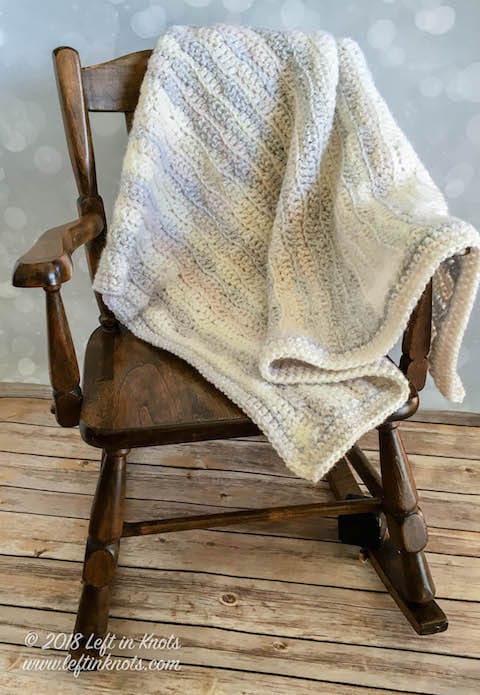
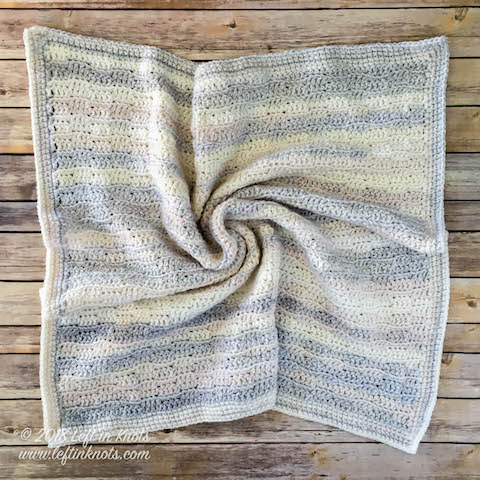
Crochet a neutral baby blanket with muted tones and subtle texture using the Dreamy Waves Blanket free pattern. It's muted tones are sweet and relaxing, and this baby blanket also works up quickly for a last minute gift. Keep reading for the free baby blanket pattern.
Crochet a Neutral Baby Blanket without Hole or Gaps
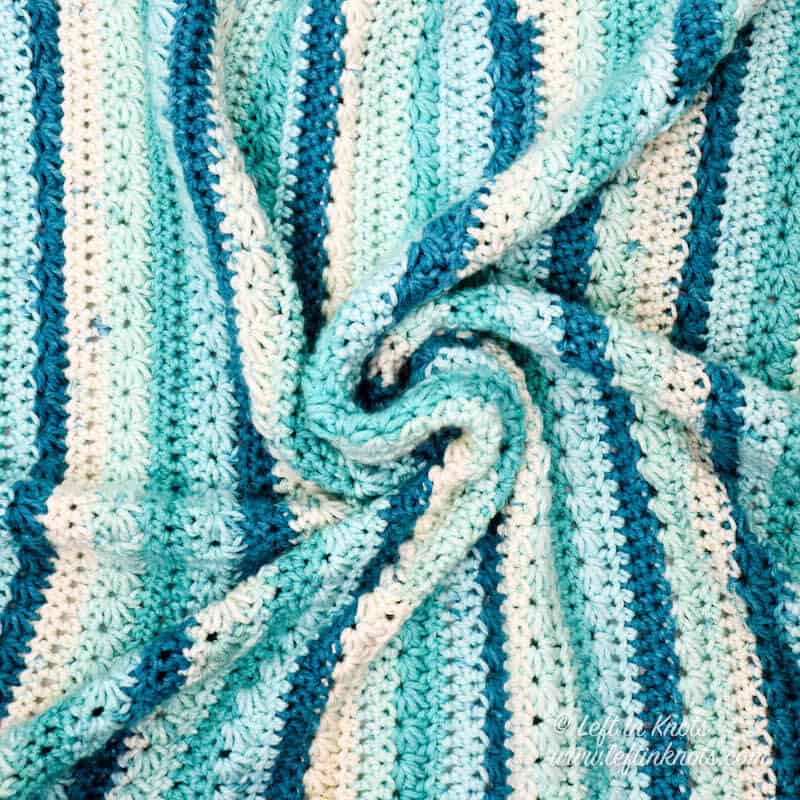
As many of you know already, I am due with our second baby (and first baby boy) at the beginning of April. So of course I had to design a few pieces just for him. My personal preference for baby blankets is bulky yarn because it's so soft and snuggly and it works up so quickly. I also prefer no large gaping holes (because I find that little fingers and toes tend to get stuck in them). So I designed this pattern to work up quickly and still incorporate some beautiful, subtle texture without leaving those gaps.
The best part about this project is that it can really be made in any size, so if you want to make it into a larger throw or an afghan just see my notes below about adjusting the size. You can also make it with whatever yarn you want (baby, worsted, bulky, etc). Again, you will just need to adjust the length of your starting chain to your desired size.

Show off Your Crochet Projects
Don’t forget to share pictures of your projects with me in my Facebook Group or by tagging @leftinknots on Instagram. I can’t wait to see what you make!
Dreamy Waves Baby Blanket - Free Crochet Pattern
Supplies:
- Loops and Threads Barcelona yarn (‘Arctic’ pictured) or approx. 650 yds of a comparable Category 5 Bulky yarn.
- J/6.0mm crochet hook - I use Clover Amour
- Scissors - I always keep these travel scissors in my hook case
- Yarn needle
Abbreviations (written in U.S. terms):
- st/sts: stitch/stitches
- ch: chain
- FLO: front loop only
- SC: single crochet
- DC: double crochet
Gauge
6 sts x 6 rows = 2" square in SC
Finished Size:
- Length = 32"
- Width = 32"
Pattern Notes
- ch 1 st at the beginning of a row DOES NOT count as a stitch
- ch 2 at the beginning of a row DOES count as a stitch
- If the edges of your blanket are curling or wavy when crocheting the border, you can absolutely adjust the number of stitches worked along the “raw” edge of the blanket. Just be sure to keep them consistent.
- To adjust the width of this project, your started chain can be any length as long as it is a multiple of 8 + 5 additional ch sts. To adjust the length just keep adding rows until you are happy with the size
Instructions
ch 93
Row 1: SC in the second ch from the hook, SC in the next 3 sts, *DC in 4 sts, SC in 4 sts, repeat from * across (92) Turn.
Row 2: ch 2 (this counts as a st), FLO DC in the next 3 sts, * FLO SC in 4 sts, FLO DC in 4 sts, repeat from * across (92) Turn.
Row 3: ch 1, FLO SC in first 4 sts, *FLO DC in 4 sts, FLO SC in 4 sts, repeat from * across (92) Turn.
Row 4-53: Repeat Row 2 on even rows and Row 3 on odd rows. Continue to border instructions.
Completing the Border
Round 1: ch 1, SC evenly along each edge of the border and ch 2 to “turn” each corner. Each edge of the blanket pictured has 92 sts (not including ch sts) in Round 1. Attach to the first st of the round with a sl st.
Rounds 2-4: ch 1, SC evenly around the blanket. (SC, ch 2, SC) into each ch 2 corner from the previous round. Your stitch count along each edge of the blanket should increase by 2 sts per round. Attach to the first st of the round with a sl st.
After completing Round 4 of the border (or whichever round you choose to stop at) tie off yarn and weave in all ends.
More Free Crochet Patterns You'll Love
Find all FREE CROCHET PATTERNS here
Now the legal stuff...You may sell items made from this pattern, but please credit me as the original designer. Also, please do not share the written pattern in print or electronically. The photos on this webpage belong to Megan Meyer of Left in Knots and may not be used for product sales/product listings. You may share a link back to my blog if you would like someone else to see or work with this pattern. Thank you for your cooperation and if you have any questions please feel free to contact me!
This post contains affiliate links. I receive a small commission for any purchases made through these links at no additional charge to you.