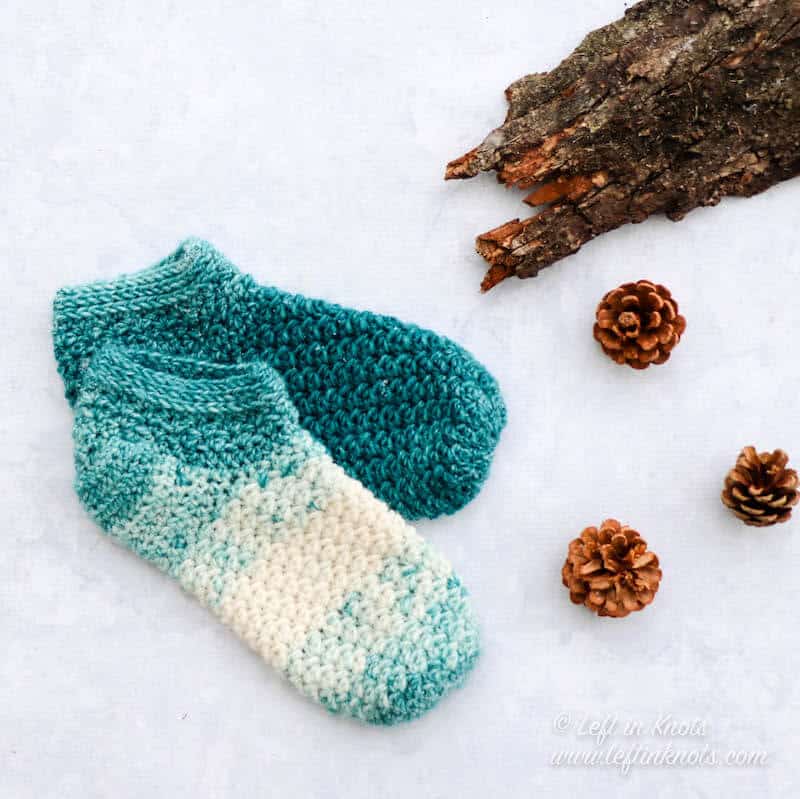
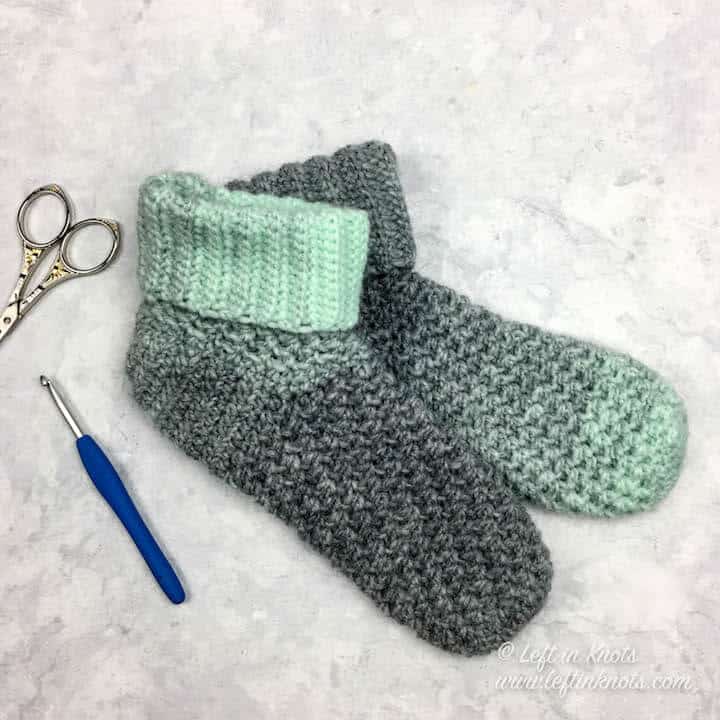
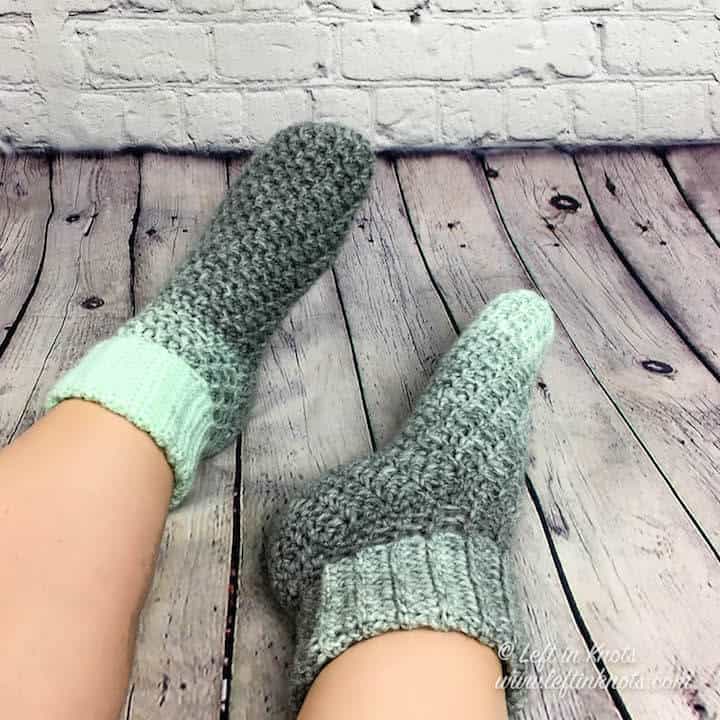
The Wintermint Slipper Socks crochet pattern uses less than one skein of yarn to create a pair of cozy warm slippers. Keep reading for the free crochet pattern.
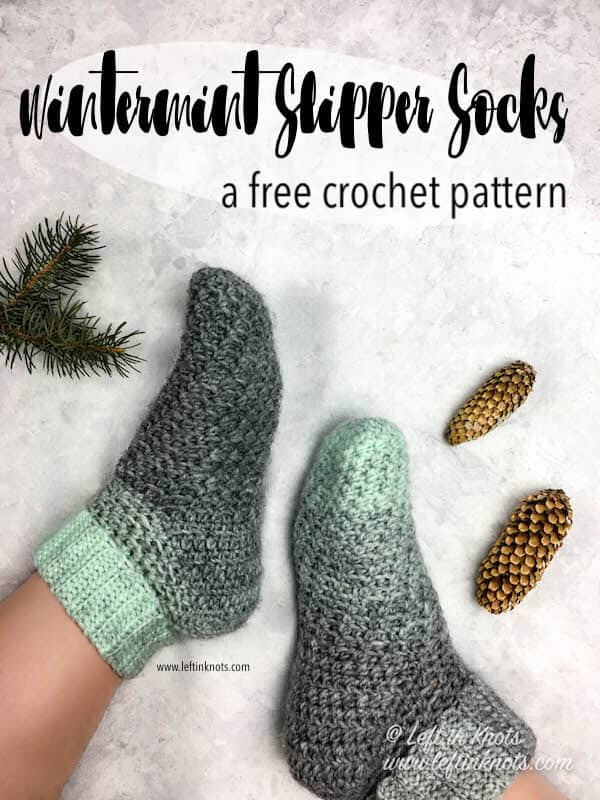
You'll Want to Crochet More than One Pair of the Wintermint Slipper Socks
About a month ago, my sister came to visit (side note: I am the ONLY crafty one in my family) and she asked to look through my basket of crocheted things that I’ve designed and haven’t used. She likes to “shop” my stuff. She came across these slipper socks and immediately claimed them! I had to tell her that I still needed them, but that she could have them after I got the pattern published. Up until yesterday I fully intended to save them for her, but then my feet got cold - ha! So now I’ll be making another pair for her because I’ve officially claimed these.
Crochet Slipper Socks for Adults in 3 Sizes
This pattern is super simple to customize in size, and I provide row counts for Small, Medium and Large sizes below. But really you can add or subtract as many rows as you need to make them fit!
Seven Days of Scarfie Pattern Collection #3
This pattern is part of my Seven Days of Scarfie pattern collections. Whether you are new to Seven Days of Scarfie or you have been making along with me every single year; I am so happy you are joining in the fun! Seven Days of Scarfie started on a total whim in 2016, and I have gotten so much positive feedback on the patterns that I just keep going with it every year.
I hope that you love each of these pattern collections as much as I do!
- START HERE: This will give you all the information you need about the supplies you will need, you can find the patterns I have released so far in this year’s collection along with the patterns from previous Seven Days of Scarfie pattern collections.
- If you want to interact with others participating in Seven Days of Scarfie, I urge you to join my Facebook Community.
- If you want to be notified of each new Seven Days of Scarfie pattern directly – please sign up for my Newsletter
- If you are on Instagram I would LOVE to see your work! Use @leftinknots and #sevendaysofscarfie so I can see it!
Show off Your Crochet Projects
Don’t forget to share pictures of your projects with me in my Facebook Group or by tagging @leftinknots on Instagram. I can’t wait to see what you make!
Wintermint Slipper Socks - Free One Skein Crochet Pattern in 3 Sizes
Supplies:
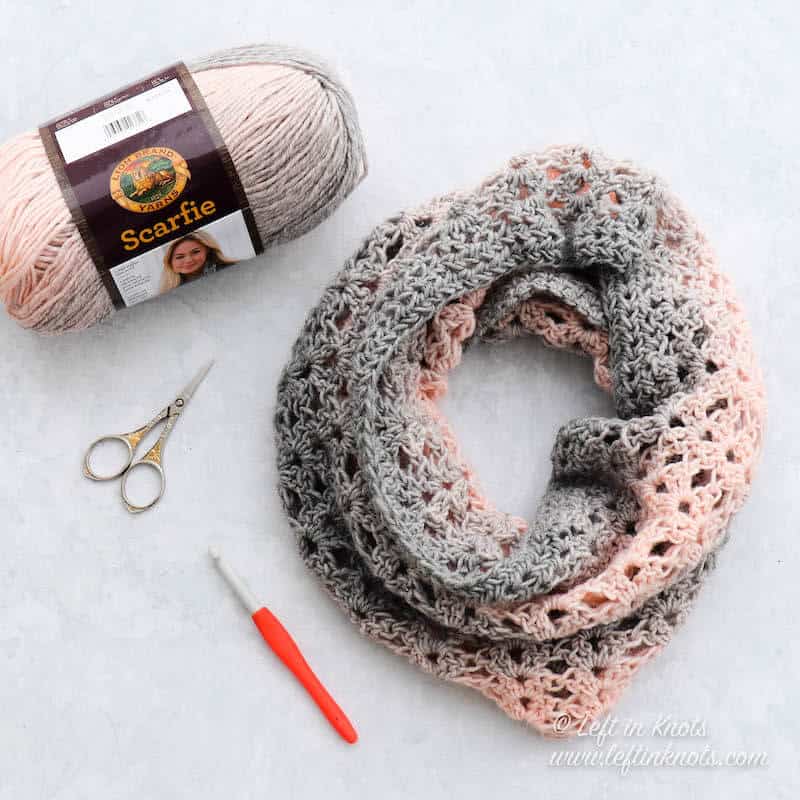
- Lion Brand Scarfie yarn (‘Mint/Silver’ pictured) or approx. 218 yards of a category 4 yarn. If you substitute yarn please check your gauge!
- 4.5mm crochet hook - I love Clover Amour or check out these adorable custom polymer clay hooks!
- Scissors - I always keep these travel scissors in my hook case
- Yarn needle
Abbreviations (written in U.S. terms):
- ch: chain
- sl st: slip stitch
- BLO: back loop only
- SC: single crochet
- HDC: half double crochet
- HDC2Tog
Gauge
7 sts x 5 rows = 2” square in HDC
Finished Size:
Length (toe to heel)
- Small: 8.5”
- Medium: 9”
- Large: 9.5”
- Width: 4”
Video Tutorials to Help:
How to Crochet Attached SC Ribbing (find the left handed video here - the right handed video loads with the page)
How to Crochet in the 3rd Loop (find the left handed video here)
Pattern Notes
- The chain stitches at the beginning of each row/round do not count as a stitch.
- The last stitch of each round is attached to the first stitch of the round with a slip stitch
- I used a fairly tight tension for this project, please check your gauge so the slippers fit properly.
- Please be cautious wearing these on hard floors! They are slippery. I added puffy fabric paint to the bottom of mine to reduce the slip.
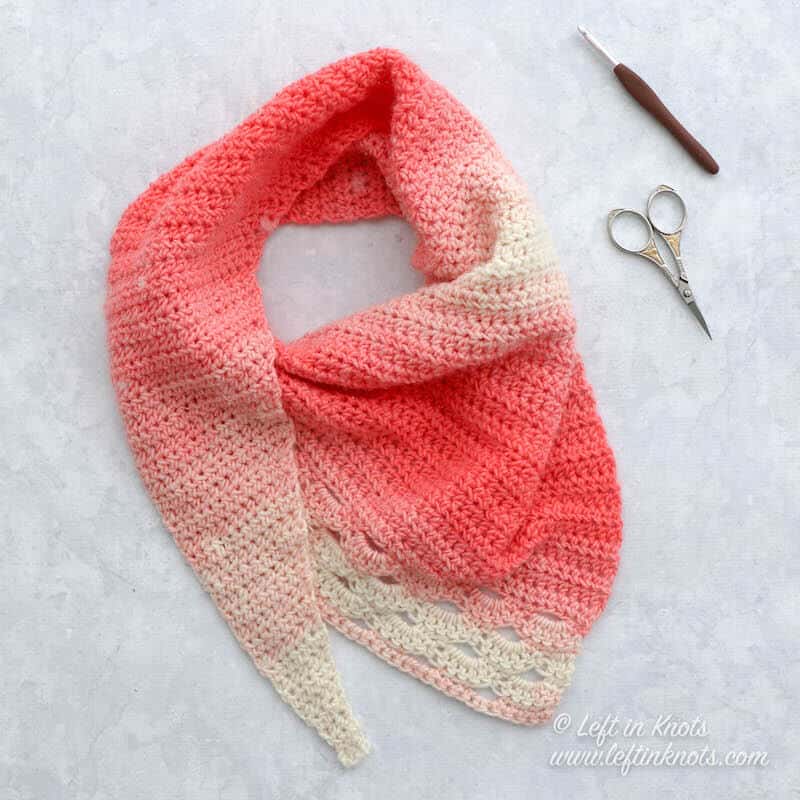
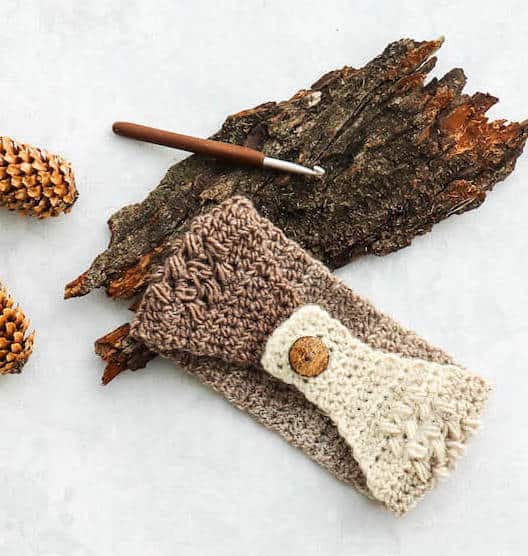
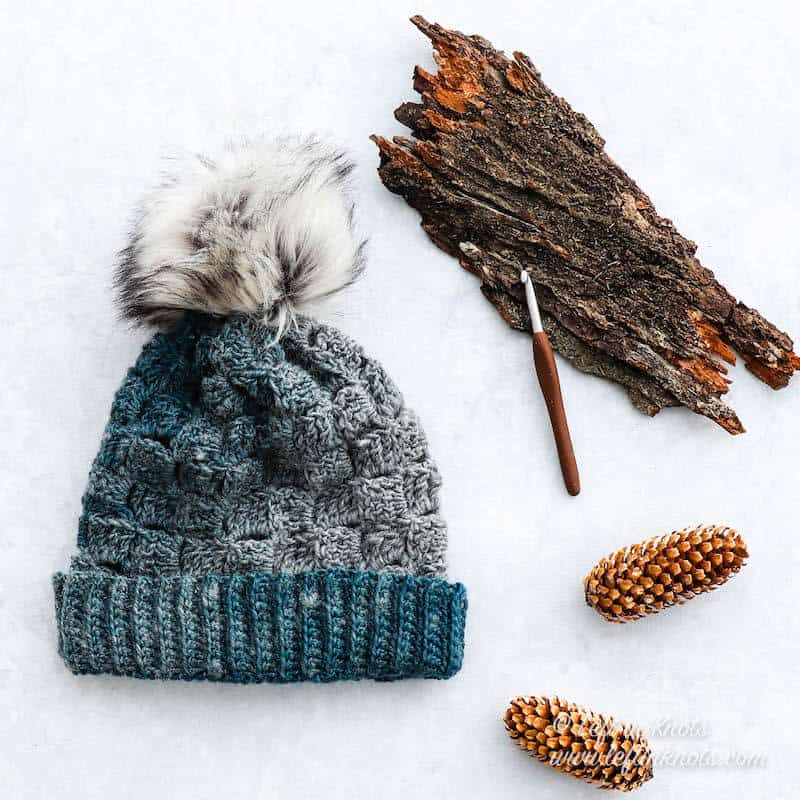
Matching Patterns
Instructions (Make 2)
*If you love Seven Days of Scarfie and want to help me in a very simple way - I would appreciate any and all Pins or Ravelry saves! It helps me out so much! Thank you 💜
Start with a magic circle
Round 1: ch 1, work 10 HDC into the magic circle, pull tight (10)
Round 2: ch 1, 2 HDC in each st around (20)
Round 3: ch 1, *2 HDC, HDC, repeat from * around (30)
Round 4: ch 1, *HDC in the first st, HDC in the 3rd loop of the next st, repeat from * around (30)
Round 5: ch 1, *HDC in the 3rd loop of the first st, HDC in the next st, repeat from * around (30)
(Small) Round 6-18: Repeat Round 4 (even rounds) and Round 5 (odd rounds)
(Medium) Round 6-20: Repeat Round 4 (even rounds) and Round 5 (odd rounds)
(Large) Round 6-22: Repeat Round 4 (even rounds) and Round 5 (odd rounds)
**This section of the slipper should cover the top of your foot up to your ankle (it is ok if it has to stretch just a little bit to do so). You will now start working back and forth in rows.**
Row 1-7: ch 1, HDC in 20 sts (20) Turn.
Row 8: ch 1, HDC2Tog across (10). Turn.
Row 9: ch 1, HDC2Tog across (5). Turn
Row 10: ch 1, HDC2Tog, HDC, HDC2Tog (3). Turn
**Do not cut your yarn. You will now be working in rounds around the ankle portion of the slipper**
Round 1: ch 1, SC evenly around the ankle opening so that you have 44 stitches around (44)
Round 2: ch 1, *HDC2Tog, HDC in next 2 sts, repeat from * around until you reach the last two sts of the round, HDC2Tog in the last two sts (32).
Round 3: ch 1, HDC in the 3rd loop of the first st, HDC in the next st, repeat from * around (32)
Round 4: ch 1, HDC in the first st, HDC in the 3rd loop of the next st, repeat from * around (32)
Round 5: ch 1, HDC in the 3rd loop of the first st, HDC in the next st, repeat from * around (32)
Ribbed Cuff (see photo below)
Starting where you ended Round 5, ch 23 sts. SC in the second chain from the hook, SC in the remaining 21 ch stitches. When you get back to the beginning of the ch, sl st into the first st of Round 5. This creates your first row of ribbing.
Row 2: sl st into the next st of Round 5, ch 1, SC in BLO across to create your next row of ribbing. Turn. (22)
Row 3: ch 1, SC in BLO across. Sl st into the next open st of Round 5. (22)
Row 4-32: Repeat Rows 2 (on even rows) and 3 (on odd rows) until you have gone around the entire top of the sock.
After completing Row 32: Working through the BLO of Row 32 and the FLO of your starting chain, sl st across to seam the ribbing together. Tie off yarn and weave in ends.
More Free Crochet Patterns You'll Love
Find all FREE CROCHET PATTERNS here
Now the legal stuff...You may sell items made from this pattern, but please credit me as the original designer. Also, please do not share the written pattern in print or electronically. The photos on this webpage belong to Megan Meyer of Left in Knots and may not be used for product sales/product listings. You may share a link back to my blog if you would like someone else to see or work with this pattern. Thank you for your cooperation and if you have any questions please feel free to contact me!
This post contains affiliate links. I receive a small commission for any purchases made through these links at no additional charge to you.

