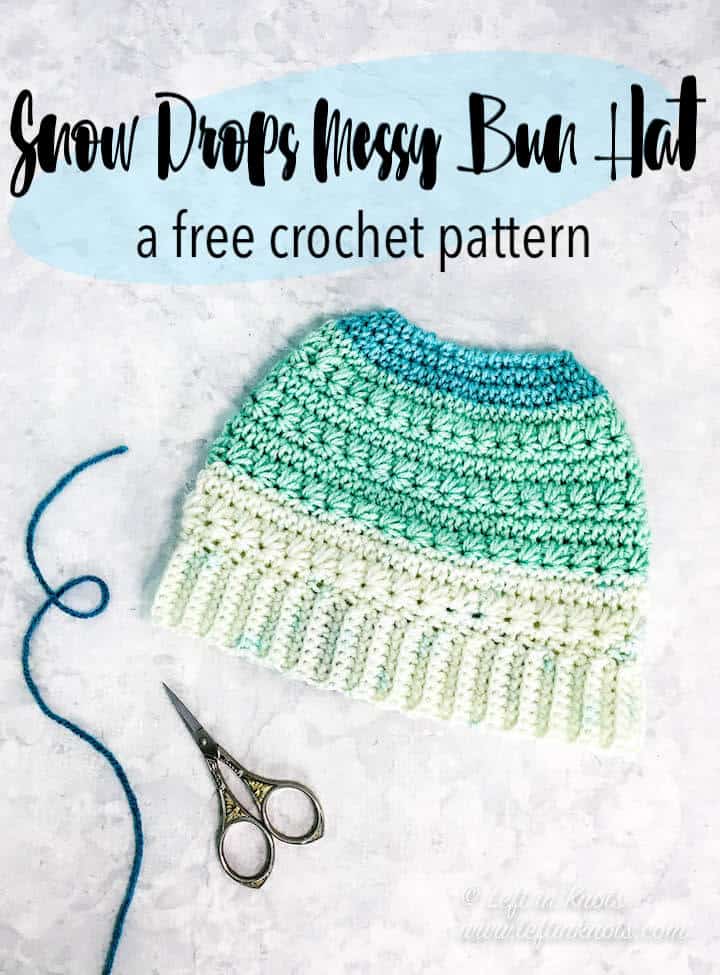
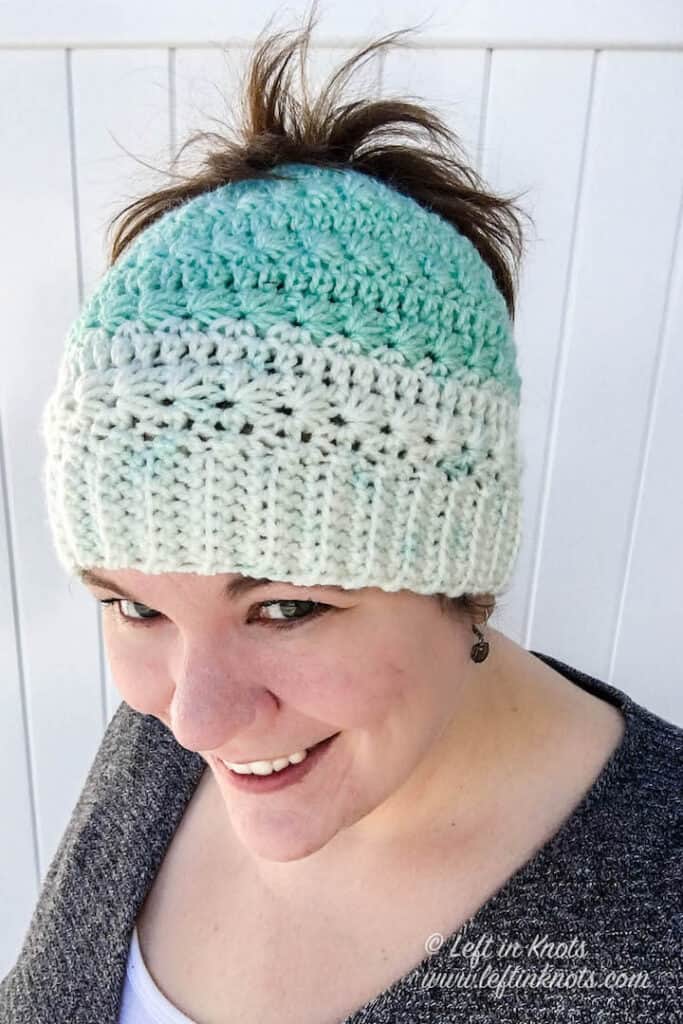
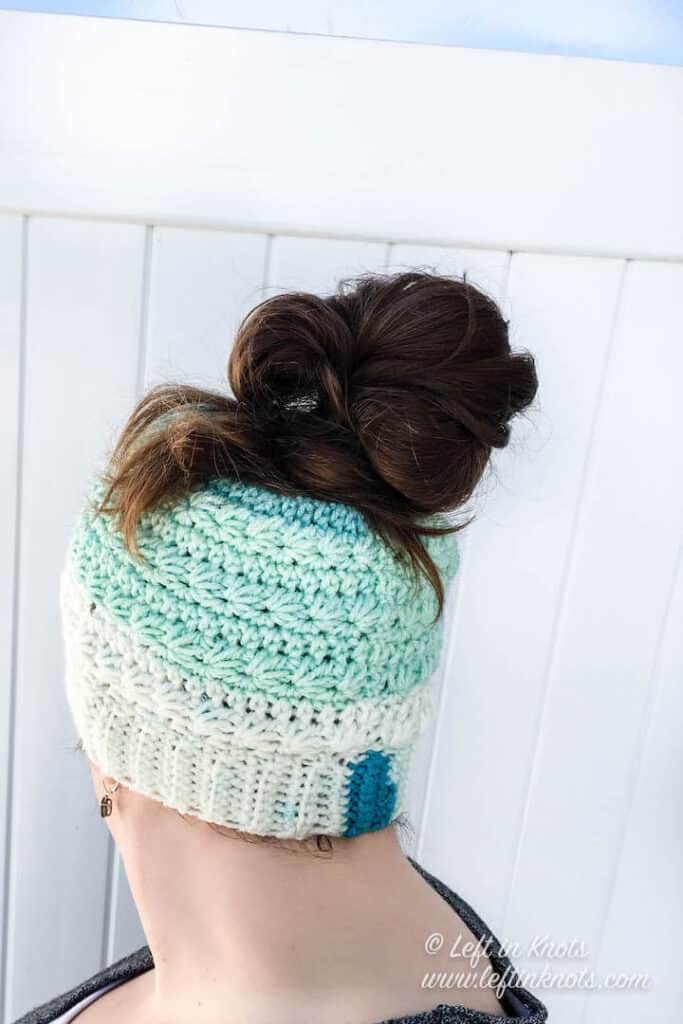
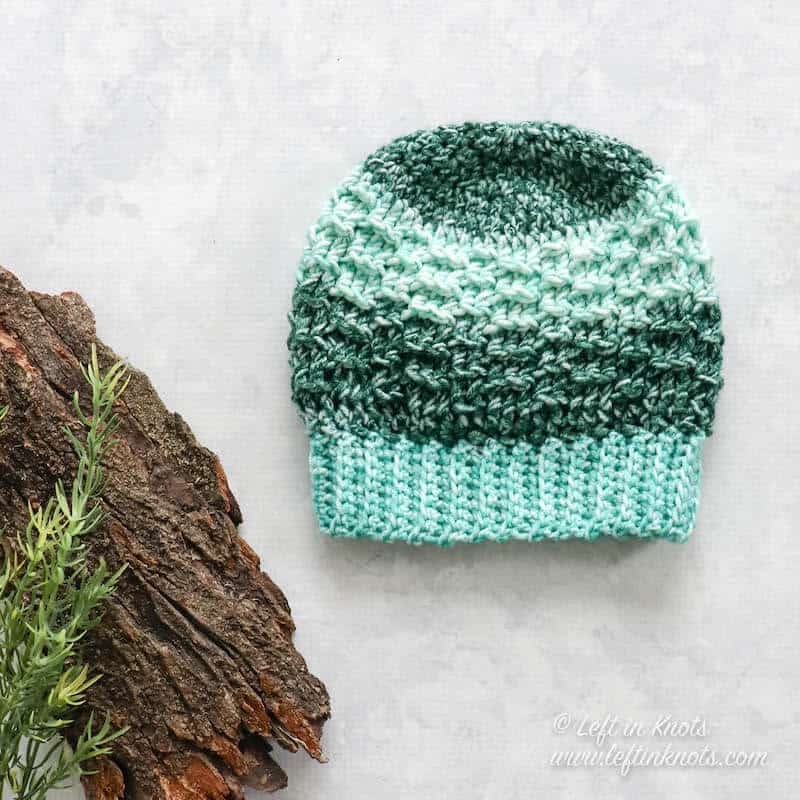
This crochet messy bun hat is made with Caron Cakes yarn and the star stitch. It is part of the Snow Drops collection and a free pattern!
Crochet Messy Bun Hat Mayhem - Snow Drops Style
Crocheted Snow Drops Messy Bun Hat? It’s finally here! If you follow me on Facebook or Instagram you may have seen some sneak peeks of this one. I promised that the free crochet pattern would be available this year and here it is! This messy bun pattern is part of my popular Snow Drops pattern collection, and it uses my absolute favorite colorway of Caron Cakes yarn. Of course you can use any worsted weight yarn of your choice - that stitch definition of the star stitch would look stunning in any color! Keep reading for the free crochet pattern.

When You Need a Messy Bun Beanie
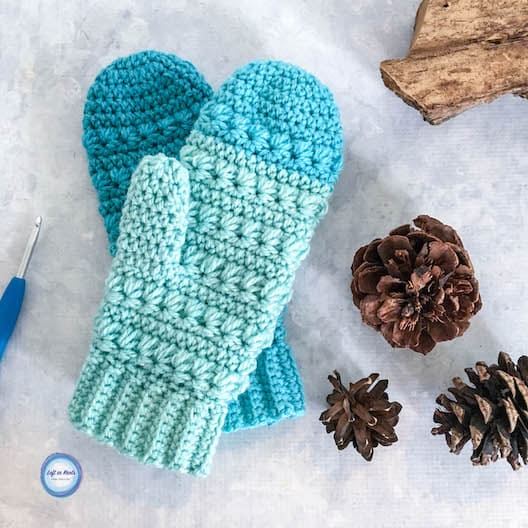
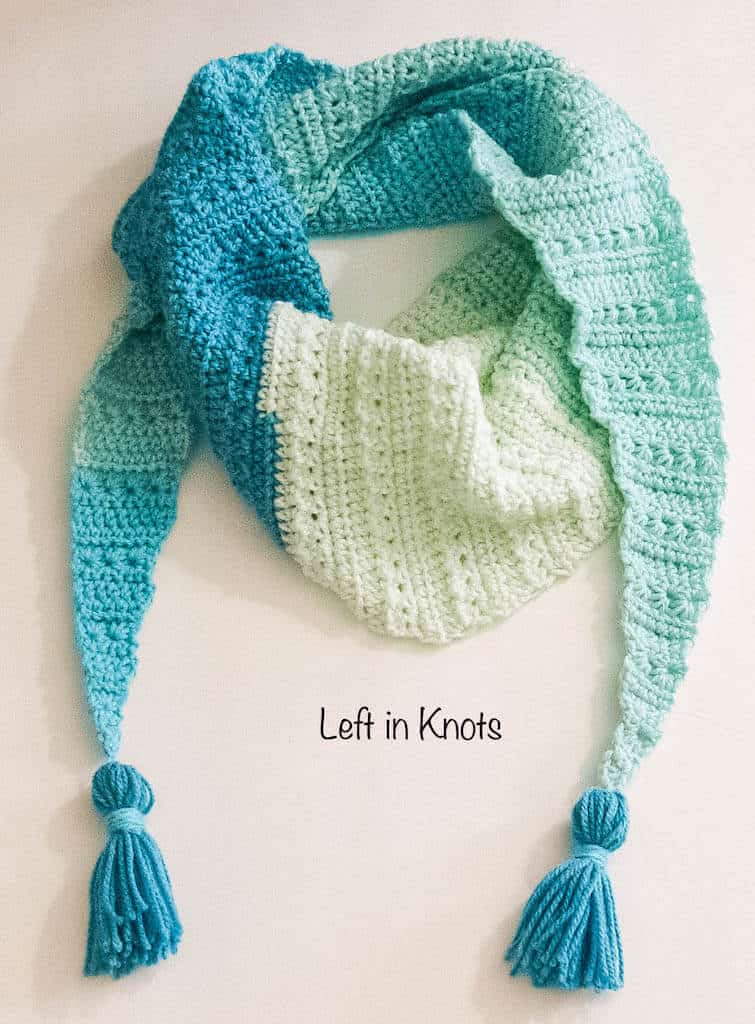
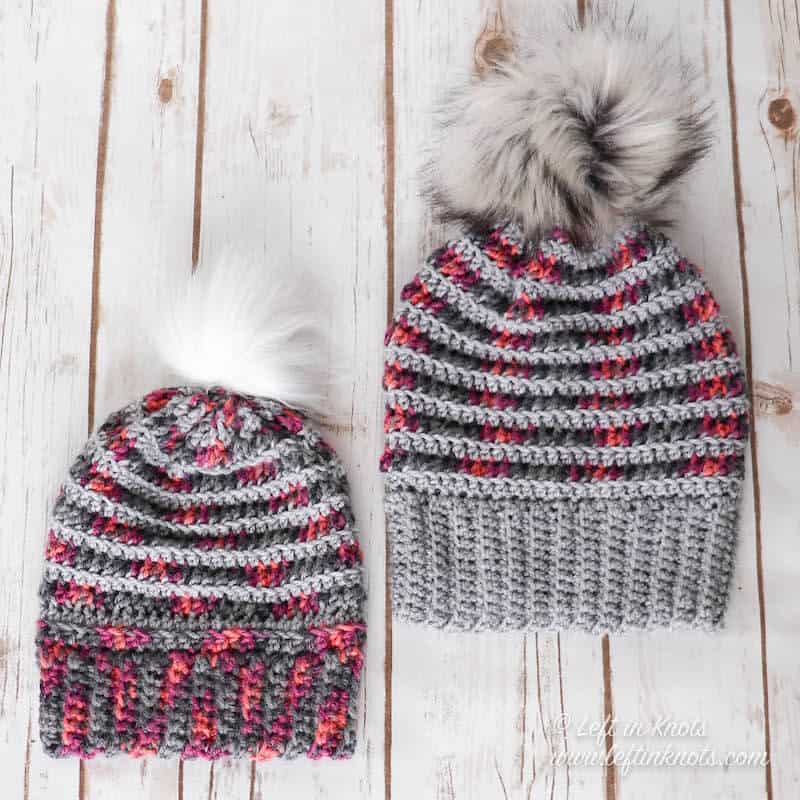
Two years ago was my first holiday season blogging, and it was when I designed the Snow Drops Mod Scarf. It has been one of my most popular patterns that has grown into quite a collection including a slouchy hat, mittens and ear warmer! Around that same time, messy bun hats were THE THING to make. And somehow I dropped the ball and never managed to make one until now - two years later - ha!
Why didn’t I make a messy bun hat before now? Truthfully, it is mostly because I had no need for them.
So what changed my mind? I now need a messy bun hat! See…I have this darling little 8 month old baby boy who is absolutely infatuated with my hair and who also thinks it is a great stabilizing device. Because of him, my hair has been spending a lot more time in a pony tail than it usually does.
Show off Your Crochet Projects
Don’t forget to share pictures of your projects with me in my Facebook Group or by tagging @leftinknots on Instagram. I can’t wait to see what you make!
Crochet Messy Bun Hat Pattern
Supplies:
- Caron Cakes yarn (‘Faerie Cake’ pictured) or approx. 130 yards of a comparable worsted weight yarn.
- I/5.5mm crochet hook
- Scissors
- Yarn needle
Abbreviations (written in U.S. terms):
- sl st: slip stitch
- ch: chain
- YO: yarn over hook
- LOH: loops on hook
- BLO: back loop only
- SC: single crochet
- HDC: half double crochet
Gauge
9 sts x 7 rows = 2” square in BLO SC
Finished Size:
Length = 8"
Width = 10"
Special Stitch
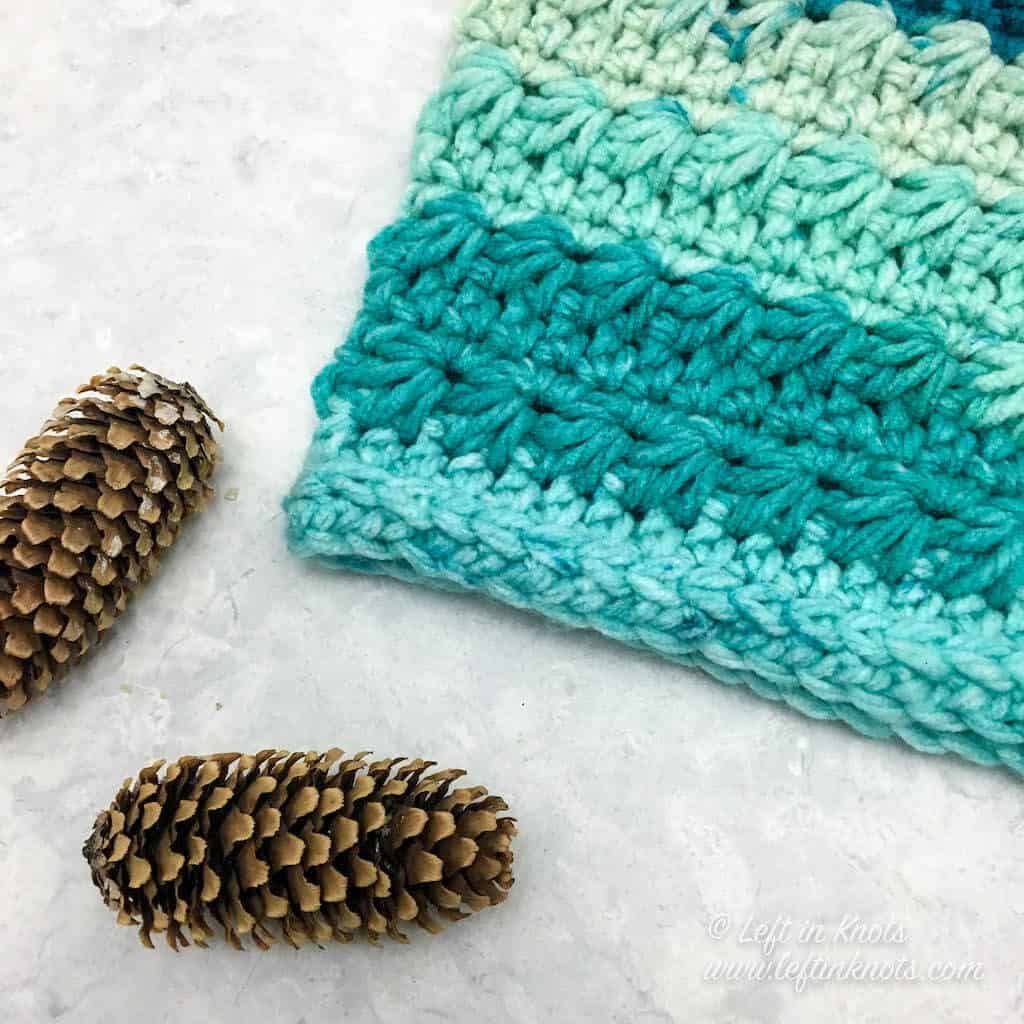
First star stitch of a round: (you will have already ch 2 to start your new round) Insert hook into back loop of the second ch from the hook and pull up a loop (2 LOH), insert hook into front loop of the same ch stitch and pull up a loop (3 LOH), insert into the next 3 sts and pull up a loop through each one (6 LOH). YO and pull through all 6 loops, ch 1 to make the "eye" of the star.
Star stitch: Insert hook into the "eye" of the previous star and pull up a loop (2 LOH), insert hook into the last post of the previous star and pull up a loop (3 LOH), insert your hook into the last stitch of the previous star and pull up a loop (4 LOH), insert hook into the next 2 sts and pull up a loop in each one (6 LOH). YO and pull through all 6 loops, ch 1 to make the “eye" of the star.
Video Tutorials
How to Crochet the Star Stitch in the Round (find the left handed video here)
How to Crochet Attached SC Ribbing (find the left handed video here - the right handed video loads with the page)
Pattern Notes
- The chain stitches at the beginning of each round do not count as a stitch.
- The last stitch of each round is attached to the first stitch of the round with a slip stitch.
- This hat is worked from the top down
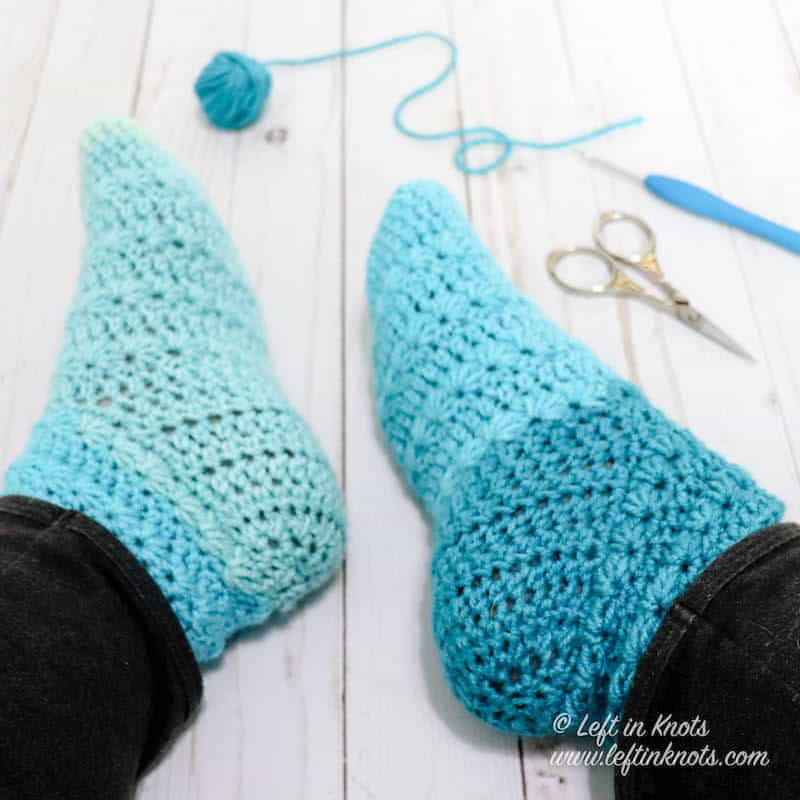
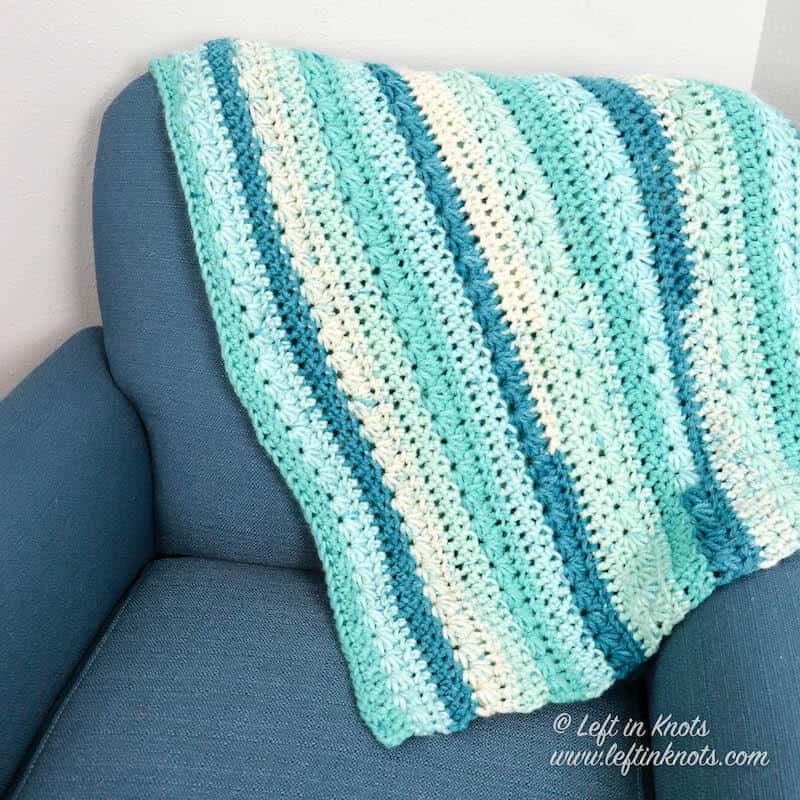
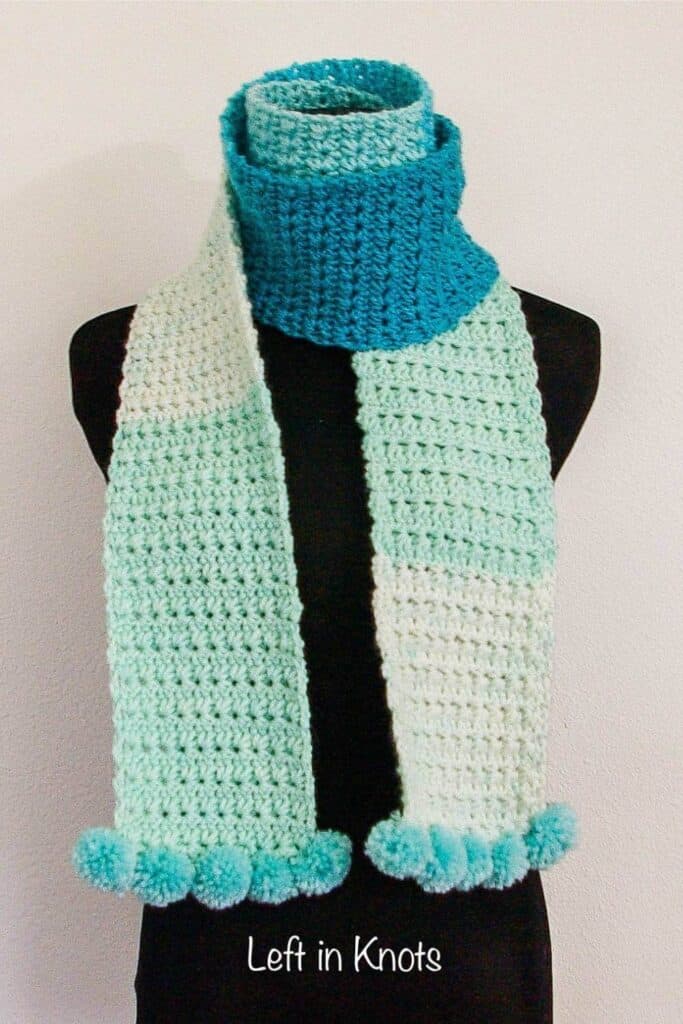
Matching Patterns


Instructions
ch 20 and connect the end of your chain to the first ch st with a sl st.
Round 1: ch 1, HDC 33 around your ch 20 loop (I did not work into the stitches), at the end of the round attach to the first stitch of the round with a sl st (33).
Round 2: ch 1, *2 HDC in the first st, HDC in the next 2 stitches, repeat from * around, at the end of the round attach to the first stitch of the round with a sl st (44)
Round 3: ch 1, *2 HDC in the first st, HDC in the next 3 stitches, repeat from * around, at the end of the round attach to the first stitch of the round with a sl st (55)
Round 4: ch 1, *2 HDC in the first st, HDC in the next 4 stitches, repeat from * 9 more times, HDC in the last 5 sts of the round, at the end of the round attach to the first stitch of the round with a sl st (65)
Round 5: ch 2, make the first star stitch of the round and continue with star stitches around. When you reach the end of the round, HDC in the last st of the round (this will have already been worked into by the previous star stitch) (32 stars + 1 HDC).
Round 6: ch 1, work 2 SC into each "eye" of the star stitches from the previous round and SC in the last HDC st from the previous round. (65)
Round 7: ch 1, HDC around (65)
Round 8-13: repeat Rounds 5-7 two more times.
Round 14: ch 2, make the first star stitch of the round and continue with star stitches around. When you reach the end of the round, HDC in the last st of the round (this will have already been worked into by the previous star stitch) (32 stars + 1 HDC).
Round 15: ch 1, work 2 SC into each "eye" of the star stitches from the previous round. DO NOT SC in the last HDC st from the previous round. (64)
Making the Brim
Starting where you ended Round 15, ch 9 sts. In the second chain from the hook, SC in the remaining 8 ch stitches. When you get back to the beginning of the ch, sl st into the first st of Round 15. This creates your first row of ribbing.
Row 2: sl st into the next st of Round 15, ch 1, SC in BLO across to create your next row of ribbing. Turn. (8)
Row 3: ch 1, SC in BLO across. Sl st into the next open st of Round 23. (8)
Row 4-64: Repeat Rows 2 (on even rows) and 3 (on odd rows) until you have gone around the entire base of the hat.
After completing Row 64: Working through the BLO of Row 64 and your starting chain, sl st across to seam the cuff together. sl st into the last st of Round 15. Tie off yarn and weave in ends.
More Free Crochet Patterns You'll Love

Find all FREE CROCHET PATTERNS here
Now the legal stuff...You may sell items made from this pattern, but please credit me as the original designer. Also, please do not share the written pattern in print or electronically. The photos on this webpage belong to Megan Meyer of Left in Knots and may not be used for product sales/product listings. You may share a link back to my blog if you would like someone else to see or work with this pattern. Thank you for your cooperation and if you have any questions please feel free to contact me!
This post contains affiliate links. Thank you for supporting free patterns and yarn deals from Left in Knots!