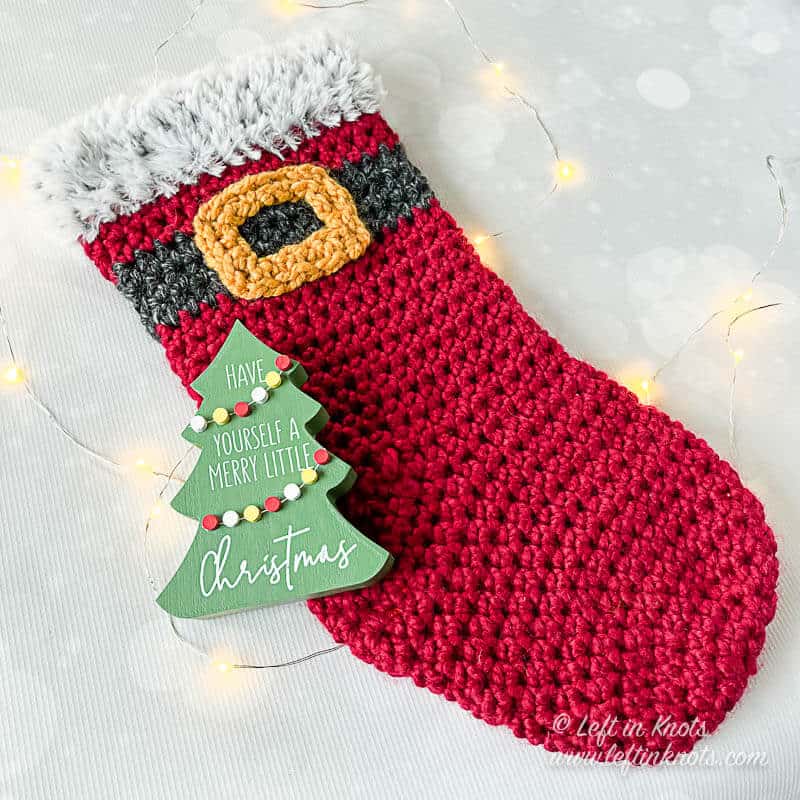
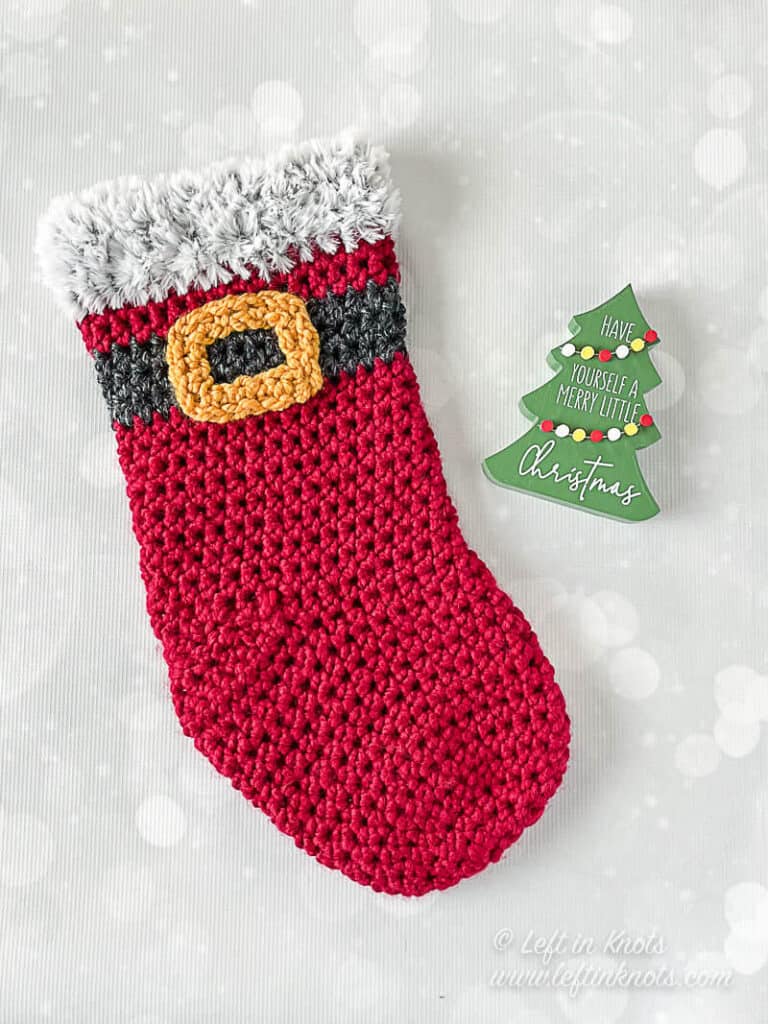
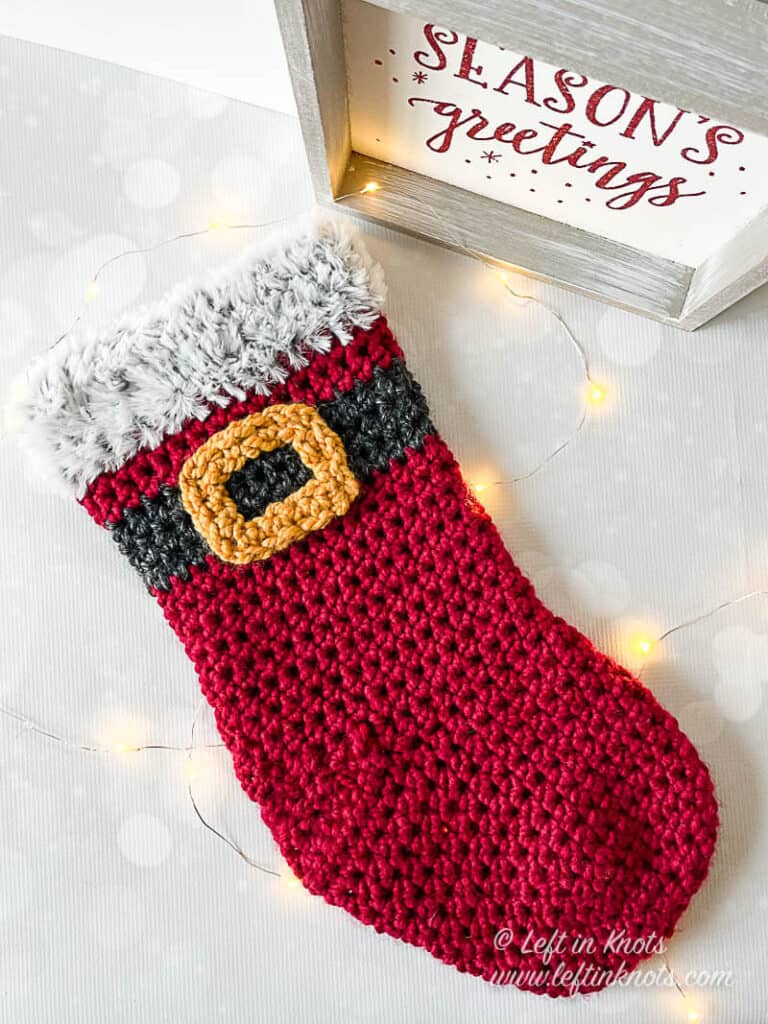
Crochet a Santa Stocking with this free pattern that uses super bulky yarn for quick and easy construction. Then finish the edge with a faux fur border. This easy crochet stocking will accent your classic and traditional Christmas decor perfectly! Keep reading for the free crochet pattern.

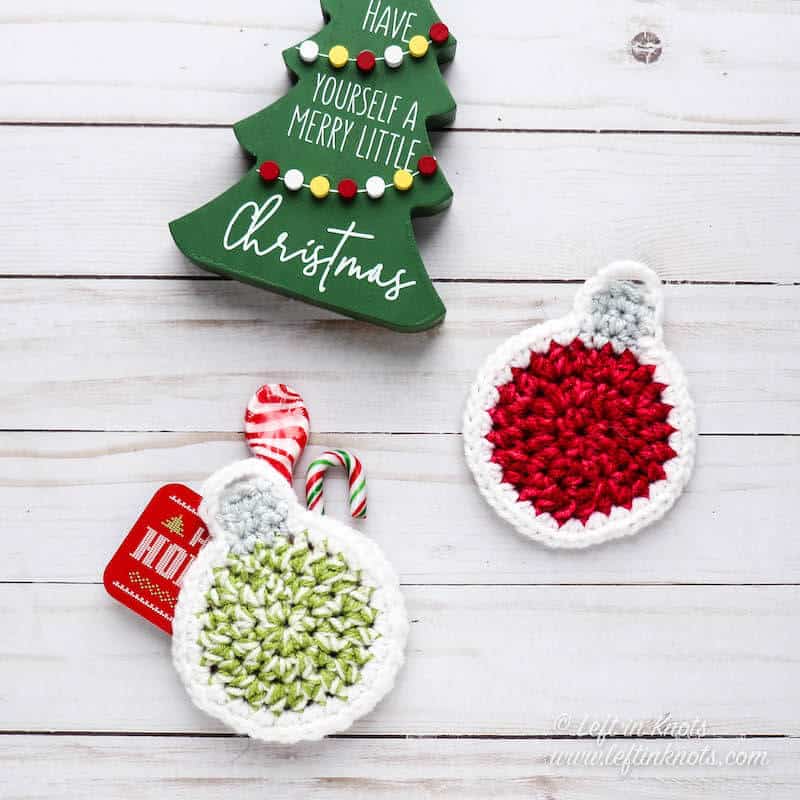
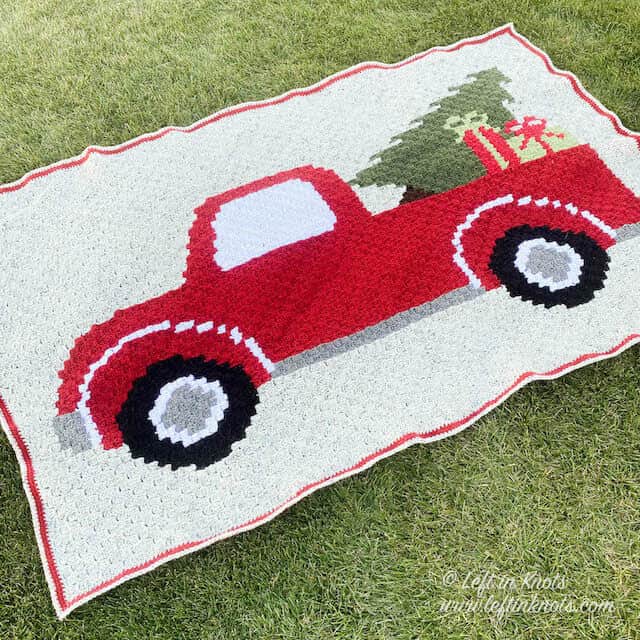
Christmas Crochet Inspiration
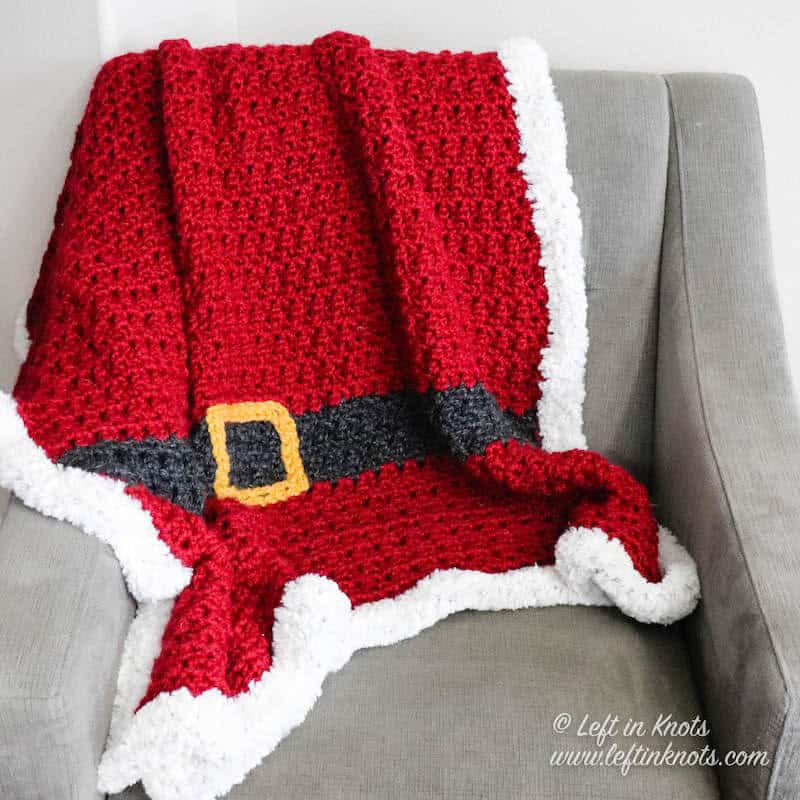
A few years ago, I designed Santa's Blanket and the pattern has been a hit ever since! This is absolutely my Christmas decor style, and I am so excited to add a Santa Stocking this year. I love the classic Christmas colors and I think the Santa belt buckle is such a cute and simple touch to this easy stocking.
Use Bulky Yarn to Crochet Santa's Stocking Fast
If you are anything like me - sometimes good intentions to crochet Christmas decor get lost in the craziness of life. If I were "on the ball" I would have had this made and ready to share about a month ago. But life happens, am I right? The great news is that the super bulky Wool-Ease Thick and Quick works up…well…quickly as you’d guess. So you will be able to make one stocking or a set of stockings with plenty of time to spare before Christmas.
Make this Quick Christmas Stocking in Any Color
Not into Santa themed Christmas decor? No worries! You can easily modify this stocking pattern to be a gorgeous, solid colored stocking with a fur trim. I think that would be a really elegant look for a set of family Christmas stockings.
Make Santa's Blanket to Match
Show off Your Crochet Projects
I can’t wait to see your Santa stocking or your variation of this pattern - come share pictures with me in my Facebook group or tag me on Instagram with #leftinknots.
Santa’s Stocking with fur trim - Free Crochet Pattern
Supplies:
- Lion Brand Wool Ease Thick and Quick in ‘Cranberry’ (117 yds), ‘Charcoal’ (18 yds), and ‘Mustard’ (6 yds)
- Lion Brand Go for Faux ‘Chinchilla’ (18 yds)
- 10mm crochet hook - I love Clover Amour
- Scissors - I always keep these travel scissors in my hook case
Abbreviations (written in U.S. terms):
- ch: chain
- sl st: slip stitch
- st: stitch
- SC: single crochet
- HDC: half double crochet
- HDC2Tog: half double crochet two together
Related Video Tutorial:
How to Crochet the Magic Cirlce - the right handed video loads with the page
Find the left handed tutorial here
How to Crochet the Magic Cirlce - the right handed video loads with the page
Find the left handed tutorial here
Gauge
8 sts x 6 rows = 4” square in HDC
Finished Size:
- Width = 8”
- Length = 19”
Pattern Notes
- Chain stitches at the beginning of rows/rounds do not count as a stitch. The end of each round is attached to the first st of the round with a sl st.
Instructions
Start with a magic circle
Round 1 (using Cranberry): work 8 HDC into the magic circle and pull tight. (8)
Round 2: ch 1, 2 HDC in each st around. (16)
Round 3: ch 1, *2 HDC, HDC in the next st, repeat from * around (24).
Round 4: ch 1, *2 HDC, HDC in the next 2 sts, repeat from * around (32).
Round 5-12: ch 1, HDC around (32)
**You will now be working in Rows to make the heel.**
Row 13: ch 1, HDC in 18 sts (18). Turn.
Row 14: ch 1, *HDC2Tog, HDC, repeat from * across (12). Turn.
Row 15: ch 1, *HDC2Tog, HDC, repeat from * across (8). Turn.
Row 16: ch 1, HDC2Tog, HDC, HDC2Tog, HDC, HDC2Tog (5). Turn.
**You will now be working in Rounds to complete the rest of the stocking.**
Round 17: ch 1, HDC working 32 stitches evenly around Row 16 and Round 12 (32).
Round 18-25: ch 1, HDC around.
Round 26-28 (switch to Charcoal): ch 1, HDC around.
Round 29-30 (switch to Cranberry): ch 1, HDC around.
Round 31-33 (switch to faux fur yarn): ch 1, HDC around. Tie off yarn and weave in all ends.
**If you want a loop for hanging the stocking, stop and ch 5-6 stitches wherever you want the loop to be. Then continue your SC stitches around. There is no need to skip any stitches.**
Making the Buckle
Round 1: ch 16, connect the last ch st to the first ch st with a sl st.
Round 2: ch 1, SC in 5 sts, ch 2, SC in 3 sts, ch 2, SC in 5 sts, ch 2, SC in 3 sts, ch 2, join with a sl st to the first st of the round. Leave a long tail (18+ inches).
Place the buckle where you would like it to be on the stocking. Secure it with pins or stitch markers. Using the long tail, sew the buckle onto the stocking over the black belt.
More Free Crochet Patterns You'll Love
Find all FREE CROCHET PATTERNS here
Now the legal stuff...You may sell items made from this pattern, but please credit me as the original designer. Also, please do not share the written pattern in print or electronically. The photos on this webpage belong to Megan Meyer of Left in Knots and may not be used for product sales/product listings. You may share a link back to my blog if you would like someone else to see or work with this pattern. Thank you for your cooperation and if you have any questions please feel free to contact me!
This post contains affiliate links. I receive a small commission for any purchases made through these links at no additional charge to you.