The Fourth of July is just around the corner! This crochet patriotic purse can carry your little kid’s 4th of July essentials like bubbles, sunglasses and small toys. Keep reading for the free Stars and Stripes Purse crochet pattern.
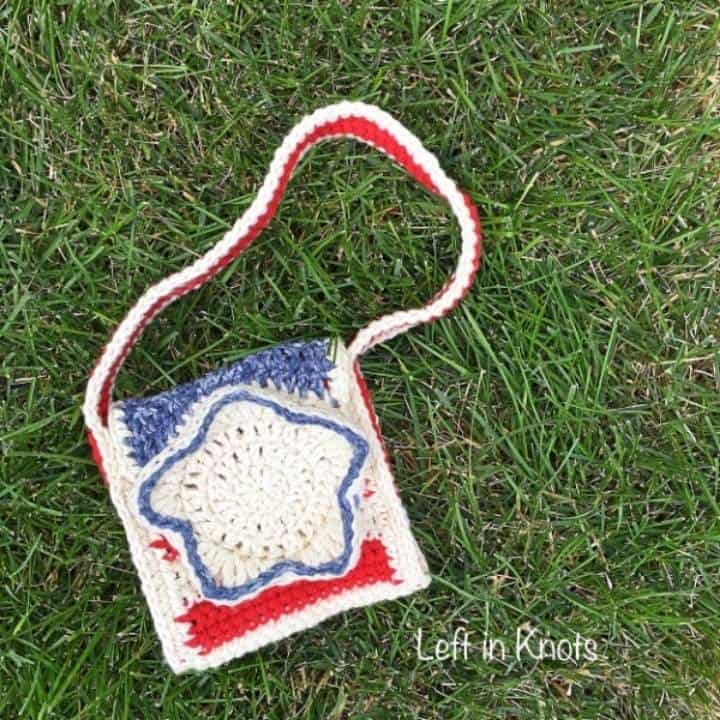
Crochet a Small Patriotic Purse for Kids
My 18 month old little girl is at the stage now of "copying". She wants to vacuum like mama, talk on the phone like mama, and carry a purse like mama. So I thought it would be fun for her to have a festive purse for the coming holiday! She likes to carry her finger puppets around in her purses, and I have no doubt that this one will be filled with them too.
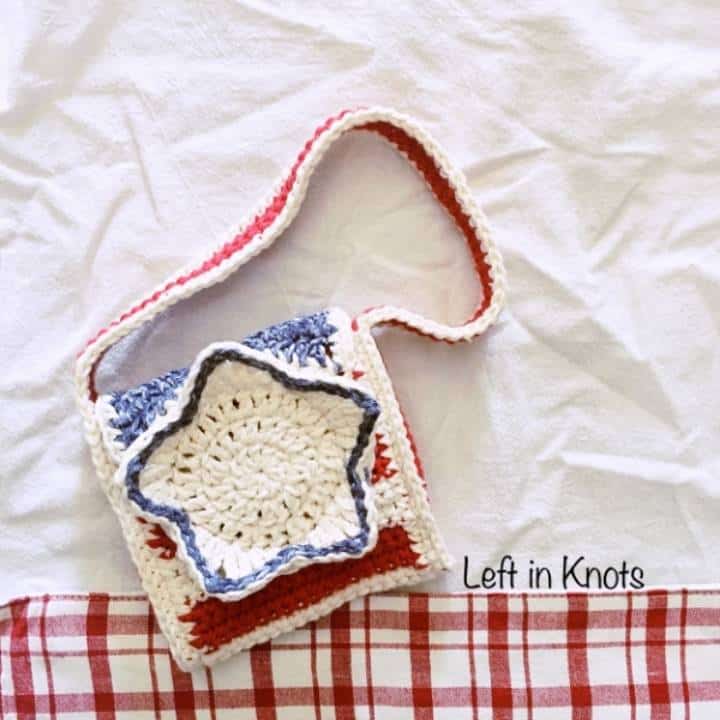
I think this little bag would be adorable for an older kiddo too. Make the strap longer and your teens will be able to use this to keep their phones, lip gloss and sunglasses close at hand during the fireworks and festivities. Glow bracelets, little bottles of bug spray, sunglasses, you name it!
Show Off Your Crochet Projects
Don’t forget to share pictures of your projects with me in my Facebook Group or by tagging @leftinknots on Instagram. I can’t wait to see what you make!
Supplies
- Premier Home Cotton (Denim Splash, Cranberry, Cream)
- 5.0 mm (H) Hook (I used Clover Amour)
- Yarn Needle
- Scissors
- Stitch markers (optional)
Abbreviations (U.S. Terms)
- St: stitch
- Sl st: slip stitch
- Ch: Chain
- SC: Single crochet
- HDC: Half double crochet
- DC: Double crochet
- Tr: Treble crochet
- FLO: front loop only
- BLO: back loop only
Pattern Notes:
- Ch stitches at the beginning or rounds or rows do not count as a stitch
- The end of each round is joined with a sl st to the first stitch of the round
- Round 4 will be mentioned twice. The first time around you will work in the front loop of round 3, the second time you will work in the back loop of round 3
- Gauge is not important for the finished product
- For the striped rows, I carried my yarn instead of cutting it at each color change
Instructions:
Start with Magic Circle (with color ‘Cream’).
Round 1: Ch 2, work 10 DC into magic circle. Pull tight
Round 2: Ch 2, 2 DC in each st around (20)
Round 3: Ch 2, *2 DC, DC in next st, repeat from *around (30)
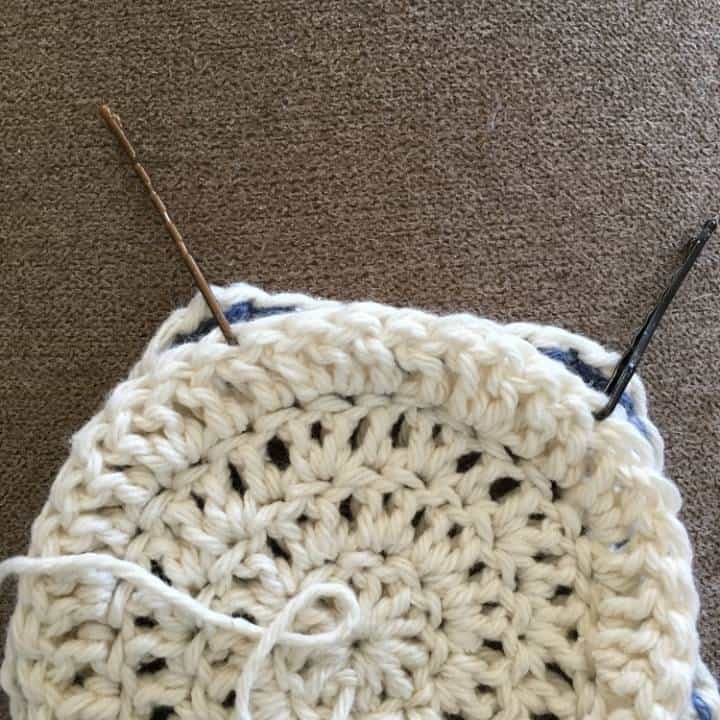
Round 4 (FLO): Ch 1, *SC, 2 DC, [Tr, ch1, Tr (all in same stitch)], 2 DC, SC, Sl st, repeat from * around (this will create a 5-pointed star)
Round 4 (BLO): Ch 2, *2 DC, DC in next 2, repeat from *around (40). Cut and tie off yarn
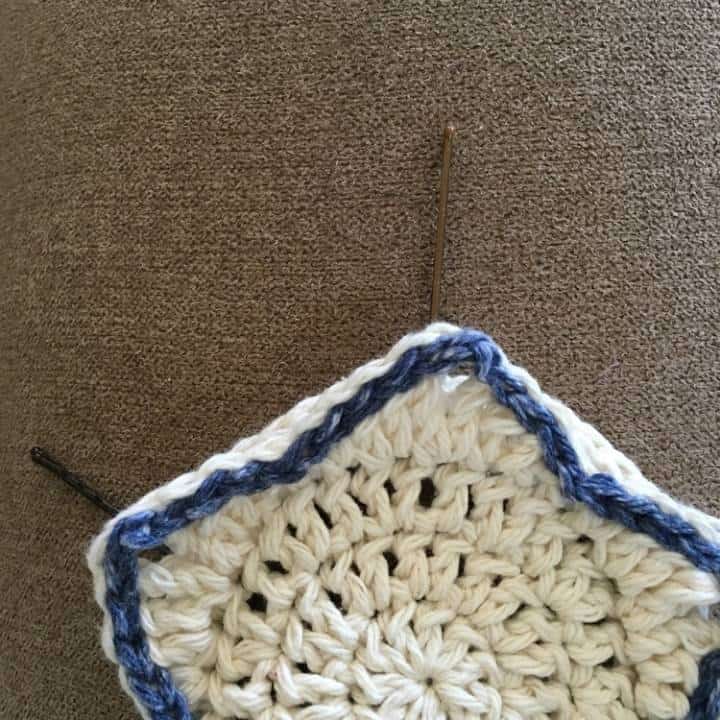
Optional-Sl st with ‘Denim Splash’ around the edge of the star
*You will now be working in rows*
Orient your star with a point at the top. Use a stitch marker to mark the corresponding stitch in Round 4 (BLO). Count 8 stitches from your marked stitch, and attached your ‘Denim Splash’ yarn here (see Fig. 1-Please remember, these photos are taken from the perspective of a LEFT handed crocheter)
Row 1-2: Ch 2, DC in 3, HDC in 3, SC in 5, HDC in 3, DC in 3 (17)
Row 3-5: Ch 1, SC across (17)
*Switch to color ‘Cranberry’*
Row 6-9: Ch 1, SC across (17)
*Switch to color ‘Cream’*
Row 10-13: Ch 1, SC across (17)
Continue crocheting 4 rows of each color to create alternating stripes until you have 11 stripes. Your last stripe will be in ‘Cranberry’ and you will have a total of 49 rows. Cut and tie off yarn
Using the color ‘Cream’, attach the yarn with a sl st at the corner of row 49 and SC along the entire raw edge. Attach to ROUND 4 with a sl st. Cut and tie off yarn. Repeat along the other raw edge of the purse.
Making the Handle and Finishing
You can make the handle as long or short as you’d like, but I would recommend chaining no less than 91 stitches. My example shows a handle that is 100 sts long and 3 rows wide of SC in the color ‘Cranberry’
To attach the handle, fold the purse so that the first and last red stripes are on top of each other with the right sides out (basically how you want the purse to look when its finished). This should place your center white stripe (Row 26-29) at the bottom of the bag. Your handle will be attached to create the “sides” of the bag.
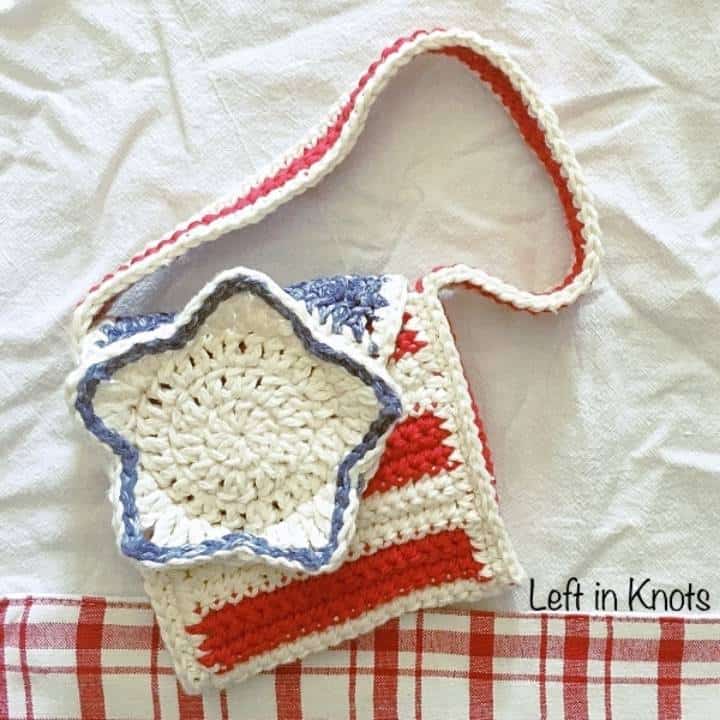
With the color ‘Cream’, attach your yarn at the bottom of the bag through both the bag and the handle. Ch 1 and continue to SC through both the bag and the handle, creating the “sides” of the bag. When you reach the end of the striped portion of the bag, continue to SC through only the handle until your reach the other side of the bag. Continue to SC around the bag, working through both the bag and the handle where necessary, until you reach the point where you started. Attach with a sl st, cut and tie off yarn. Weave in ends.
More Free Crochet Patterns You'll Love
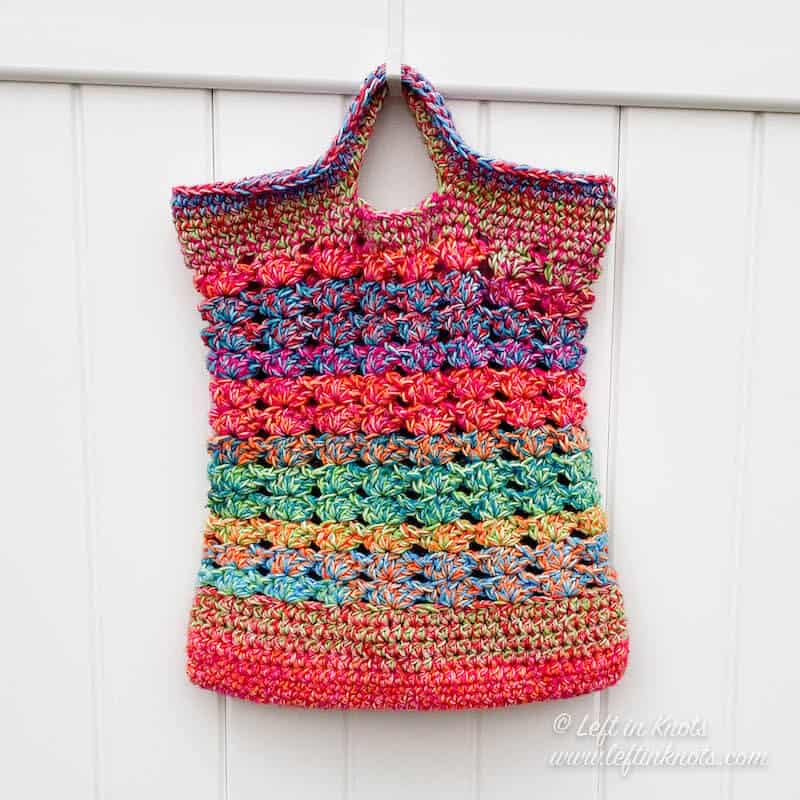
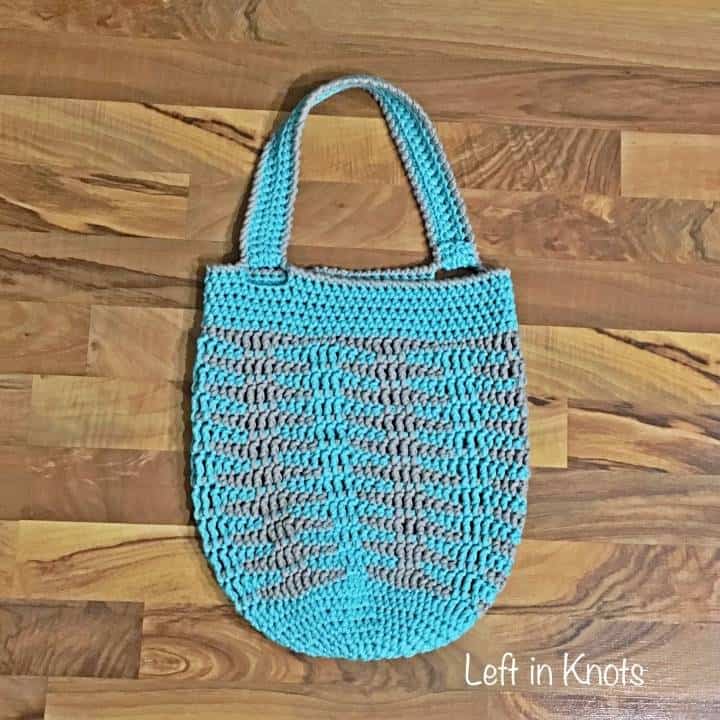
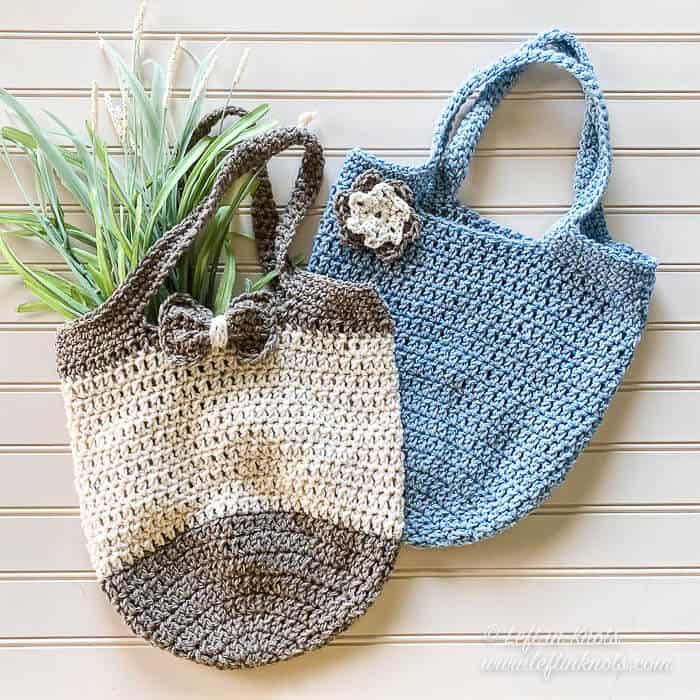
Find all FREE CROCHET PATTERNS here
Now the legal stuff...You may sell items made from this pattern, but please credit me as the original designer. Also, please do not share the written pattern in print or electronically. The photos on this webpage belong to Megan Meyer of Left in Knots and may not be used for product sales/product listings. You may share a link back to my blog if you would like someone else to see or work with this pattern. Thank you for your cooperation and if you have any questions please feel free to contact me!
This post contains affiliate links. Thank you supporting free patterns and yarn deals from Left in Knots!