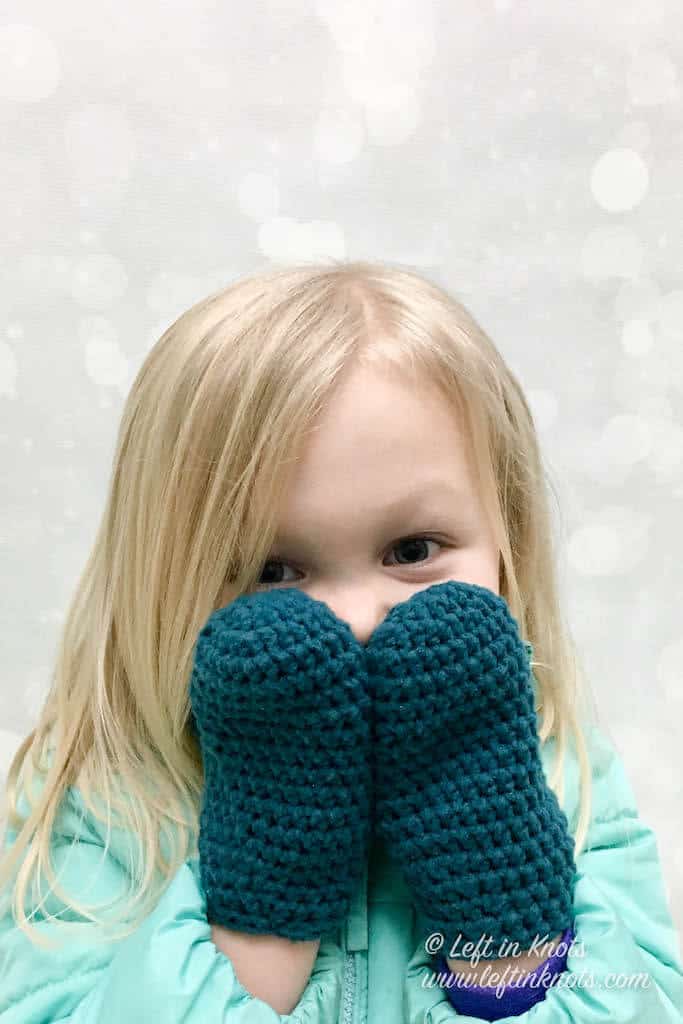
Make your own Crochet Little Kid Mittens for the toddlers and preschoolers in your life with this fast and easy crochet pattern. These mittens also make great gifts and donations for children in need. Keep reading for the free crochet pattern.
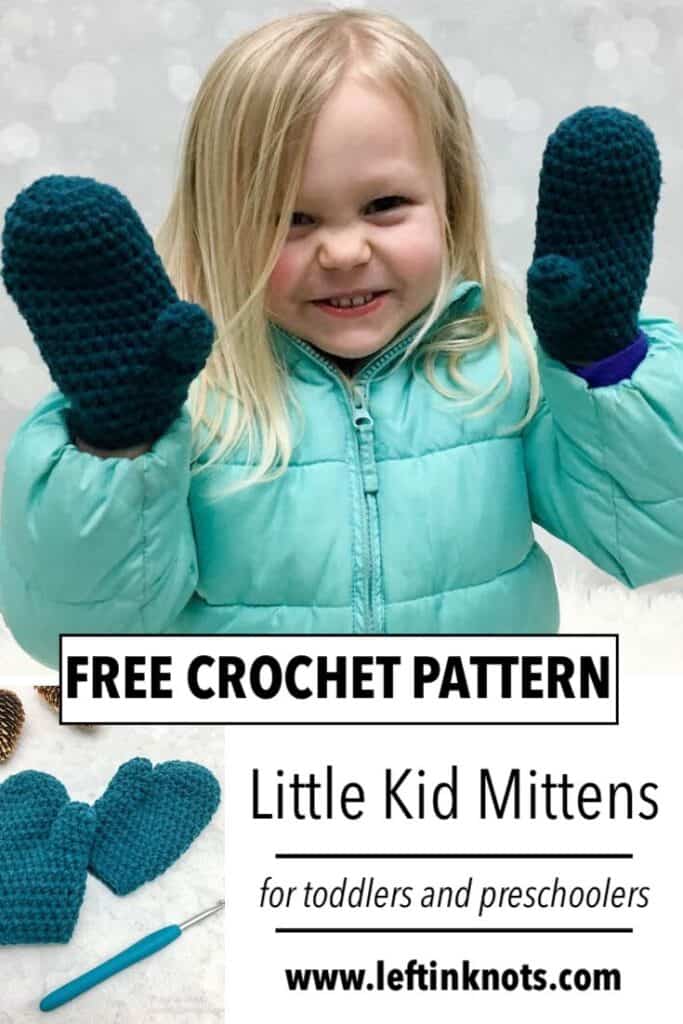
Handmade Mittens for Little Kids
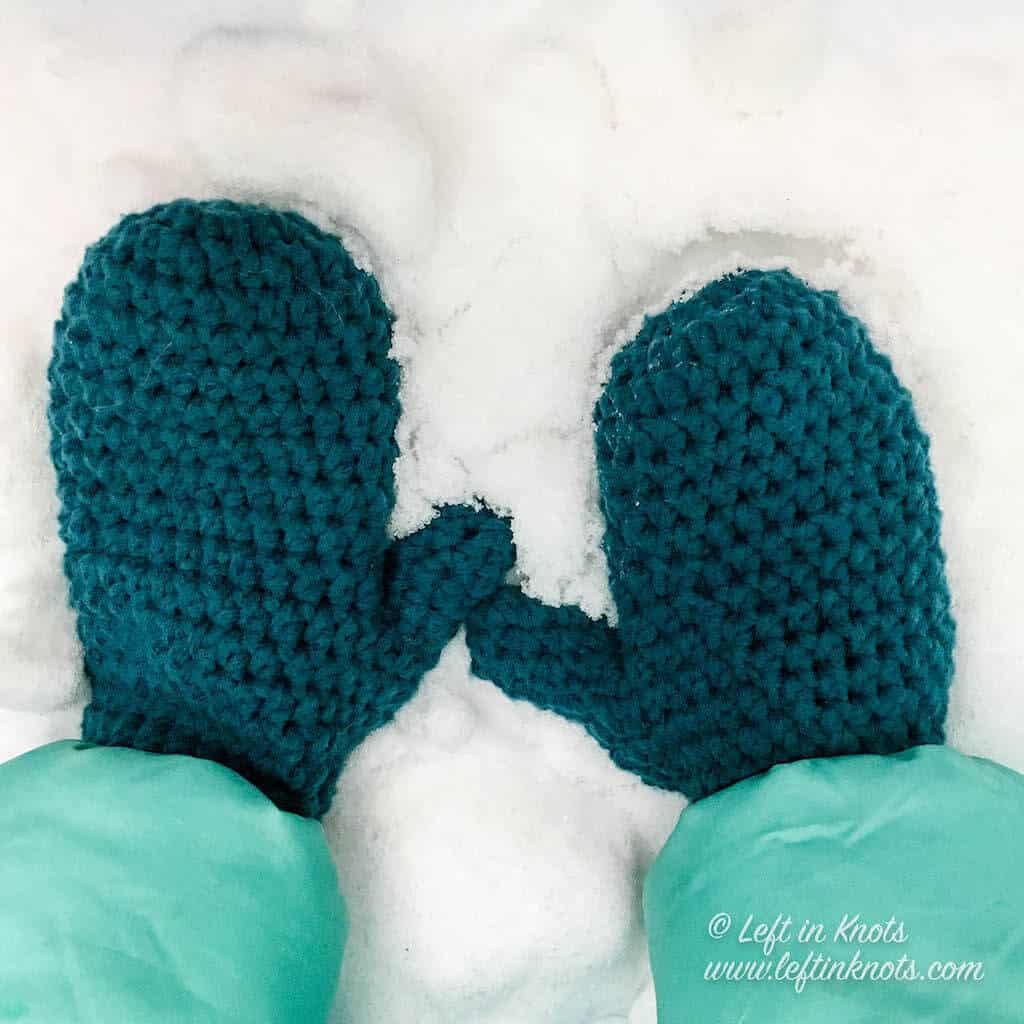
My kids misplace their mittens. A LOT. The number of mismatched mittens we have in our house has reached Level Absurd. Therefore, I have a plan and this plan required me to be able to make my own mittens. I had a very specific reason for making a crochet pattern for children’s mittens.
Crochet New Mittens for Your Little Kid
If I’ve learned one this about having 2 children in the past two years, it’s that a lot of things are easier when they are all the same color. Kids fighting over certain plates? Make them all the same color! Kids are getting new balls to play with outside? Make SURE they are the same color. Loosing pairs of mittens ALL. THE. TIME? Here is my “AH HA!” moment. I’m going to make them all the same color. If all the mittens match, there will never be mismatched mittens, and if I need to I can always make more as replacements.
A Fast Children’s Mitten Crochet Pattern
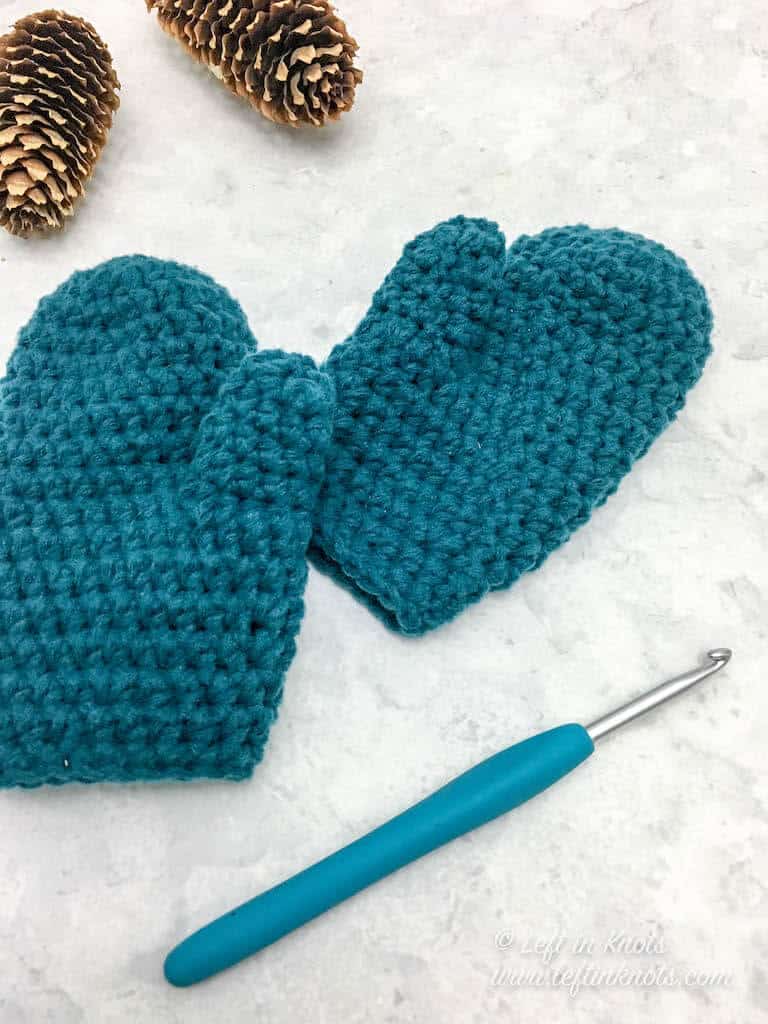
The beauty of this crochet pattern is that is works up really quickly (little kid hands are not that big). It also uses very small amounts of yarn - so you could crochet multiple pairs of mittens with just one skein!
I also know that in areas where winters are cold, these little kid mittens would make a great gift or donation idea. If you want to use some scrap yarn from your stash to make these mittens, I would recommend substituting a Category 3 or a light Category 4 yarn. And of course, remember to check your gauge!
Show off Your Crochet Projects
Don’t forget to share pictures of your projects with me in my Facebook Group or by tagging @leftinknots on Instagram. I can’t wait to see what you make!
Crochet Little Kid Mittens - Free Crochet Pattern
Supplies:
- Approx. 75 yards of Red Heart Amore or Lion Brand Feels Like Butta
- 4.0mm crochet hook - I love Clover Amour
- Scissors - I always keep these travel scissors in my hook case
- Yarn needle
Abbreviations (written in U.S. terms):
- sl st: slip stitch
- ch: chain
- SC: single crochet
- HDC: half double crochet
- HDC2Tog: half double crochet two together
Related Video Tutorials:
How to Crochet a Mitten for Beginners - this video demonstrates the basic construction of crocheting a top down mitten. Find the Left Handed version of this video here.
Gauge:
9 HDC x 6 rows = 2” square
Finished Size:
Tip of fingers to bottom of wrist = 5.5"
Width of finger section = 3"
Width of wrist = 2.75"
Length of thumb = 1.5"
Width of thumb = 1.25"
Pattern Notes:
- The chain stitches at the beginning of each round do not count as a stitch.
- The last stitch of each round is attached to the first stitch of the round with a slip stitch
- This pattern is written to fit young children (toddlers/preschoolers). The length can easily be adjusted by adding or subtracting rounds. Additions or subtractions should happen between rounds 4-10
- I used a fairly tight tension for this project, please check your gauge so the mittens fit properly.
Instructions (make 2)
Start with magic circle
Round 1: ch 2, Work 8 HDC into magic circle, pull tight (8)
Round 2: ch 2, 2 HDC in each stitch around (16)
Round 3: ch 2, *2 HDC, HDC, repeat from * around (24)
Round 4-10: ch 2, HDC around (24)
Round 11: ch 2, HDC in 4, ch 5, skip 1, HDC in 19 (28 including ch sts)
Round 12-13: ch 2, HDC around (28)
Round 14: ch 2, HDC in 7, HDC2Tog, HDC in 12, HDC2tog, HDC in 5 (26)
Round 15: ch 2, HDC in 7, HDC2Tog, HDC in 11, HDC2Tog, HDC in 4 (24)
Round 16: ch 2, HDC2Tog, HDC in 4, repeat around (20)
Round 17: ch 2, HDC around (20)
Round 18: ch1 1, SC around (20)
Attaching the Thumb:
Round 1: Attach yarn into the thumb hole with a sl st. ch 2, and work 10 HDC around the thumb hole. Some stitches may be worked into "non traditional" spaces such as stitch posts to achieve this number. (10)
Round 2-4: ch 1, HDC around (10)
Round 5: ch 1, ch 2, HDC2tog around (5)
Cut and tie yarn leaving a long tail. Using a yarn needle, weave through every other stitch around the top. Pull to cinch the thumb shut and tie off.
More Free Crochet Patterns You'll Love
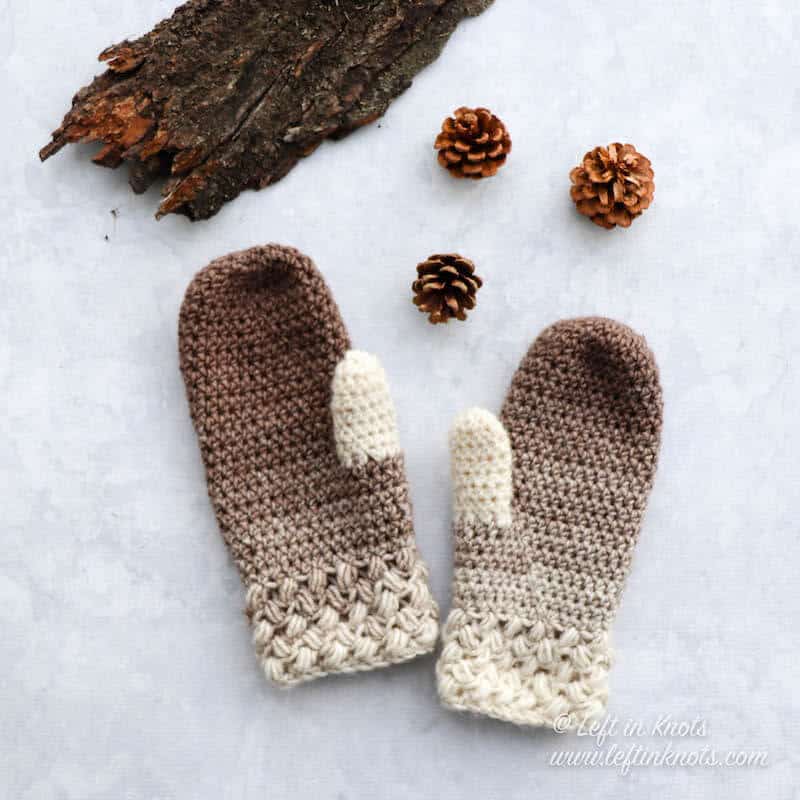
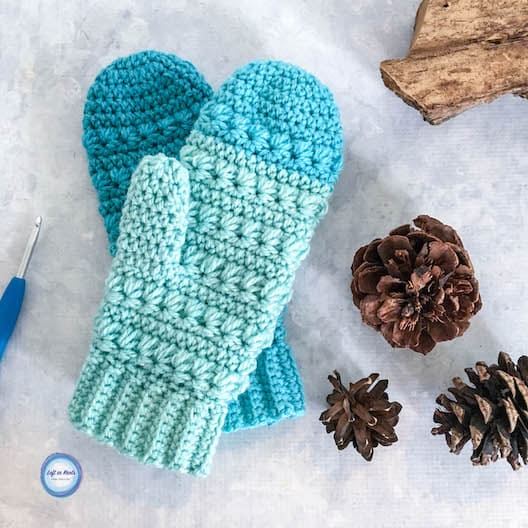
Find all FREE CROCHET PATTERNS here
Now the legal stuff...You may sell items made from this pattern, but please credit me as the original designer. Also, please do not share the written pattern in print or electronically. The photos on this webpage belong to Megan Meyer of Left in Knots and may not be used for product sales/product listings. You may share a link back to my blog if you would like someone else to see or work with this pattern. Thank you for your cooperation and if you have any questions please feel free to contact me!
This post contains affiliate links. I receive a small commission for any purchases made through these links at no additional charge to you.