This easy crochet Christmas stocking pattern uses double strands of yarn and beginner stitches to make a quick, easy and beautiful stocking for your holidays. This free crochet pattern comes in two sizes so you can make a large stocking or a smaller (but not too small) stocking. It’s a great stash buster pattern and I hope you enjoy it! Keep reading for the free crochet pattern.
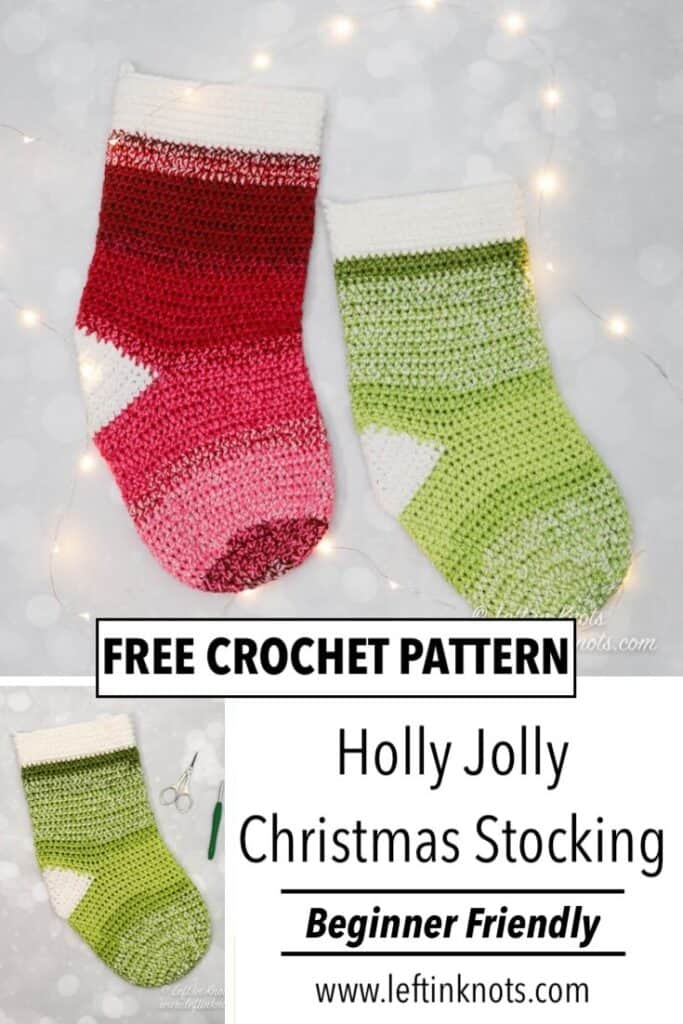
A Last-Minute Crochet Christmas Stocking
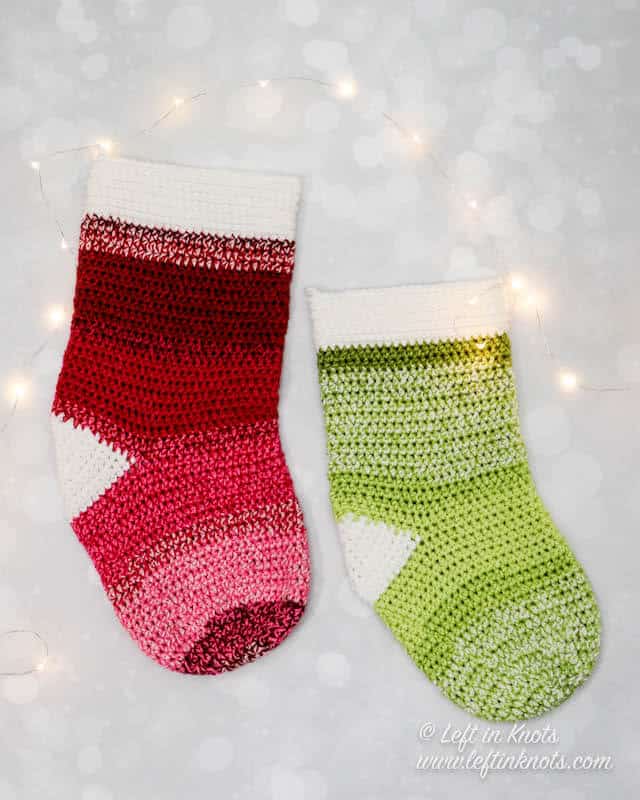
I made the Holly Jolly Christmas Stockings this year to match the Holly Jolly Tree Skirt pattern I made last year. These patterns are the perfect “oh my gosh how did I forget that I needed a new ______ (fill in the blanket: stocking/tree skirt) pattern. Using double strands of Caron Cakes yarn made these stockings work up quickly, and as an added bonus they are also a bit more sturdy than a stocking made with just one strand of worsted weight yarn.
Crochet with Yarn From Your Stash
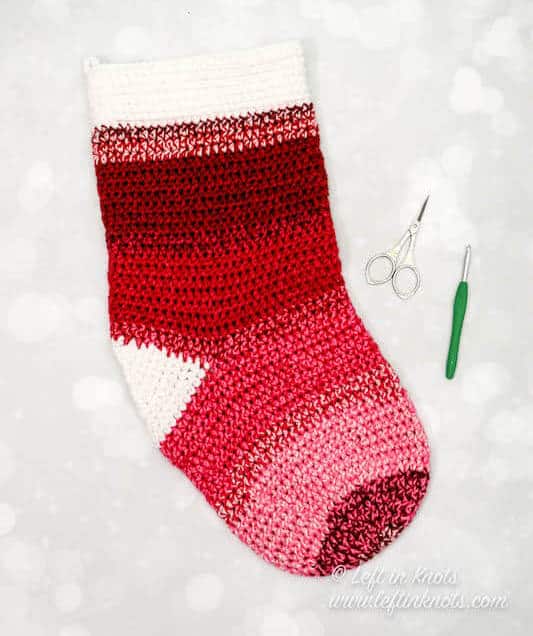
The other thing I love about this pattern is that it is a great stash buster project. Mix and match any red and green yarn you have (or really whatever colors you prefer for the holidays). I used Caron Cakes because I love the random, mixed color effect. But I think these would be equally pretty if you just combined two shades of the same color!
Crochet a Big Stocking and a Bigger Stocking
This is my first time designing a stocking pattern, and I’ll be honest my friends, I wasn’t really sure how big to make them. The larger stocking is big enough to hold a small puppy - so if you love big stockings and/or Santa needs some extra space in the stocking this year - the large size is your best bet! If you want a more traditionally sized stocking, the “small” size should be your go-to.
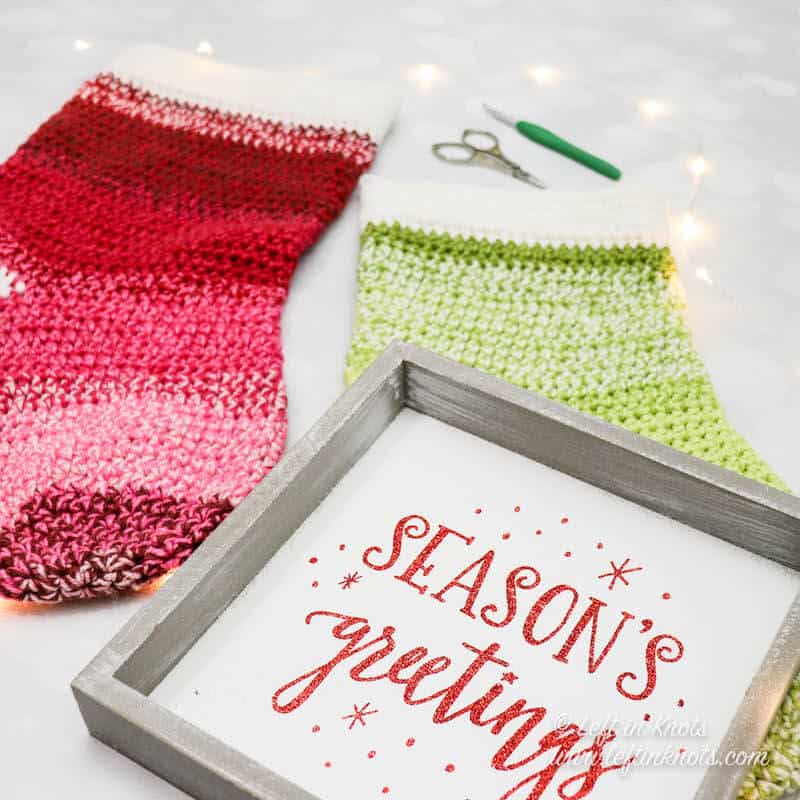
Show off Your Crochet Projects
Don’t forget to share pictures of your projects with me in my Facebook Group or by tagging @leftinknots on Instagram. I can’t wait to see what you make!
Holly Jolly Christmas Stocking - Free Crochet Pattern
Supplies:
- Worsted weight yarn
- The large stocking pictured used 8.7 oz of Caron Cakes ‘Cherry Chip’ and 2.2 oz of white worsted weight yarn
- The small stocking pictured used 6.6 oz of Caron Cakes ‘Pistachio’ and 1.2 oz of white worsted weight yarn
- I/5.5mm crochet hook - I love Clover Amour
- Scissors - I always keep these travel scissors in my hook case
- Yarn needle
Abbreviations (written in U.S. terms):
- sl st: slip stitch
- ch: chain
- SC: single crochet
- SC2Tog: single crochet two together
- HDC: half double crochet
- HDC in the third loop
Gauge
12 sts x 8 rows = 4” square in HDC using double strands of yarn
Finished Size:
- Width (large) = 9.5”
- Length (large) = 22”
- Width (small) = 8”
- Length (small) = 19”
Pattern Notes
- The chain stitches at the beginning of each round do not count as a stitch.
- This entire pattern is worked holding two strands of worsted weight yarn together.
- The last st of each round is connected to the first st of the round with a sl st.
Matching Patterns
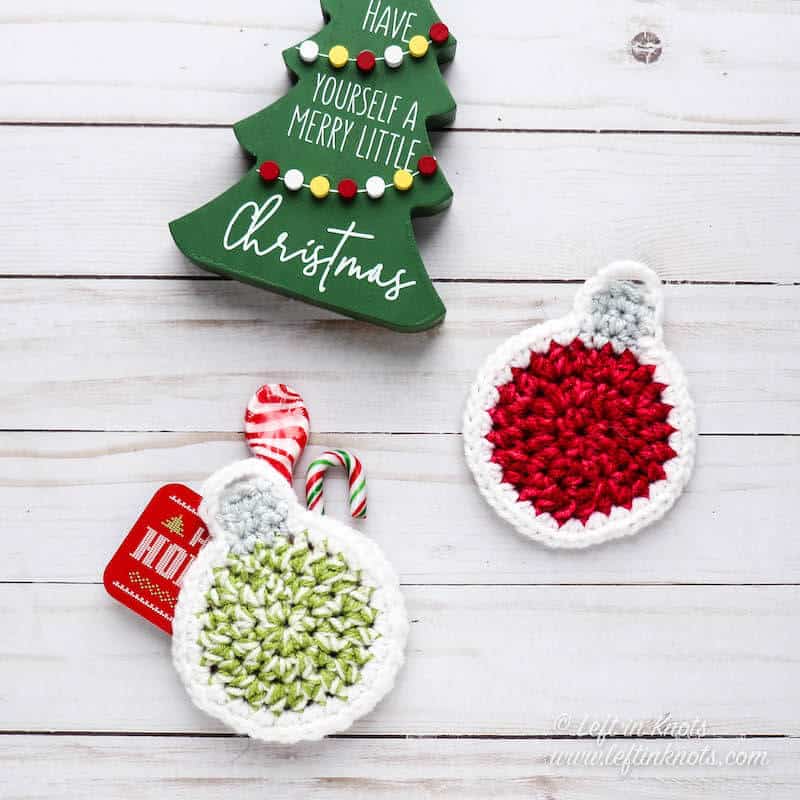
Holly Jolly Ornament Gift Card Holder
Instructions
Large Stocking
Start with a magic circle (holding two strands together)
Round 1: work 8 HDC into the magic circle and pull tight. (8)
Round 2: ch 2, 2 HDC in each st around. (16)
Round 3: ch 2, *2 HDC, HDC in the next st, repeat from * around (24).
Round 4: ch 2, *2 HDC, HDC in the next 2 sts, repeat from * around (32).
Round 5: ch 2, *2 HDC, HDC in the next 3 sts, repeat from * around (40).
Round 6: ch 2, *2 HDC, HDC in the next 4 sts, repeat from * around (48).
Round 7: ch 2, *2 HDC, HDC in the next 5 sts, repeat from * around (56).
Round 8-22: ch 2, HDC around (56).
**Switch to white yarn (holding two strands together). Attach your yarn so that your seam from joining rounds is centered at the heel. You will now be working in Rows.**
Row 1-3: ch 1, SC in 24 sts (24). Turn.
Row 4: ch 1, SC in 9, SC2Tog, HDC in 2, SC2Tog, SC in 9 (22). Turn.
Row 5: ch 1, SC in 8, SC2Tog, HDC in 2, SC2Tog, SC in 8 (20). Turn.
Row 6: ch 1, SC in 7, SC2Tog, HDC in 2, SC2Tog, SC in 7 (18). Turn.
Row 7: ch 1, SC in 6, SC2Tog, HDC in 2, SC2Tog, SC in 6 (16). Turn.
Row 8: ch 1, SC in 5, SC2Tog, HDC in 2, SC2Tog, SC in 5 (14). Turn.
Row 9: ch 1, SC in 4, SC2Tog, HDC in 2, SC2Tog, SC in 4 (12). Turn.
Row 10: ch 1, SC in 3, SC2Tog, HDC in 2, SC2Tog, SC in 3 (10). Turn.
Row 11: ch 1, SC in 2, SC2Tog, HDC in 2, SC2Tog, SC in 2 (8). Turn.
Row 12: ch 1, SC, SC2Tog, HDC in 2, SC2Tog, SC (6). Switch back to your colored yarn (holding two strands together). Turn.
**You will now be working in Rounds.**
Round 23: ch 2, HDC in the 6 sts from Row 12, crochet 9 sts evenly spaced along the edge of the heel, HDC in the remaining stitches of Round 22 until you reach the other side of the heel, crochet 9 sts evenly spaced along the edge of the heel, join with a sl st to your first st of the round. (56)
Round 24-43: ch 2, HDC in each st around (56).
**Switch to white (holding two strands together)**
Round 44: ch 2, HDC in each st around (56).
Round 45-49: ch 2, HDC in the third loop of each st around (56).
Round 50: ch 1, SC in the third loop around (56)
**If you want a loop for hanging the stocking, stop and ch 5-6 stitches wherever you want the loop to be. Then continue your SC stitches around. There is no need to skip any stitches.**
Small Stocking
Start with a magic circle (holding two strands together)
Round 1: work 8 HDC into the magic circle and pull tight. (8)
Round 2: ch 2, 2 HDC in each st around. (16)
Round 3: ch 2, *2 HDC, HDC in the next st, repeat from * around (24)
Round 4: ch 2, *2 HDC, HDC in the next 2 sts, repeat from * around (32).
Round 5: ch 2, *2 HDC, HDC in the next 3 sts, repeat from * around (40).
Round 6: ch 2, *2 HDC, HDC in the next 4 sts, repeat from * around (48).
Round 7-19: ch 2, HDC around (48).
**Switch to white yarn (holding two strands together). Attach your yarn so that your seam from joining rounds is centered at the heel. You will now be working in Rows.**
Row 1-3: ch 1, SC in 20 sts (20). Turn.
Row 4: ch 1, SC in 7, SC2Tog, HDC in 2, SC2Tog, SC in 7 (18). Turn.
Row 5: ch 1, SC in 6, SC2Tog, HDC in 2, SC2Tog, SC in 6 (16). Turn.
Row 6: ch 1, SC in 5, SC2Tog, HDC in 2, SC2Tog, SC in 5 (14). Turn.
Row 7: ch 1, SC in 4, SC2Tog, HDC in 2, SC2Tog, SC in 4 (12). Turn.
Row 8: ch 1, SC in 3, SC2Tog, HDC in 2, SC2Tog, SC in 3 (10). Turn.
Row 9: ch 1, SC in 2, SC2Tog, HDC in 2, SC2Tog, SC in 2 (8). Turn.
Row 10: ch 1, SC, SC2Tog, HDC in 2, SC2Tog, SC (6). Switch back to your colored yarn (holding two strands together). Turn.
**You will now be working in Rounds.**
Round 20: ch 2, HDC in the 6 sts from Row 10, crochet 7 sts evenly spaced along the edge of the heel, HDC in the remaining stitches of Round 19 until you reach the other side of the heel, crochet 7 sts evenly spaced along the edge of the heel, join with a sl st to your first st of the round. (48)
Round 21-36: ch 2, HDC in each st around (48).
**Switch to white (holding two strands together)**
Round 37: ch 2, HDC in each st around (48).
Round 38-41: ch 2, HDC in the third loop of each st around (48).
Round 42: ch 1, SC in the third loop around (48)
**If you want a loop for hanging the stocking, stop and ch 5-6 stitches wherever you want the loop to be. Then continue your SC stitches around. There is no need to skip any stitches.**
More Free Crochet Patterns You'll Love
Find all FREE CROCHET PATTERNS here
Now the legal stuff...You may sell items made from this pattern, but please credit me as the original designer. Also, please do not share the written pattern in print or electronically. The photos on this webpage belong to Megan Meyer of Left in Knots and may not be used for product sales/product listings. You may share a link back to my blog if you would like someone else to see or work with this pattern. Thank you for your cooperation and if you have any questions please feel free to contact me!
This post contains affiliate links. I receive a small commission for any purchases made through these links at no additional charge to you.