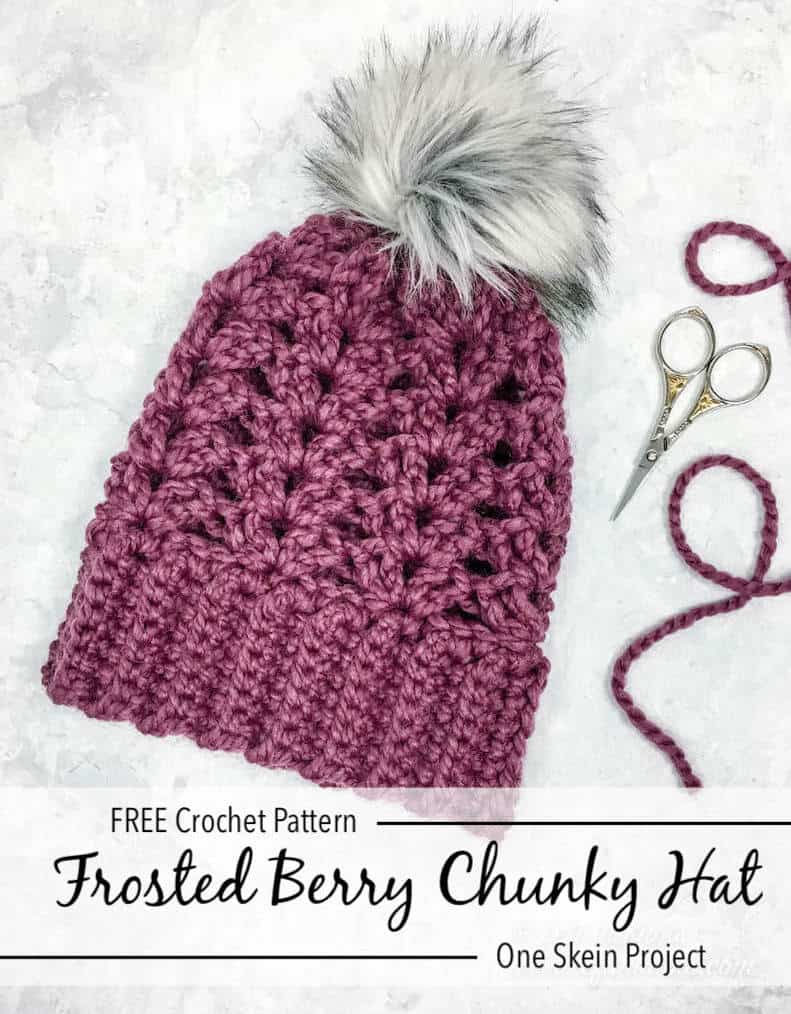
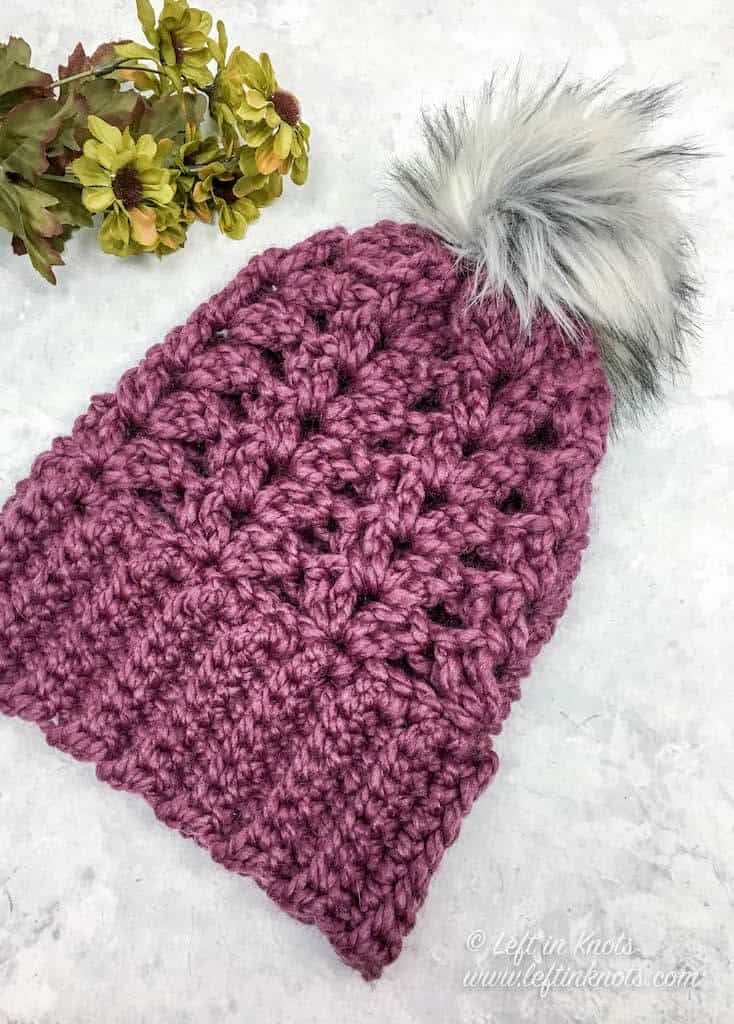
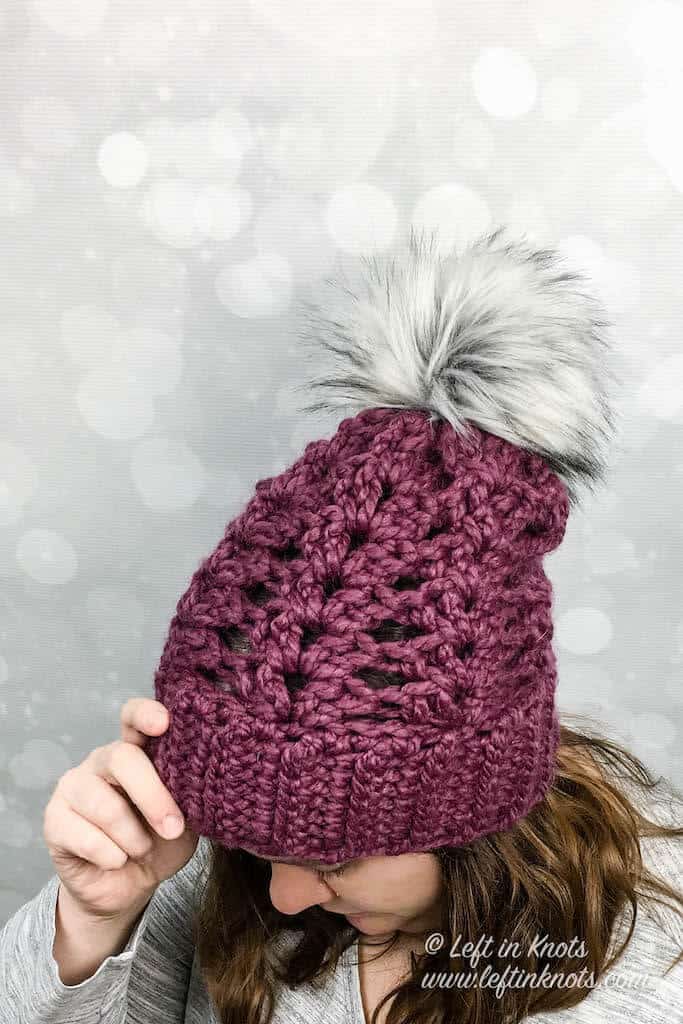
The Crochet Frosted Berry Hat uses chunky yarn for quick construction. This bulky beanie is a perfect free crochet pattern to add to your winter collection.
Crochet the Frosted Berry Hat in 2 Hours
Truth be told, I’ve never made a hat with super bulky yarn before and now I have no idea why I didn’t try it sooner! I was able to crochet this entire hat from start to finish in one evening after my kids were in bed. I’m going to call it a two-hour crochet hat, but in reality I think it went even faster than that. I didn’t really keep track!
One (Skein) and Done!
The other thing that I really love about a chunky yarn hat is that it was easily a one skein crochet pattern. Sometimes that is hard to do with super bulky yarn! I will forever and always have a special love of one skein projects for their ease of transport while I’m with my kids all day.
Goodbye Caron Tea Cakes, Hello Lion Brand Wool Ease Thick and Quick
We all know the feeling. We find the perfect pattern that we fall in love with immediately, and then BOOM! The yarn company discontinues the yarn. It’s never a fun surprise, BUT it doesn’t mean you have to write off the pattern completely. About a year ago I designed the Frosted Berry Infinity Scarf with Caron Tea Cakes yarn, and that yarn didn’t come back this season (booooooo). I have had so many requests for a matching hat, so I had to make something else work! Enter: Lion Brand Thick and Quick. This yarn is also a super bulky wool blend that works up just as beautifully as the Tea Cakes and has a HUGE color selection. So thanks to that, today I can bring you the Frosted Berry Chunky Hat that even complements the colors of the original Frosted Berry Infinity Scarf. Keep reading for the free crochet pattern.

A Matching Scarf and Hat
Like I mentioned above, this hat was inspired by my most popular pattern from last year. The Frosted Berry Infinity Scarf was made with the Winterberry colorway of Caron Tea Cakes. I knew I wanted to make this hat to complement the scarf, and so I went on a color hunt. I really love the way Lion Brand Wool Ease Thick and Quick in ‘Fig’ worked with the colors that were in the scarf, and wearing them together totally works! Of course, if this is the first time you are seeing this pattern, feel free to make the set in a matching yarn. But if you made the scarf last year and want to make the hat; know that there are a lot of color options in the Thick and Quick line to choose from.
Show off Your Crochet Projects
Don’t forget to share pictures of your projects with me in my Facebook Group or by tagging @leftinknots on Instagram. I can’t wait to see what you make!
Crochet Frosted Berry Hat - Pattern
Supplies:
- Lion Brand Wool Ease Thick and Quick (‘Fig’ pictured) or approx. 100 yards of a comparable Category 6 ‘Super Bulky’ yarn.
- L/8.0mm crochet hook
- Scissors - I always keep these travel scissors in my hook case
- Yarn needle
- Pom pom maker or faux fur pom (optional)
Abbreviations (written in U.S. terms):
- ch: chain
- st/sts: stitch/stitches
- BLO: back loop only
- SC: single crochet
- SC2Tog: single crochet two together
- DC: double crochet
Gauge
6 sts x 5 rows = 2” square in BLO SC
Finished Size:
Length = 10.5”
Width = 9.5”
Video Tutorial
How to Crochet SC Ribbing - the Right Handed video loads with the page
Find the left handed tutorial here
Pattern Notes
- Ch sts at the beginning of rows/rounds do not count as a stitch. Sl sts at the end of rounds do not count as a stitch.
Instructions
Bottom Ribbing - Working in Rows
ch 9
Row 1: SC in the second ch from the hook and SC across (8). Turn
Row 2-35: ch 1, working in BLO, SC across (8). Turn.
When you finish the ribbed band, fold it so that Row 1 and 35 are on top of one another. Working through the back loop of Row 35 and the front loop of Row 1, seam the two rows together by slip stitching across. Do not cut your yarn. Continue on to work in rounds along the “raw” edge of ribbed band
(remember the last stitch of each round is attached to the first stitch of the round with a slip stitch)
Round 1: ch 1, SC around the top of the band working one stitch per row (35). Attach to first SC of the round with a sl st.
Round 2: ch 2, skip 2, (2 DC, ch 1, 2 DC), *skip 4, (2 DC, ch 1, 2 DC), repeat from * 5 more times. Skip the last two sts and attach to the first st of the round with a sl st. (35)
Round 3: ch 2, skip 2, (2 DC, ch 1, 2 DC) into the ch 1 sp from the previous round *skip 4, (2 DC, ch 1, 2 DC) into the ch 1 sp from the previous round, repeat from * 5 more times. Skip the last two sts and attach to the first st of the round with a sl st. (35)
Round 4-7: repeat Round 3
Round 8: ch 1, *SC2Tog, SC in the next 3 sts, repeat from * around. Attach to the first st of the round with a sl st. (30)
Round 9: ch 1, SC2Tog around. Attach to the first st of the round with a sl st (15)
Tie off leaving a long (approx. 12”) tail of yarn. Using a yarn needle, weave the yarn back and forth through the stitches of Round 9. Pull tight to cinch the top of the hat closed. Make and attach a pom pom if desired. Weave in all ends.
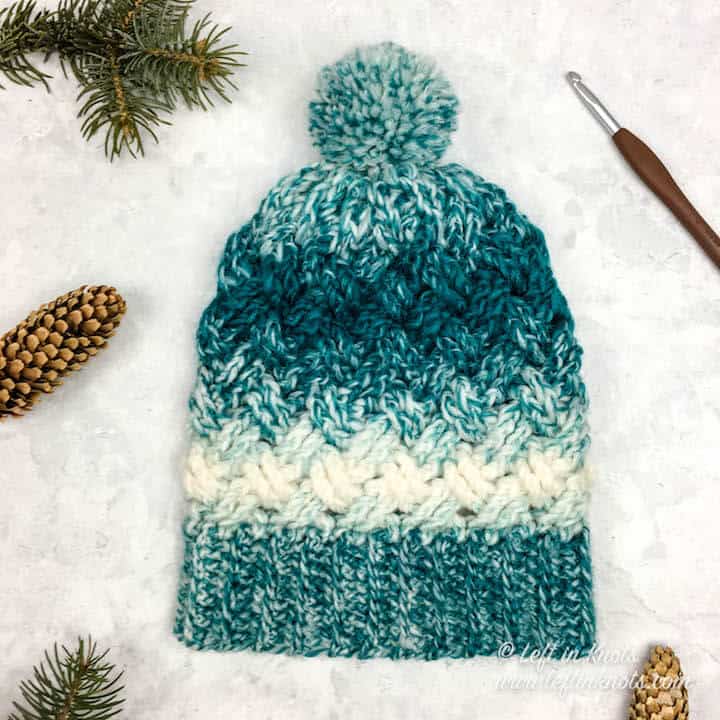
More Free Crochet Patterns You'll Love


Find all FREE CROCHET PATTERNS here
Now the legal stuff...You may sell items made from this pattern, but please credit me as the original designer. Also, please do not share the written pattern in print or electronically. The photos on this webpage belong to Megan Meyer of Left in Knots and may not be used for product sales/product listings. You may share a link back to my blog if you would like someone else to see or work with this pattern. Thank you for your cooperation and if you have any questions please feel free to contact me!
This post contains affiliate links. Thank you for supporting free patterns and yarn deals from Left in Knots!