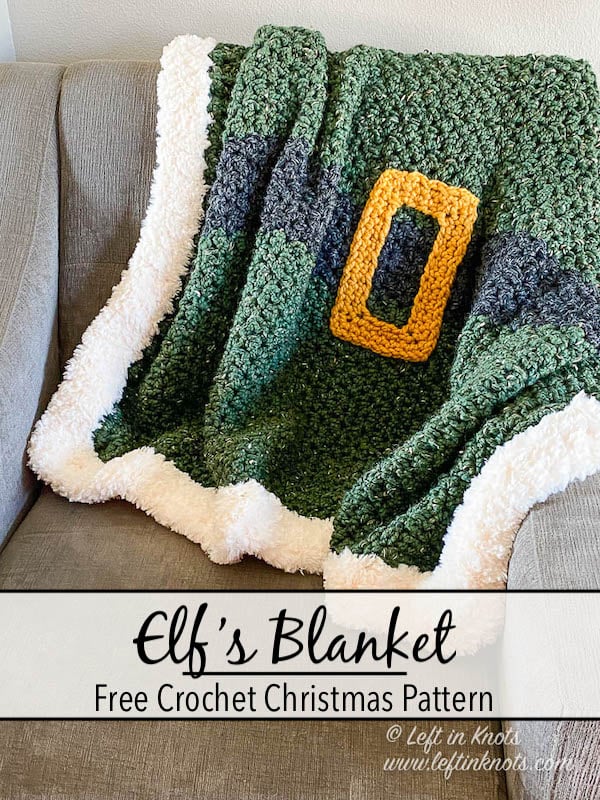
Crochet Elf’s Christmas Blanket with this free pattern that uses super bulky yarn for quick and easy construction. Then finish the edge with a faux fur border. This farmhouse inspired blanket will accent your classic and traditional Christmas decor perfectly! You can crochet this beautifully textured blanket quickly in time to set out with your Christmas decor. Keep reading for the free crochet pattern.
Christmas Elf Crochet Inspiration
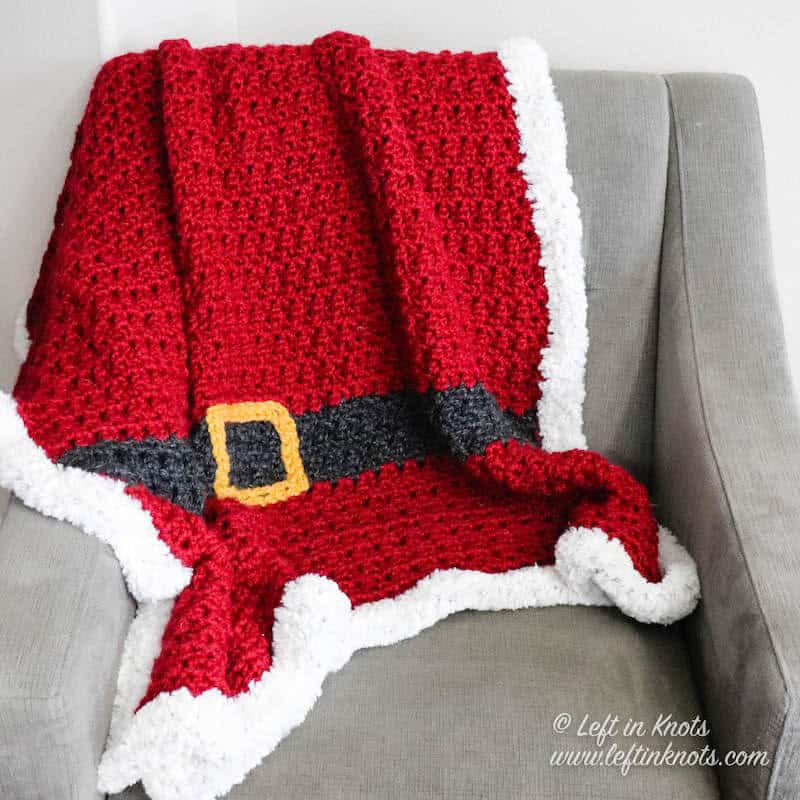
Last holiday season I made Santa's Blanket and it was a total hit! I'm so glad y'all loved it, and I am also happy to announce that Santa's helpers now get some representation, too. I'm sure there could even be an Elf on the Shelf tie in if you're creative!
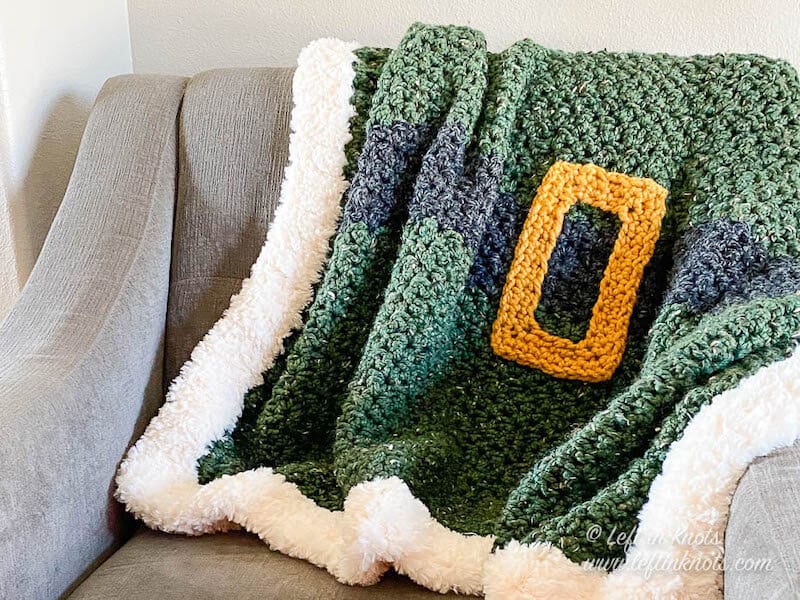
Use Bulky Yarn to Crochet Elf's Blanket Before Christmas
Elf's Blanket uses the same bulky yarn that I used for Santa's Blanket; however I did switch up the stitch and I also redesigned the buckle. Still, you'll be able to make this blanket quickly with plenty of time to finish it in time for Christmas decorating!
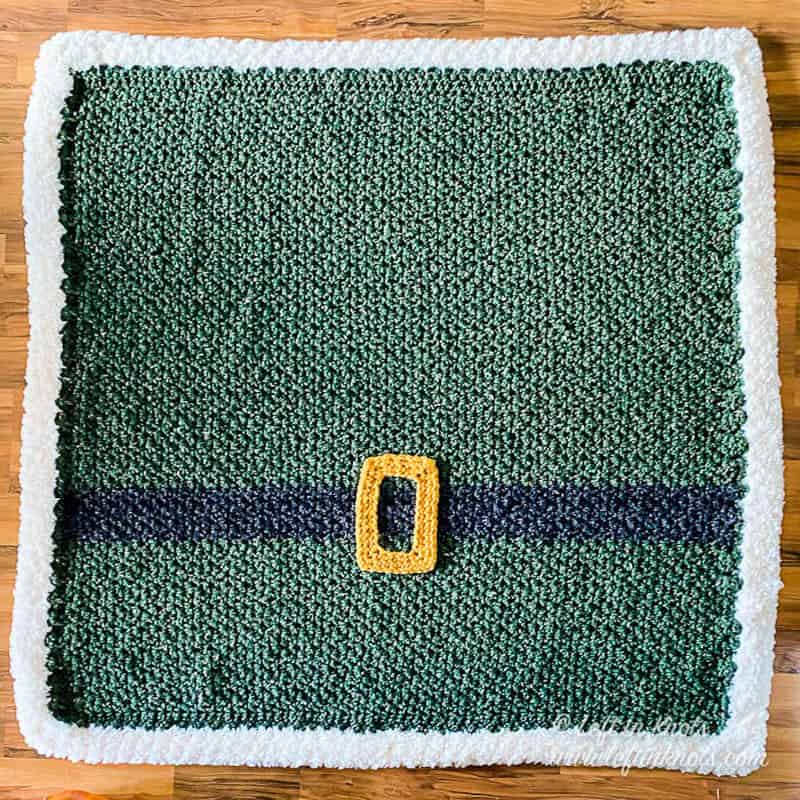
Make this an Everyday Blanket with an Easy Modification
Too pressed for time right now? Not into Christmas decor? Don’t celebrate Christmas? No worries! You can easily modify this blanket pattern to be a gorgeous, everyday throw by using just one color and leaving off the buckle accent. So whether you are making this for Christmas or not - get planning and find your yarn!

Show off Your Crochet Projects
I can’t wait to see your Elf blanket or your everyday variation of this pattern - come share pictures with me in my Facebook group or tag me on Instagram with #leftinknots.
Elf’s Blanket with fur trim - Free Crochet Pattern
Supplies:
- Lion Brand Wool Ease Thick and Quick in 'Kale’ (900 yds), ‘Charcoal’ (70 yds), and ‘Mustard’ (30 yds)
- Lion Brand Go for Faux Thick and Quick ‘Baked Alaska’ (118 yds)
- 10mm crochet hook - I love Clover Amour
- Scissors - I always keep these travel scissors in my hook case
- Yarn needle
Abbreviations (written in U.S. terms):
- ch: chain
- sk: skip
- sl st: slip stitch
- st: stitch
- SC: single crochet
- HDC: half double crochet
- DC: double crochet
Gauge
6 sts x 5 rows = 4” square in HDC
Finished Size:
- Width = 42”
- Length = 48”
Pattern Notes
- Chain stitches at the beginning of rows do not count as a stitch
- The pictured blanket has 2 rounds of faux fur SC border. If your border is too wavy, you may need to adjust your hook size, tension, or skip some stitches (at even intervals) when crocheting around your blanket.
Instructions
ch 79 (using Kale)
Row 1: HDC in the second ch from the hook and HDC across (78). Turn.
Row 2-17: ch 2, HDC in first st, *(SC, DC) in next st, sk 1, repeat from * 37 times, HDC in the last st of the row. Turn.
Row 18-22 (switch to Charcoal)
Row 23-65 (switch to Kale)
Row 66: ch 1, HDC across. Do not tie off your yarn.
Adding the Border
Ch 1 and SC evenly around the edge, chaining 2 at each corner. Join with a sl st when you reach the beginning of your round. Switch to faux fur yarn and join it in any corner. Ch 1 and SC 2 more rounds of border; working a (SC, ch 2, SC) into each ch 2 corner from the previous round. Join with a sl st at the beginning of the round.
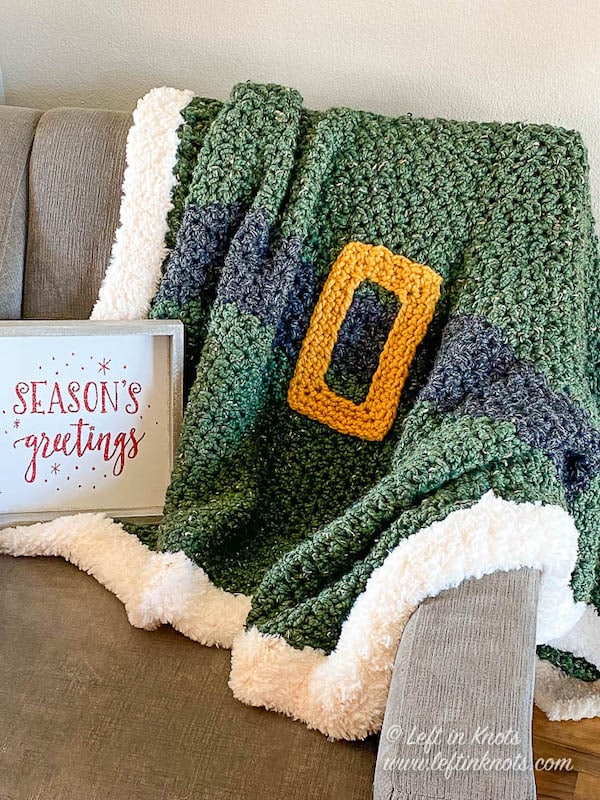
Adding the Buckle
(using Mustard)
ch 32, join to your first ch with a sl st to form a large loop.
Round 1: ch 1, SC in 4 ch sts, (SC, ch 2, SC) in next ch, SC in 10 ch sts, (SC, ch 2, SC) in next ch, SC in 4, (SC, ch 2, SC) in next ch, SC in 10 ch sts, (SC, ch 2, SC) in the last ch, sl st to the first st of the round.
Round 2: ch 1, SC in 5, (SC, ch 2, SC) in ch 2 space, SC in 12, (SC, ch 2, SC) in ch 2 space, SC in 6, (SC, ch 2, SC) in ch 2 space, SC in 12, (SC, ch 2, SC) in ch 2 space, SC in last st. Attach to first st of the round with sl st. Tie off leaving a long tail for sewing the buckle on the blanket.
Mark the middle of your blanket with a stitch marker and position your buckle. Using the long tail of yarn and a yarn needle, sew the buckle on to the blanket.
Tie off yarn and weave in all ends.
More Free Crochet Patterns You'll Love
Find all FREE CROCHET PATTERNS here
Now the legal stuff...You may sell items made from this pattern, but please credit me as the original designer. Also, please do not share the written pattern in print or electronically. The photos on this webpage belong to Megan Meyer of Left in Knots and may not be used for product sales/product listings. You may share a link back to my blog if you would like someone else to see or work with this pattern. Thank you for your cooperation and if you have any questions please feel free to contact me!
This post contains affiliate links. I receive a small commission for any purchases made through these links at no additional charge to you.

