Farmhouse-style fall decor is on trend right now, and this easy crochet pumpkin with a cinnamon stick stem will fit right into your autumn and Thanksgiving decor! The simple texture and easy assembly will have you making these pumpkins on repeat all fall long, and the cinnamon sticks will have you dreaming of all things pumpkin spice. Keep reading for the free crochet pattern.
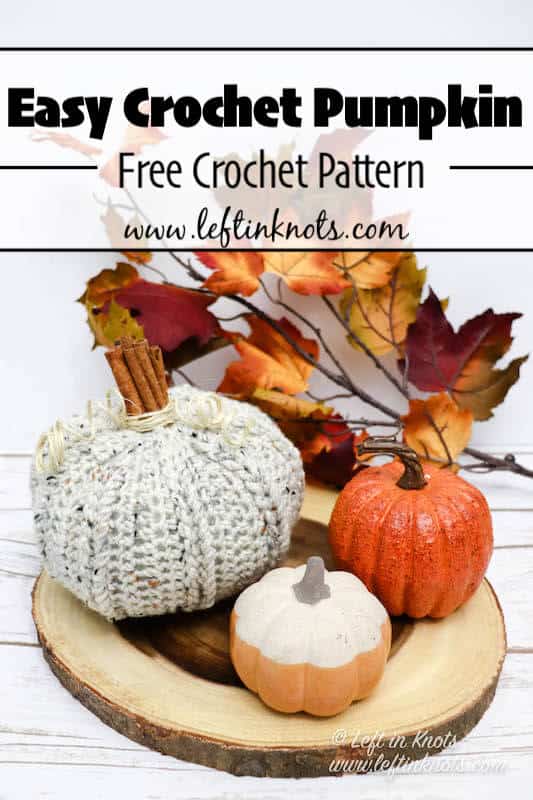
An Easy Crochet Pumpkin for your Fall Decor
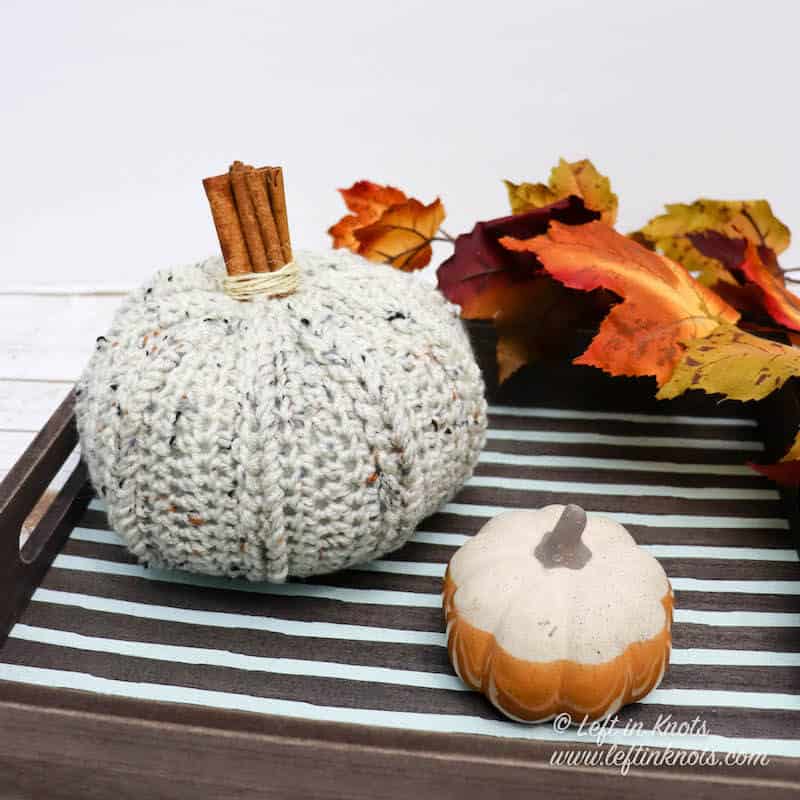
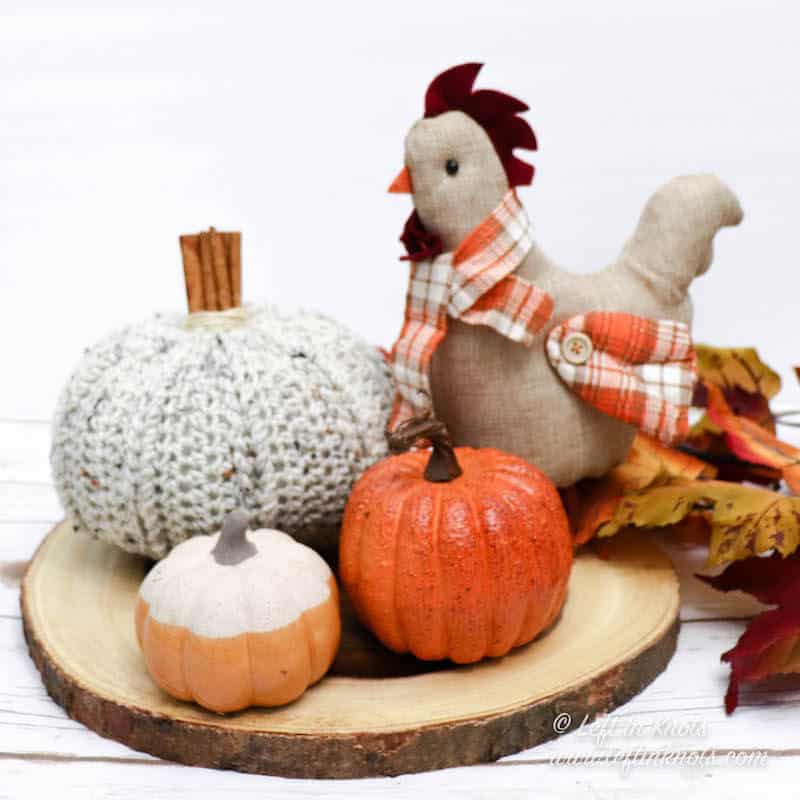
Friends, fall is my absolute favorite season and last year I didn’t have a chance to decorate after having just moved. I am so excited to finally decorate for fall this month, and I am even more excited to add this cute little cinnamon scented pumpkin to my decor. This pattern is perfect for snuggling up in front the the TV and is a great stash buster! My pumpkin took less than one skein of yarn, and I am really loving the rustic look of the Aran Fleck Red Heart Super Saver paired with some traditional orange pumpkins.
Making Crochet Pumpkins on Repeat
Oh crochet pumpkins - how I love thee. Let me count the ways:
- This pattern is so easy to customize! You can easily change your starting chain or final row count to alter the size of this pumpkin.
- The faux braids make such a nice pumpkin ridge effect and are a fun new crochet skill to learn!
- I said it before, but I’ll say it again - ONE SKEIN PROJECT - my true crochet love.
- The smell of the cinnamon stick stem is to die for! And easy peasy to make.
Crochet a DIY Pumpkin for the Teal Pumpkin Project
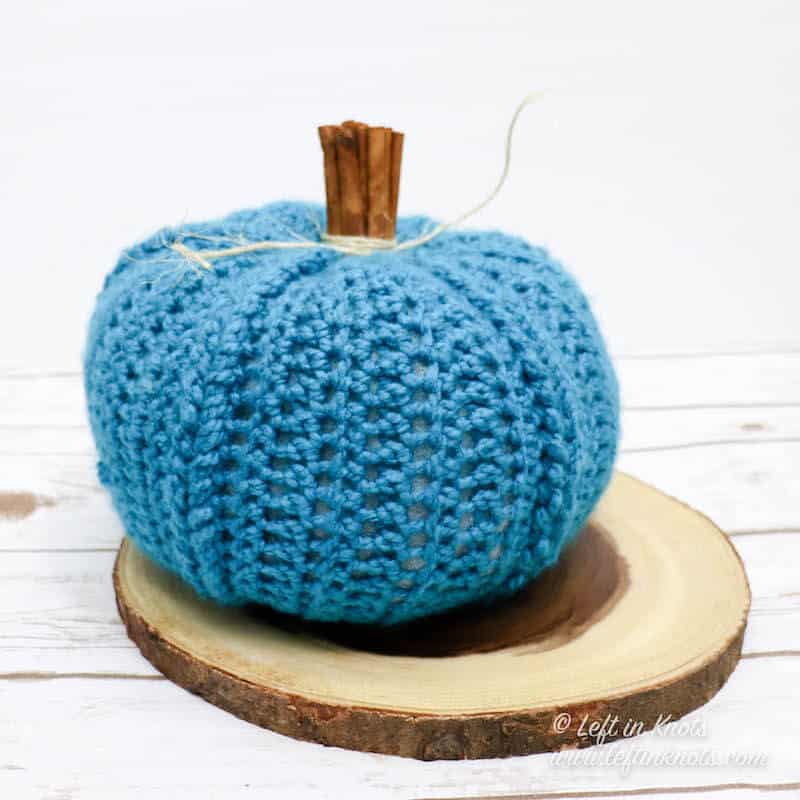
Another way I used this pattern was with some bulky teal yarn I had in my stash. Have you heard of the Teal Pumpkin Project? It’s basically a way to indicate to all your Trick or Treaters that you have non-food trick or treat items so that children with food allergies can enjoy a fun night, too! I personally LOVE simple ways to make someones day a little happier, so I bought some cute pencils and erasers to include with my trick or treat goodies this year. I could have easily purchased a teal pumpkin at Michaels but like any good crafter I thought “I could make one of those!”
If you’d like to learn more about the Teal Pumpkin project, you can read about it here.
Show off Your Crochet Projects
Don’t forget to share pictures of your projects with me in my Facebook Group or by tagging @leftinknots on Instagram. I can’t wait to see what you make!
Cinnamon Stick Pumpkin - Free Crochet Pattern
Supplies:
- Approx. 135 yards of Red Heart Super Saver Yarn (‘Aran Fleck’ pictured)
- 5.0mm crochet hook - I love Clover Amour
- Scissors - I always keep these travel scissors in my hook case
- Yarn needle - for these particular yarns I recommend working with a plastic needle
- Cinnamon sticks
- Poly-fil
- Twine (optional)
Abbreviations (written in U.S. terms):
- ch: chain
- st: stitch
- HDC: half double crochet
- Trtr: triple treble crochet - YO 4 times, insert hook into st, YO and pull through st, *YO, pull through 2 loops, repeat from * 4 more times.
Gauge
Not important
Size (before joining):
- Width = 7.75”
- Length = 18”
Pattern Notes
- Chain stitches at the beginning of rows do not count as a stitch
Instructions
ch 26
Row 1: HDC in the 3rd ch from the hook and HDC in each ch st across (24). Turn.
Row 2: ch 2, HDC in each st across (24). Turn.
Row 3: ch 7, Trtr in each st across (24). Turn.
Row 4-6: ch 2, HDC in each st across (24). Turn.
Row 7: ch 7, Trtr in each st across (24). Turn.
Row 8-39: repeat Rows 4-7 eight more times.
Row 40-41: ch 2, HDC in each st across (24). Turn.
Tie off yarn and leave a long tail (18+ inches)
Creating faux braids
Start with the ch 7 of Row 3 and twist it to form a loop (Fig. 1). Working along the row, pull each Trtr stitch through the previous loop to create a braided effect (Fig. 2-4). Repeat this for each row of Trtr sts.
Joining
Fold the panel so that Row 1 and Row 41 overlap so that the right sides are on the inside. Using the long yarn tail and a yarn needle, sew the seam together (Fig. 5 and 6). Turn the piece right side out. Keep the yarn tail and yarn needle for the next step.
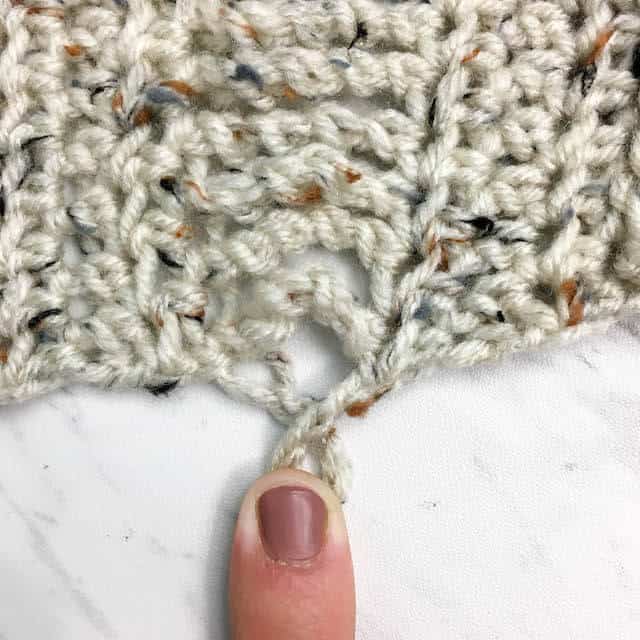
Fig. 1 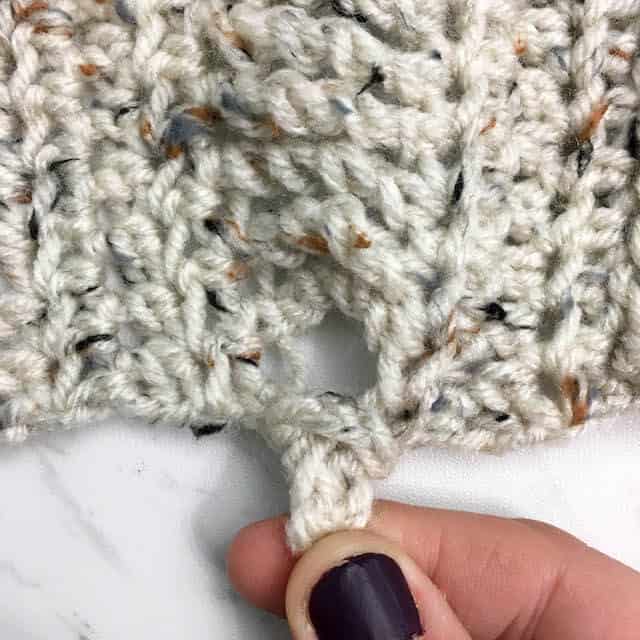
Fig. 2 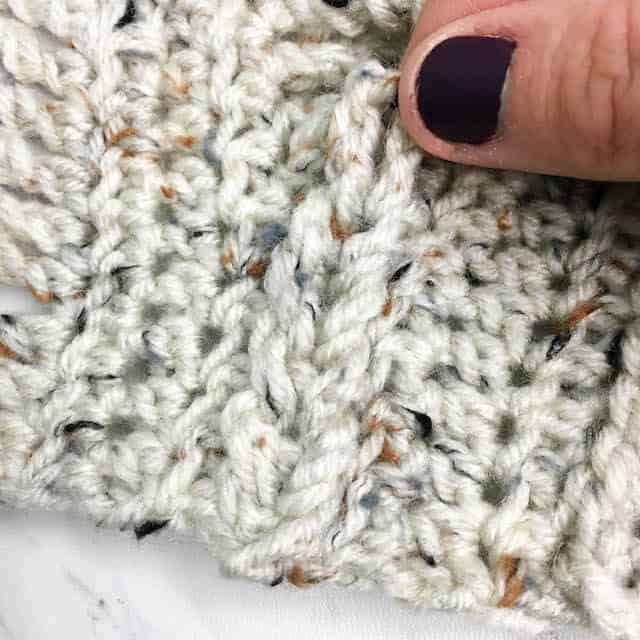
Fig. 3 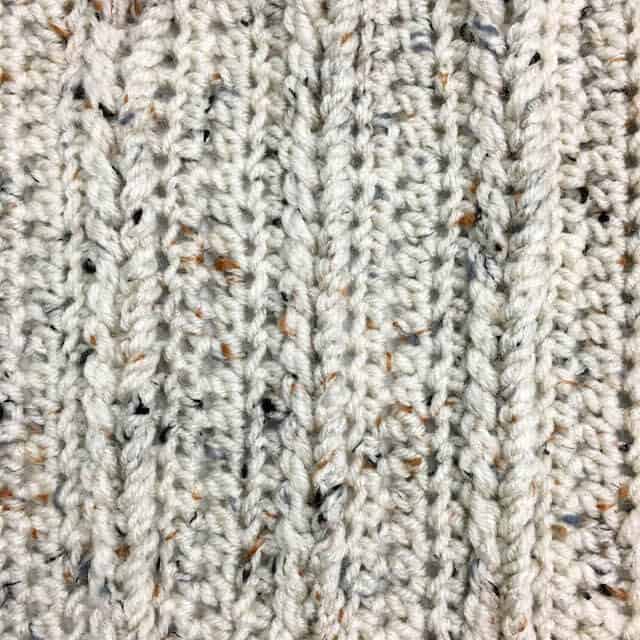
Fig. 4 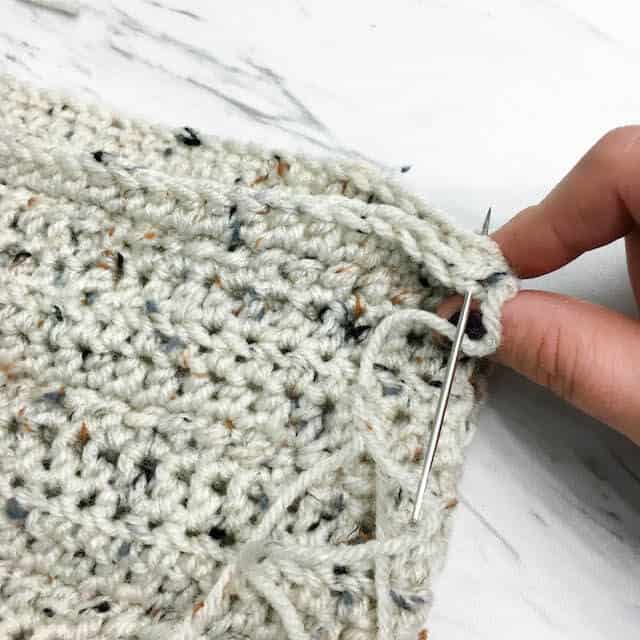
Fig. 5 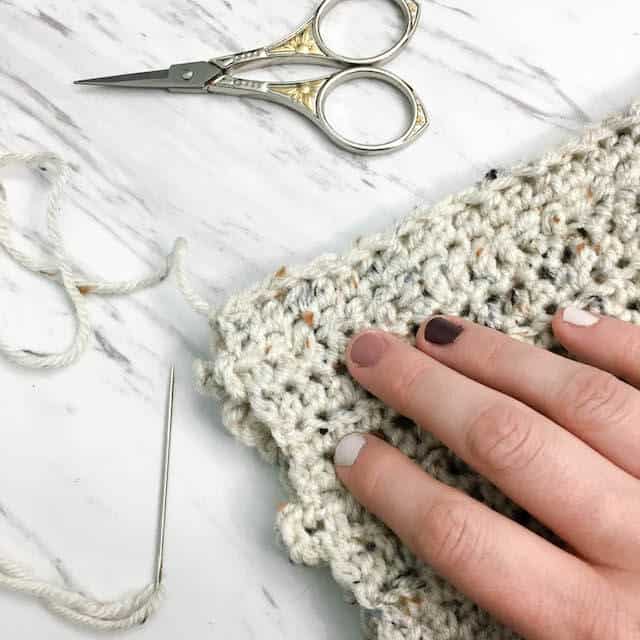
Fig. 6
Finishing
Using the existing yarn and yarn needle, sew along the bottom edge of the pumpkin by weaving the needle back and forth along the rows (Fig. 7). Once you reach the point where you started, pull tight (Fig. 8) and stitch the bottom of the pumpkin closed (Fig. 9).
Cut a new length of yarn and attach it to the top of the pumpkin. Sew along the top edge of the pumpkin by weaving the needle back and forth along the rows including the loop at the top of the braided rows (Fig. 10)
Once you reach the point where you started stuff the pumpkin (Fig. 9) and pull tight, leaving enough room for the cinnamon stick stem (Fig. 10)
Tie off yarn and weave in ends. Take several cinnamon sticks together in a bunch. Tie them together with twine or hot glue them together. Inset them into the hole in the top of the pumpkin.
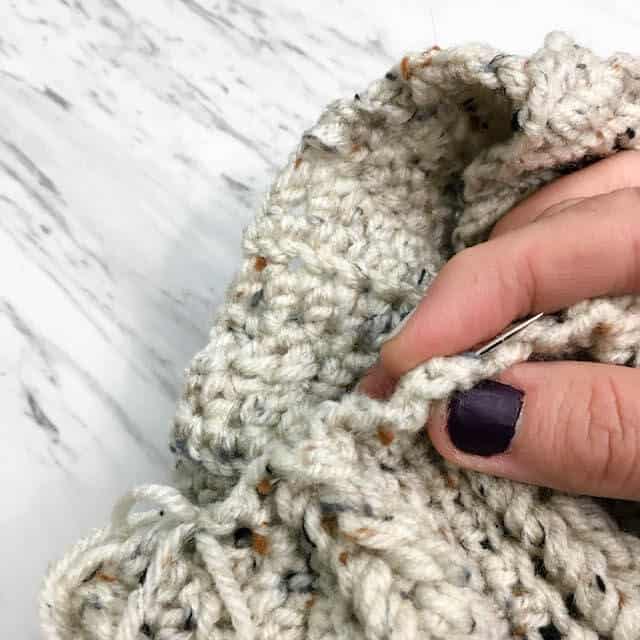
Fig. 7 
Fig. 8 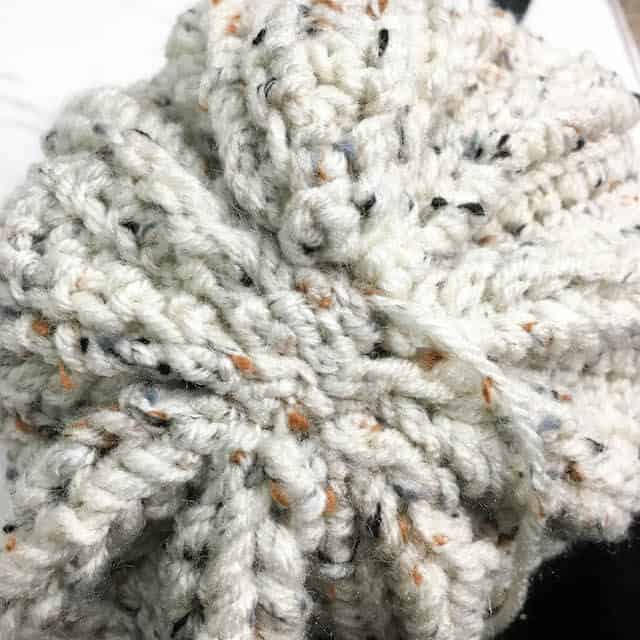
Fig. 9 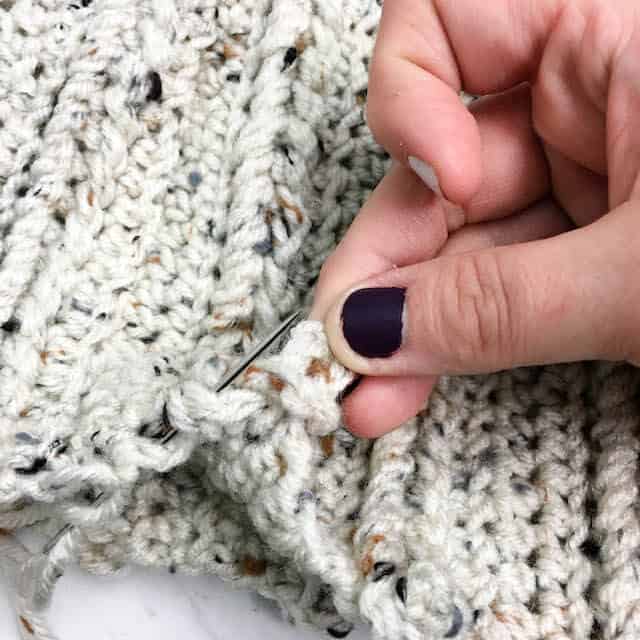
Fig. 10 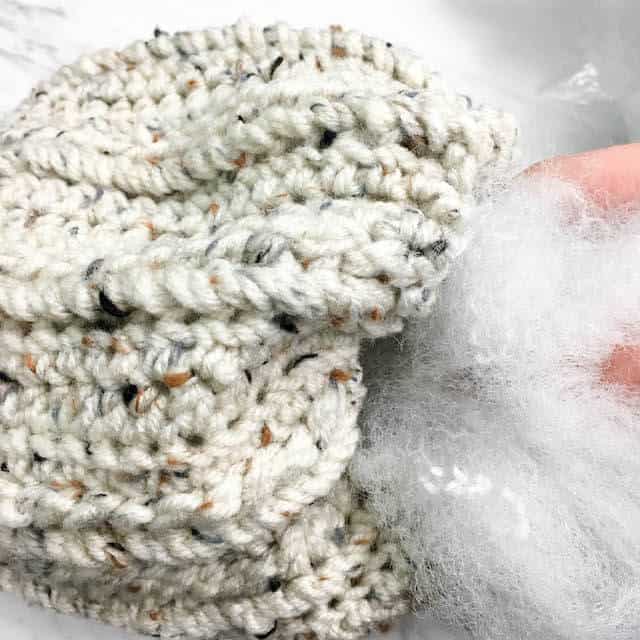
Fig. 11 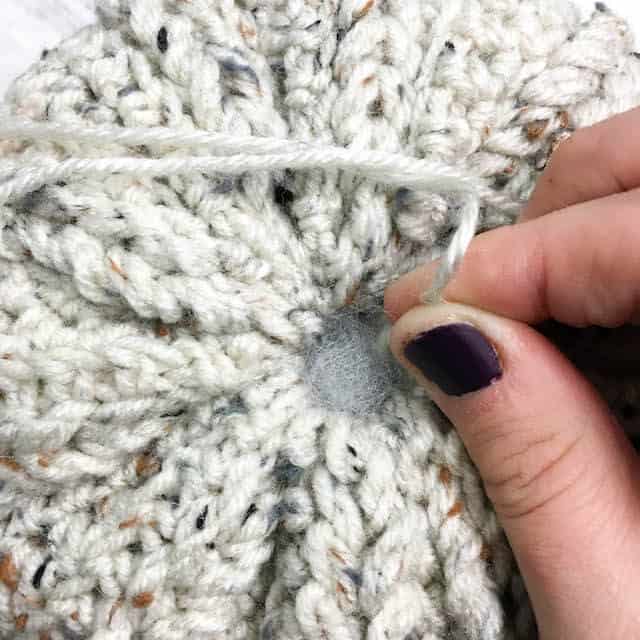
Fig. 12
More Free Crochet Patterns You'll Love

Find all FREE CROCHET PATTERNS here
Now the legal stuff...You may sell items made from this pattern, but please credit me as the original designer. Also, please do not share the written pattern in print or electronically. The photos on this webpage belong to Megan Meyer of Left in Knots and may not be used for product sales/product listings. You may share a link back to my blog if you would like someone else to see or work with this pattern. Thank you for your cooperation and if you have any questions please feel free to contact me!
This post contains affiliate links. I receive a small commission for any purchases made through these links at no additional charge to you.