Crochet a block stitch baby blanket while mixing and matching several colors of yarn with this free crochet pattern. The block stitch it a fun twist on a more traditional granny square blanket, and the color play options are endless. Keep reading for the free crochet pattern.
Crochet a Baby Blanket with the Block Stitch
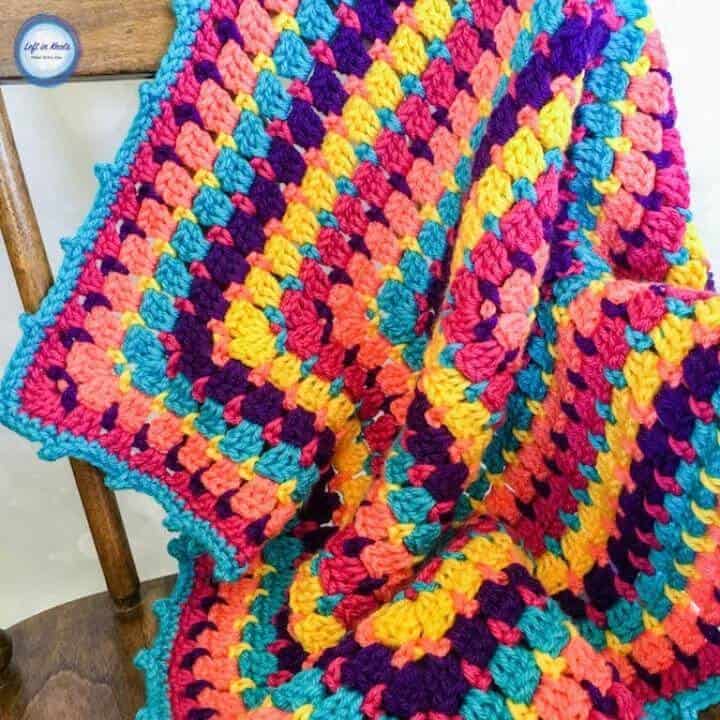
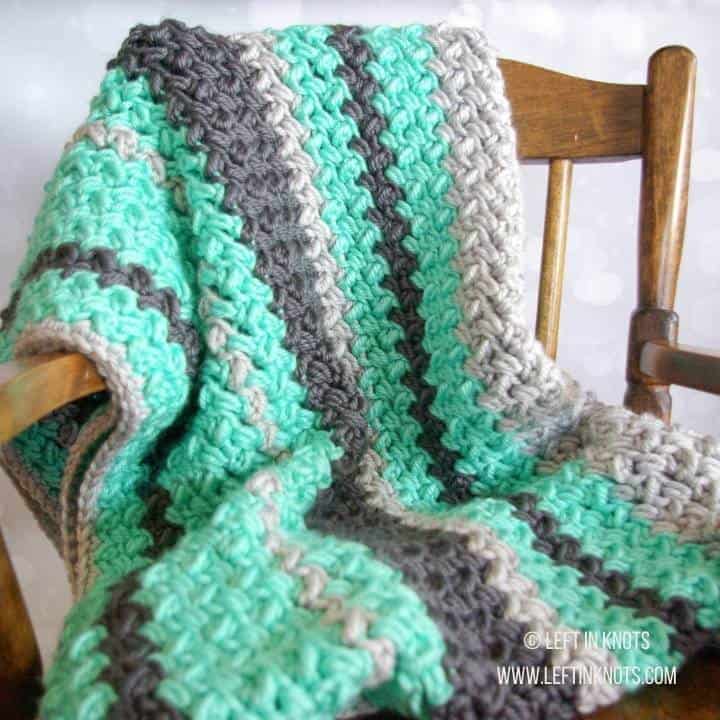
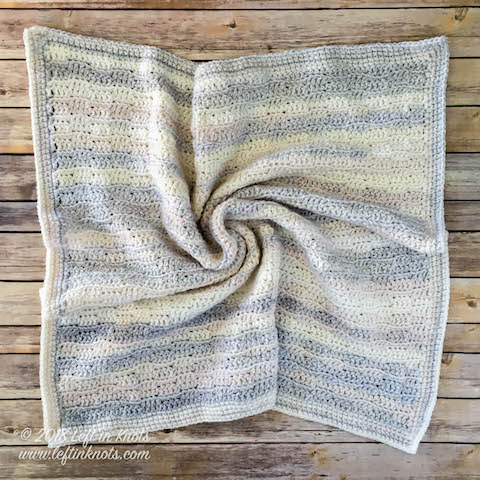
As much as I love color, I am not always confident in my ability to mix colors. So there I was, shopping at Michaels with my 'Color Inspiration' Pinterest Board open....doing my best to find something fun and a little bit out of the norm! I was honestly a little unsure of this color combo when I started, but once I got going with it I really started to love it. And the best part? You can pick ANY COLORS YOU WANT. This pattern lends itself to as many or as few colors as you'd like to use, and Loops and Threads Colorwheel Yarn comes in 54 different colors. So you have almost infinite options!
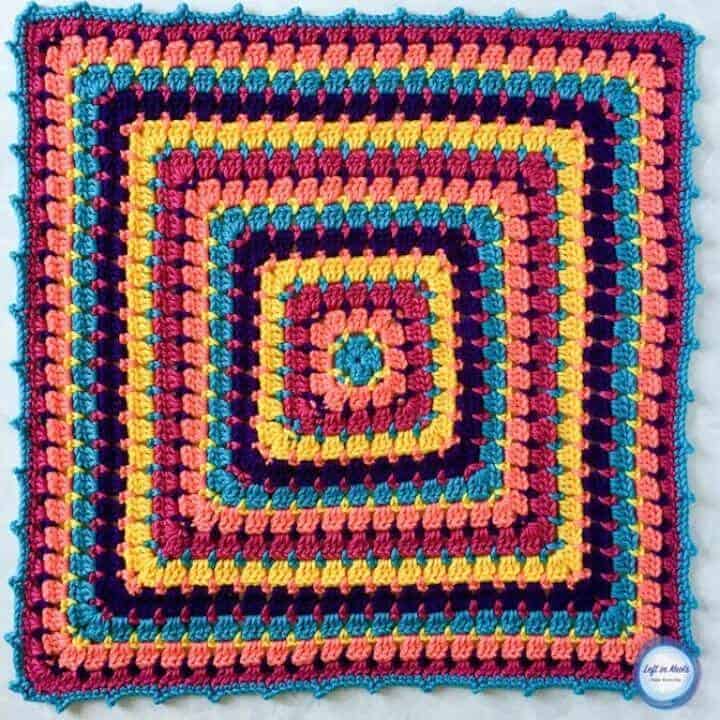
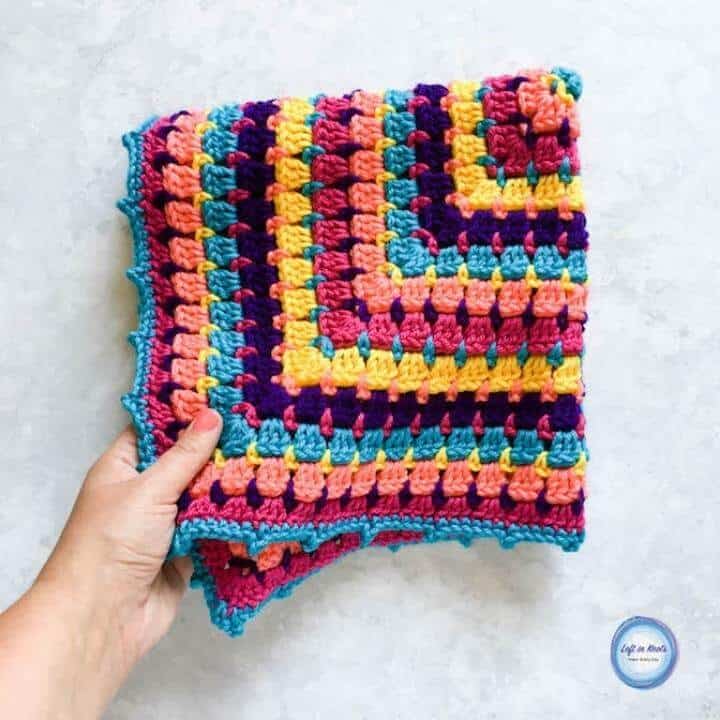
I used just one skein of each color of yarn, and my blanket measures 21" square. This is a great size for a premie blanket, but if you want to make yours larger you can certainly do so by continuing the rounds. This blanket uses the block stitch which is a fun little twist on the classic granny square look. It has fewer open gaps, which I particularly like for a baby blanket, and it looks so neat when you mix and match different colors. I have a left AND right handed video tutorial to get you started with this stitch if you need help.
Show off Your Crochet Projects
Don’t forget to share pictures of your projects with me in my Facebook Group or by tagging @leftinknots on Instagram. I can’t wait to see what you make!
Building Blocks Baby Blanket - Free Crochet Pattern
Supplies:
- One skein (90 yds) of Loops and Threads Colorwheel Yarn (or a comparable worsted weight yarn) in EACH of the following colors:
- Color A: 'Turquoise'
- Color B: 'Bright Gold'
- Color C: 'Coral'
- Color D: 'Deep Purple'
- Color E: 'Fuchsia'
- I/5.5mm crochet hook (I used Clover Amour)
- Scissors (I always keep these travel scissors in my hook case)
- Yarn needle
Abbreviations:
- st/sts: stitch/stitches
- sl st: slip stitch
- ch: chain
- SC: single crochet
- DC: double crochet
- Picot: ch 3, insert hook into your first ch st, yarn over and pull through all loops on your hook
Helpful Video Tutorials
How to Crochet the Block Stitch (find the left handed video tutorial here)
Gauge
You will have a 3" square after round 3
Finished Size:
My finished blanket measures 21" square
Pattern Notes
- ch sts at the beginning of a round do not count as a st
- the end of each round will be attached to the first st of the round with a sl st.
- I used nearly all of my yarn to make my blanket. If you want it any larger you will need to buy extra.
Instructions
Start with a magic circle
Round 1 (color A): ch 2, (3 DC, ch 2, 3 DC, ch 2, 3 DC, ch 2, 3 DC, ch 2) into the magic circle. Attach with sl st to the first DC of the round. Pull tight. Cut and tie off yarn.
Round 2 (color B): attach your yarn in a ch 2 corner from the previous round. ch 1, *(SC, ch 2, SC) in the corner, ch 3, skip 3, repeat from * three more times. Attach to the first SC of the round with a sl st. Cut and tie off yarn.
Round 3 (color C): attach your yarn in a ch 2 corner from the previous round. ch 2, *(3 DC, ch 2, 3 DC) in the corner, work 3 DC into the ch 3 space of the previous round, repeat from * three more times. Attach to the first DC of the round with a sl st. Cut and tie off yarn.
Round 4 (color D): attach your yarn in a ch 2 corner from the previous round. ch 1, (SC, ch 2, SC) in the corner, *ch 3, skip 3, SC between the clusters of 3 DC sts from the previous rounds, (SC, ch 2, SC) when you reach the corner. Continue this same process on the remaining 3 sides of your square. Attach to the first SC of the round with a sl st. Cut and tie off yarn.
Round 5 (color E): attach your yarn in a ch 2 corner from the previous round. ch 2, *(3 DC, ch 2, 3 DC) in the corner, work 3 DC into all of the the ch 3 spaces of the previous round, repeat from * three more times. Attach to the first DC of the round with a sl st. Cut and tie off yarn.
Continue repeating Rounds 4 and 5 in the color sequence listed above (or in whatever color sequence you have decided to work with) until you reach your desired size. I continued through Round 26.
For the edging:
- Picot stitches are NOT worked in the place of a stitch. In other words, you will not skip any stitches after making a picot stitch along the border. There will be a SC worked into every stitch from the previous round.
Round 27 (Color A): attach your yarn in a ch 2 corner from the previous round. ch 1, (SC, ch 2, SC), *picot, SC in next 6, repeat from * 11 more times, picot, SC in the next 3, (SC, ch 2, SC) when you reach the next corner and continue along the remaining three side of the square the same as the first side. Tie off yarn and weave in all ends.
More Free Crochet Patterns You'll Love
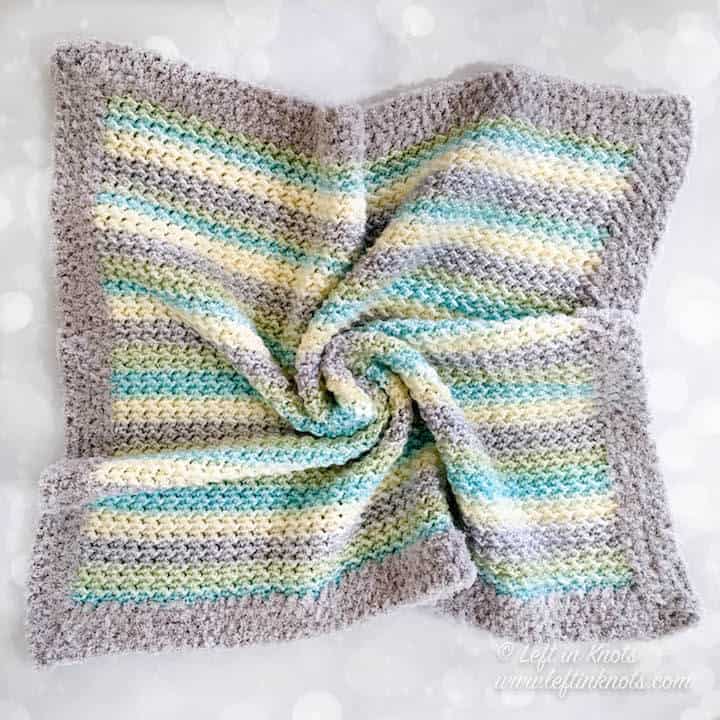
Find all FREE CROCHET PATTERNS here
Now the legal stuff...You may sell items made from this pattern, but please credit me as the original designer. Also, please do not share the written pattern in print or electronically. The photos on this webpage belong to Megan Meyer of Left in Knots and may not be used for product sales/product listings. You may share a link back to my blog if you would like someone else to see or work with this pattern. Thank you for your cooperation and if you have any questions please feel free to contact me!
This post contains affiliate links. Thank you for supporting free patterns and yarn deals from Left in Knots!