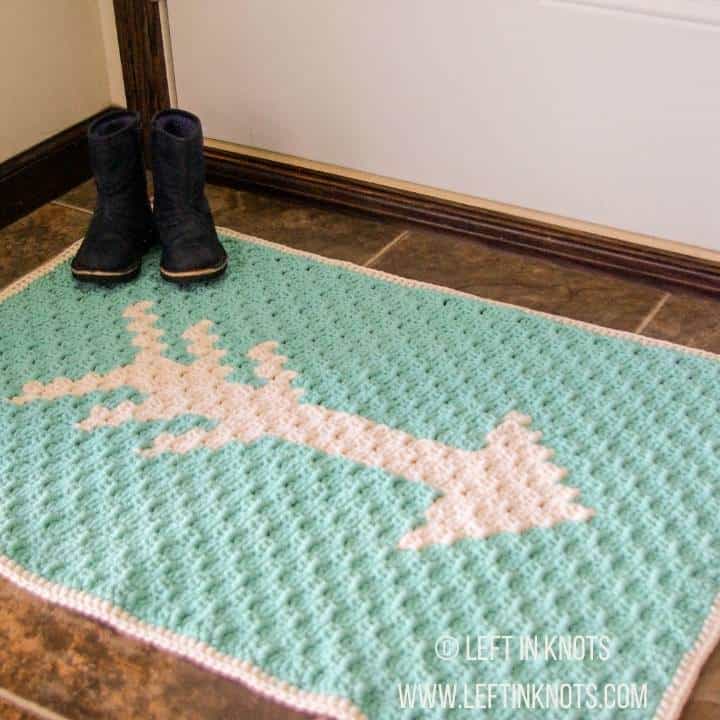
The Arrow Print Crochet Rug is modern and the colors are bright and cheerful. Plus, the yarn used in this free pattern is bulky, durable cotton that really is perfect for an indoor rug.
Why am I so excited about this one?
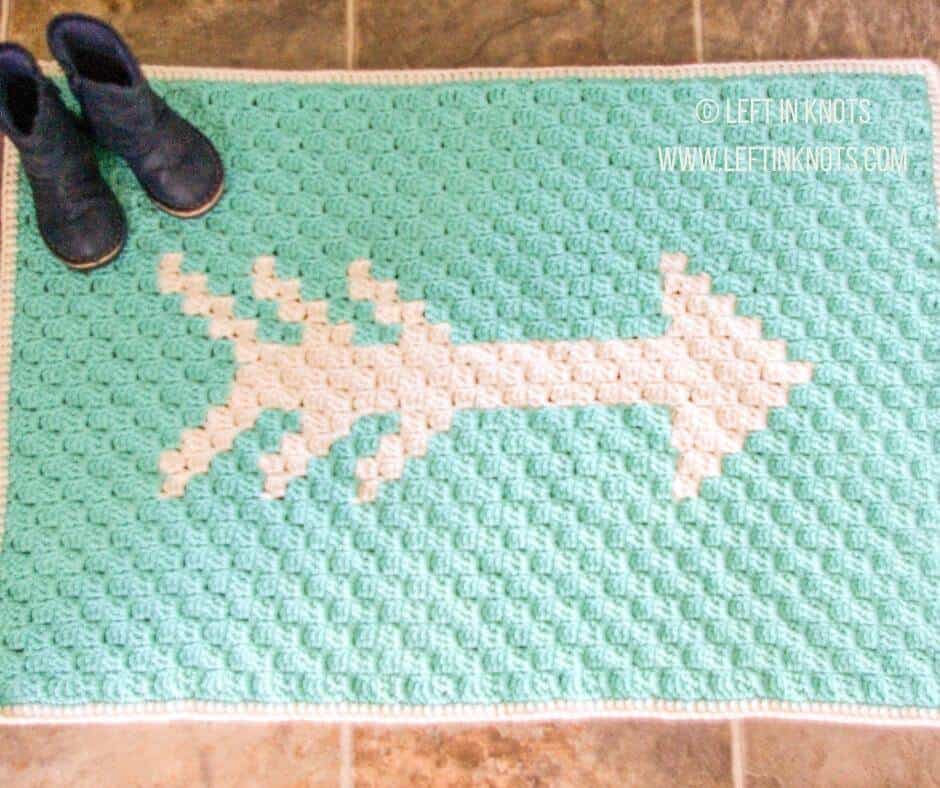
- I love the C2C stitch and I especially love how it looks with Bernat Maker Home Dec yarn. The texture is so defined and beautiful.
- It is my newest Instructables project-which means you can find detailed step-by-step photos here.
- It is modern, functional, AND washable. I am super excited about the possibility of making more rugs. I feel like I always want more, but they are oddly expensive!
- The no-sew, non-skid backing works better than I could have ever imagined and I DIDN'T HAVE TO WEAVE IN MY ENDS!!! **Update** the glue I used to add the backing did not survive the washing machine-so sewing is recommended if you plan to wash this rug.
Show off Your Crochet Projects
Don’t forget to share pictures of your projects with me in my Facebook Group or by tagging @leftinknots on Instagram. I can’t wait to see what you make!
Supplies:
- Bernat Maker Home Dec Yarn: I used *just* over 2 skein of Aqua and about half a skein of Cream. If you don't want to purchase 3 skeins of Aqua you could eliminate the SC edging in Aqua and use 'Cream' instead.
- 6.0mm crochet hook (I love Clover Amour hooks)
- Yarn Needle
- Scissors
Optional Supplies for adding the non-skid backing (HIGHLY RECOMMENDED)
- Grip cloth fabric (the finished rug is approx. 21" x 31" so get slightly more than that, I got mine at Joann Fabrics, but this item on Amazon looks similar)
- Permanent Fabric Glue
- Old towel
- Iron
- Pins
Abbreviations
- Sl st: slip stitch
- Ch: chain
- SC: single crochet
- HDC: half-double crochet
- DC: double crochet
Helpful Video Tutorials
Complete C2C Crochet Tutorial (find the left handed video here)
Finished Size:
Approx. 21" X 31"
Pattern Notes:
- You could make this a smaller rug/use less yarn by using the HDC C2C stitch instead
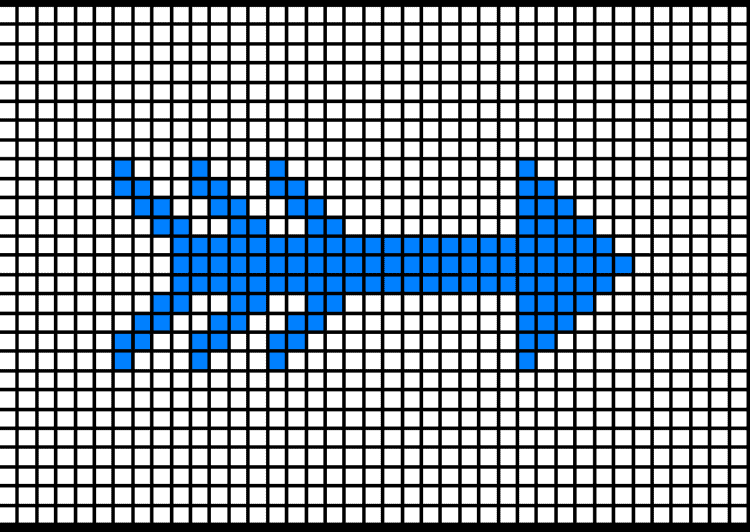
Pixel Graph:
Instructions
C2C stitch: I used a ch 2 and 3 DC per pixel. Remember to watch the video tutorials if you need help
Edging: When you crochet your final row (1 pixel), ch 1, SC around the edge of your piece with the color Aqua. Work 5 SC stitches per 2 pixels. SC, ch 1, SC in each corner.
When you finish the SC around, join to the first SC with a sl st. Switch to color 'Cream'. Ch 1, HDC around working a HDC, ch 1, HDC into each corner space of the previous round.
Tie off yarn and weave in the ends of yarn. If you plan to add the optional non-skid backing you DO NOT need to weave in all your ends. Just those that would not be covered by the backing.
Click here for instructions to add the non-skid, no-sew backing - if you opt not to add this remember to weave in all the ends.
This rug is the perfect size to use at a doorway, in a bathroom or in your kitchen! It is comfy to stand on, so I currently have mine in front of my stove.
More Free Crochet Patterns You'll Love
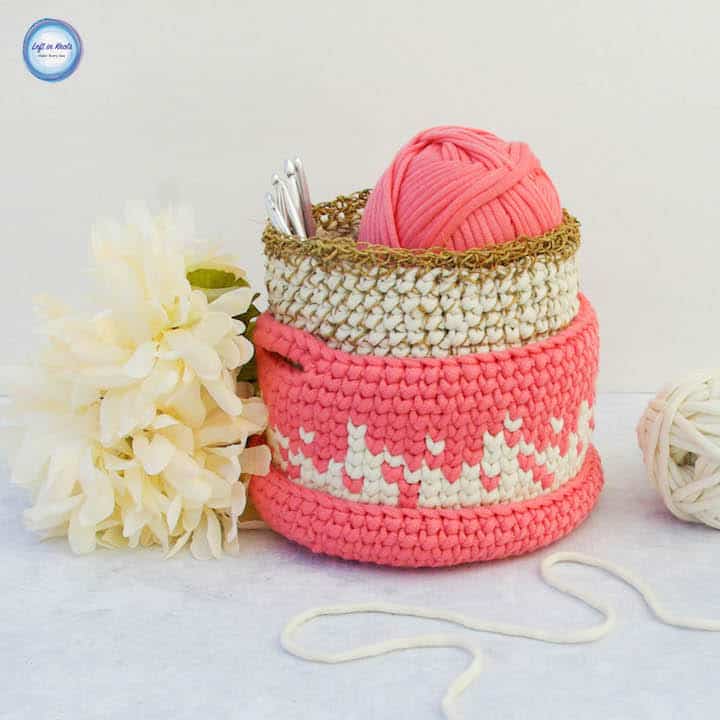
Find all FREE CROCHET PATTERNS here
Now the legal stuff...You may sell items made from this pattern, but please credit me as the original designer. Also, please do not share the written pattern in print or electronically. The photos on this webpage belong to Megan Meyer of Left in Knots and may not be used for product sales/product listings. You may share a link back to my blog if you would like someone else to see or work with this pattern. Thank you for your cooperation and if you have any questions please feel free to contact me!
This post contains affiliate links. Thank you for supporting free patterns and yarn deals from Left in Knots!