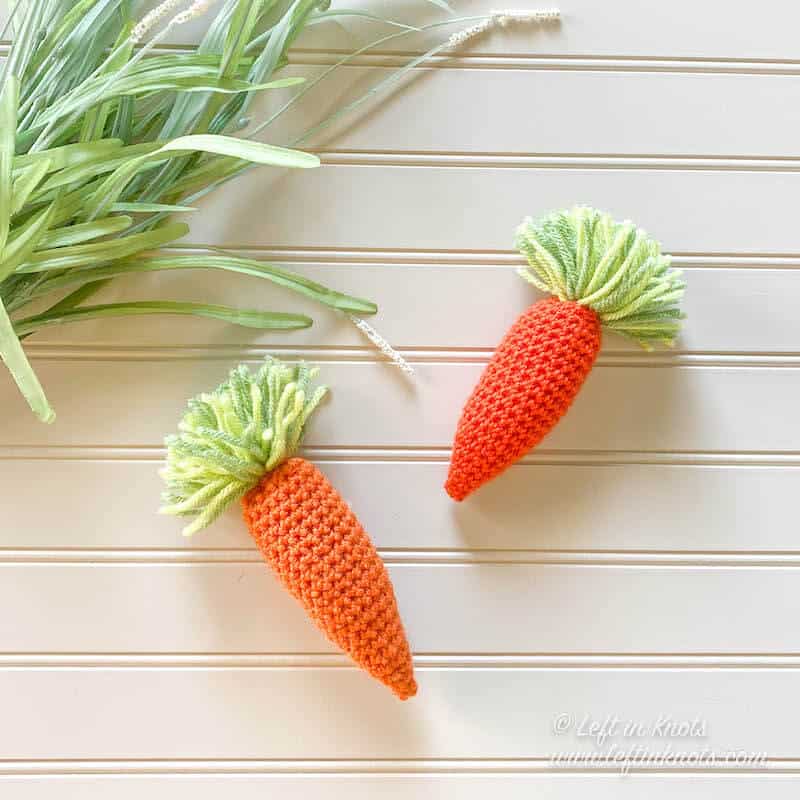
This little amigurumi carrot is a fast and easy crochet project. It is perfect to use in your Easter decor (like the carrot wreath pictured below) or even as play food for kids. Keep reading for the free crochet pattern!
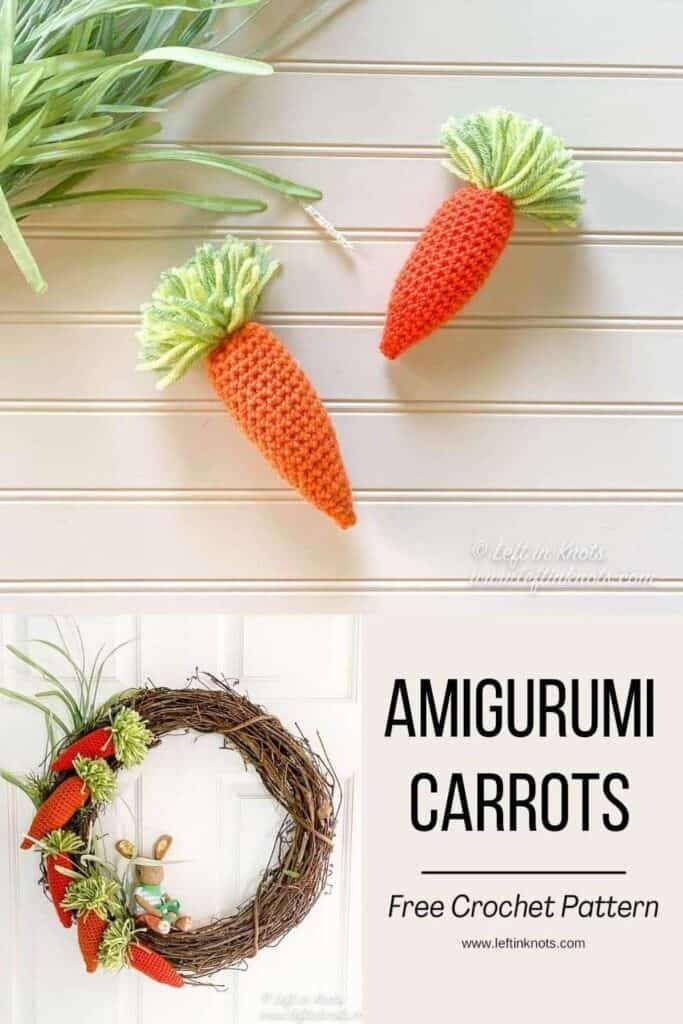
Easy Crochet Carrot
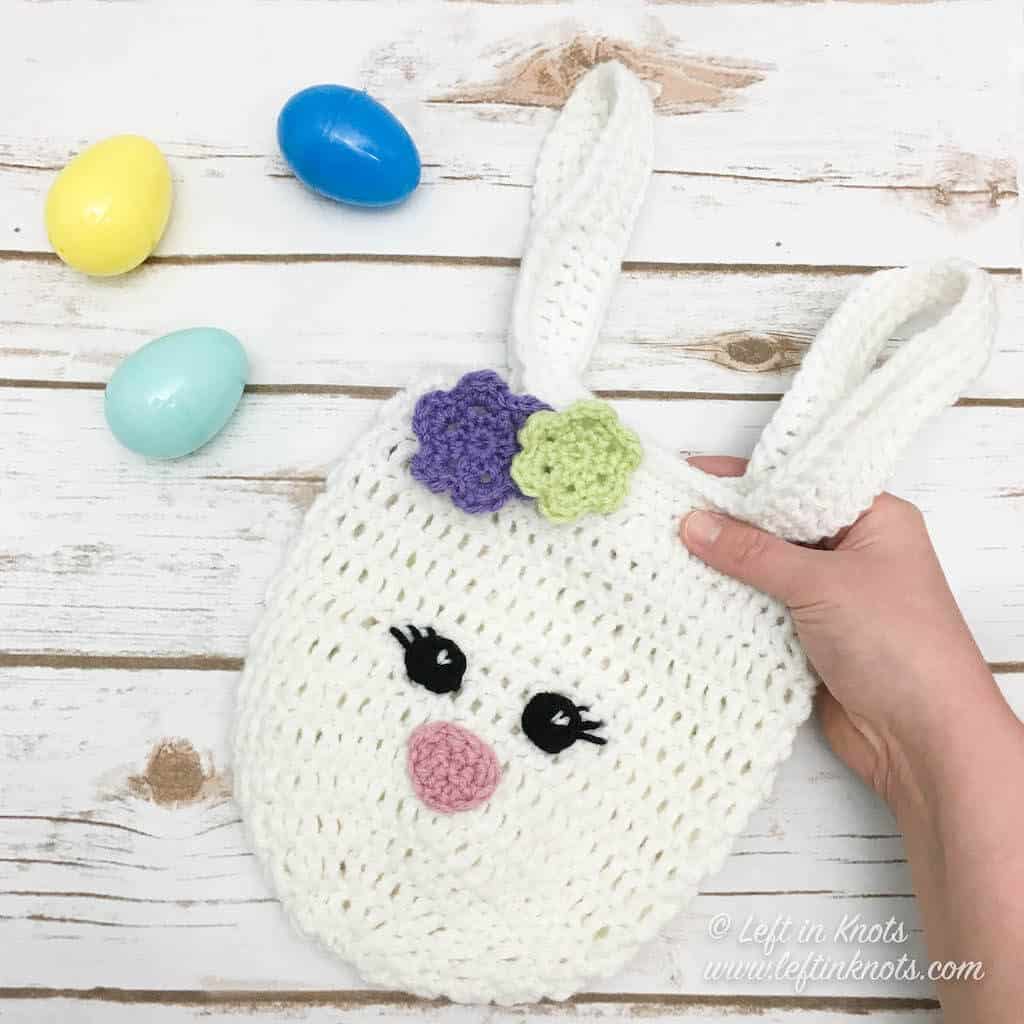
When I first designed this pattern I knew I was going to make a carrot wreath for my Easter decor. Look at how cute they look secured to that little grape vine wreath! And for those wondering, the cute bunny is from Target.
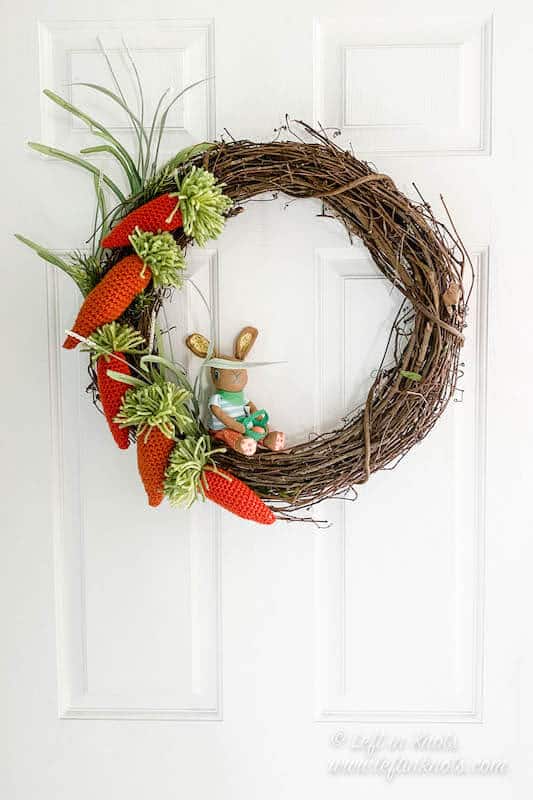
Crochet Carrot Decor
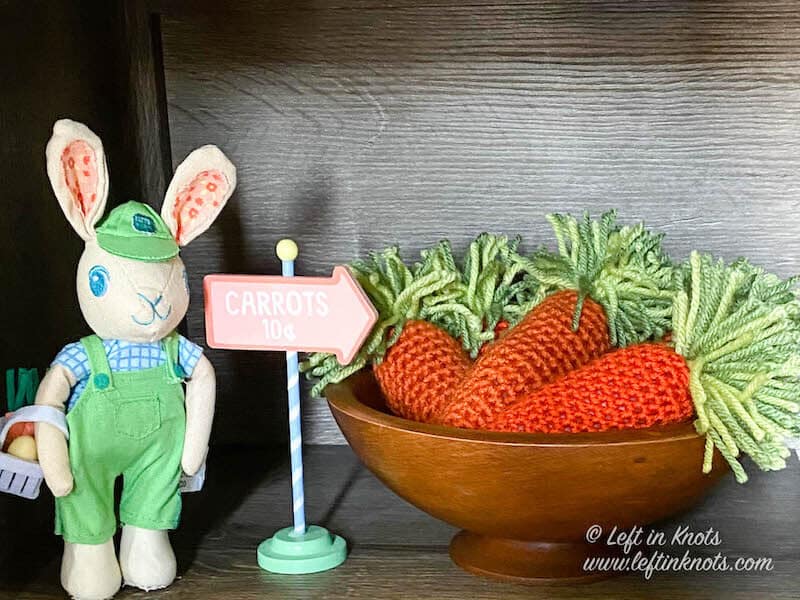
When I started my wreath project I was originally going to do carrots all the way around, but then I changed my mind. Instead I ended up with a bunch of extra carrots that couldn’t go to waste! So I sprinkled them among other parts of my Easter decor as well. You better believe my kids nabbed a couple to use as play food too!
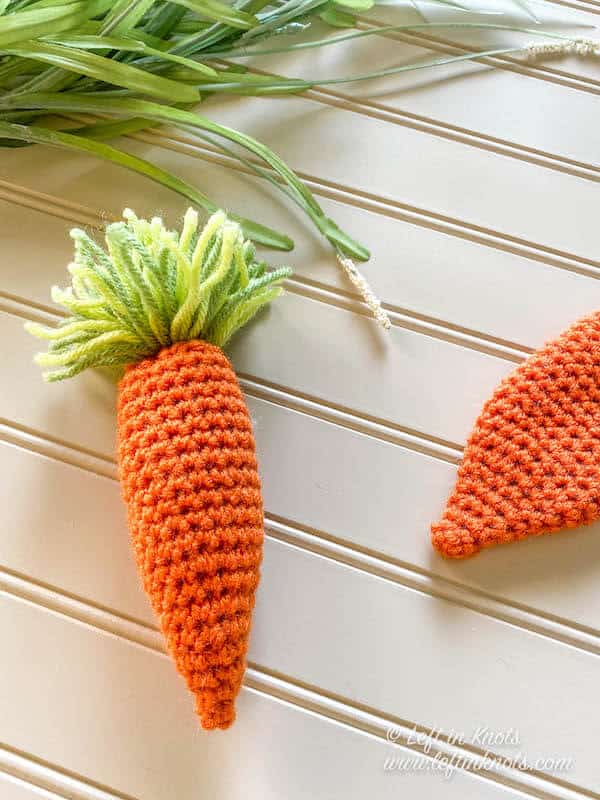
An Easy Plushie Project
These carrots are one of the easier plushie projects you will make. Just a few rounds of SC stitches, polyfil, and a green tassel is all it takes to assemble these cuties!
I hope you have fun with these Crochet Carrots! Don’t forget to share pictures of your projects with my in my Facebook Group or by tagging @leftinknots on Instagram. I can’t wait to see how you use them!
Crochet Carrots - Free Pattern
Supplies:
- Orange and green worsted weight yarn
- 5.5mm Crochet Hook (I LOVE Clover Amour)
- Scissors - I always keep these travel scissors in my hook case
- Polyfil
- Yarn needle
Abbreviations (written in U.S. terms):
- ch: chain
- SC: single crochet
- SC2Tog: single crochet two together
Pattern Notes
- These are worked in continuous rounds. Use a stitch marker to keep track of the first stitch of your round.
- The size of the carrot will vary slightly depending on your yarn and tension. Mine were approx. 4-5 inches long without the green top.
Instructions
Make the carrot using orange yarn
ch 2
Round 1: work 4 SC into the second ch from the hook (4)
Round 2: SC in each st around
Round 3: *2 SC in each st around (8)
Round 4: SC in each st around
Round 5: *2 SC, SC around repeat from * around (12)
Round 6: SC in each st around
Round 7: *2 SC, SC in next 2 sts, repeat from * around (16)
Round 8: SC in each st around
Round 9: *2 SC, SC in next 3 sts, repeat from * around (20)
Round 10-20: SC in each st around
Round 21: SC2Tog around (10)
Tie off yarn leaving a long (6+”) tail.
Make the carrot top using green yarn
Wrap your green yarn around something about 3” wide (a piece of sturdy cardboard, wood, smartphone, etc).
Wrap the yarn approx. 30 times and make a tassel.
Assemble the crochet carrot
Fill the carrot with polyfil. Using the yarn tail and a yarn needle, weave the tail back and forth between the stitches along the top edge of the carrot.
Place the folded end of the tassel in the top of the carrot, and pull the tail tight so that the top cinches around it. With the tail, sew back and forth through the top of the carrot and tassel to secure it. Tie off yarn and weave in all ends.
Keep up with all new releases in my Facebook community group or on Instagram! Or just stop by to share pictures of your completed projects. I love seeing your work!
More Free Crochet Patterns You'll Love
Find all FREE CROCHET PATTERNS here
Now the legal stuff...You may sell items made from this pattern, but please credit me as the original designer. Also, please do not share the written pattern in print or electronically. The photos on this webpage belong to Megan Meyer of Left in Knots and may not be used for product sales/product listings. You may share a link back to my blog if you would like someone else to see or work with this pattern. Thank you for your cooperation and if you have any questions please feel free to contact me!
This post contains affiliate links. Thank you for supporting free patterns and yarn deals from Left in Knots!