This quick and easy crochet spider web wreath is a fun Halloween door decoration to greet trick or treaters. Keep reading for the free crochet pattern.

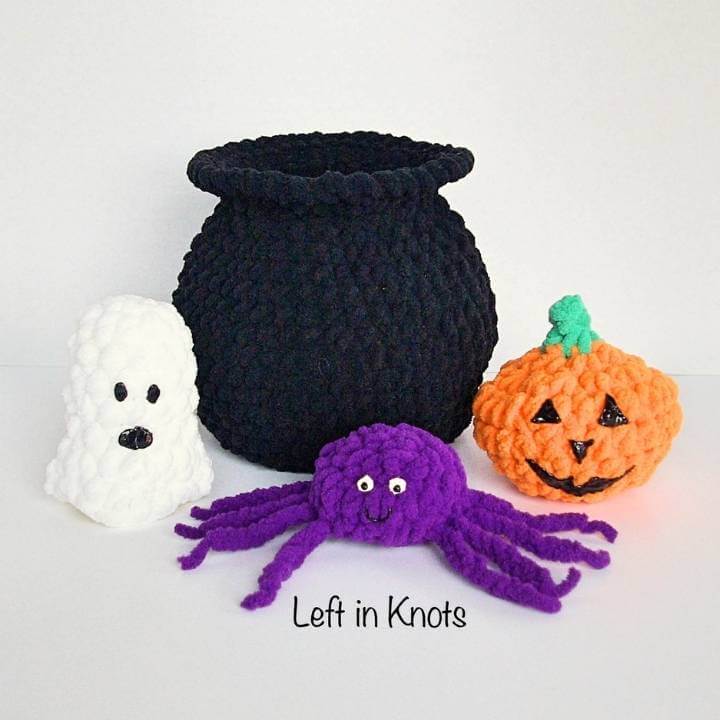
I've always wanted to make a crocheted wreath for my door, and I have had this foam wreath hanging around my house for almost a year, and I am so glad that I finally got around to playing with it! Making a crocheted wreath was crazy simple and a great scrap buster. The wreath cover is just SC stitches and the web is just a few rounds of DC and ch stitches. If you want to get fancy, you could probably figure out a crochet spider, but I just went with the giant pom pom route and I am definitely happy with the results! The only change I might make next time is making the spider a brighter color next time so it stands out a little bit better agains the black web.
Show off Your Crochet Projects
Don’t forget to share pictures of your projects with me in my Facebook Group or by tagging @leftinknots on Instagram. I can’t wait to see what you make!
Supplies:
- One skein of Red Heart Super Saver yarn in ‘Flame’ (or approx. 270 yds of a comparable worsted weight yarn), scrap amounts of black and purple worsted weight yarn for web and spider.
- H/5.0mm crochet hook
- Scissors
- Yarn needle
- 16" foam wreath form
- 3 3/8” pom pom maker
- craft eyes
- hot glue/hot glue gun
Abbreviations (written in U.S. terms):
- st/sts: stitch/stitches
- sl st: slip stitch
- ch: chain
- SC: single crochet
- DC: double crochet
Pattern Notes
- ch sts at the beginning of rows (in wreath cover) do not count as a stitch
- ch sts at the beginning of round (for the spider web) DO count as a stitch
Instructions
Wreath Cover (orange)
ch 22
Row 1: SC in the second ch from the hook, SC across (21) Turn.
Row 2-81: ch 1, SC across (21). Turn.
At the end of Row 81, cut and tie off yarn leaving a long (at least 3 foot) tail.
Spider Web (black)
ch 5, sl st in the first ch and pull tight to create a small circle.
Round 1 (working in circle created with ch sts): ch 3 (counts as DC+1), *DC, ch 1, repeat from * 6 more times, sl st to 2nd ch from beginning ch 3.
Round 2: ch 5 (counts as DC+3), skip 1, *DC, ch 3, skip 1, repeat from * 6 more times, sl st to 2nd ch from beginning ch 5.
Round 3: ch 7 (counts as DC+5), skip 3, *DC, ch 5, skip 3, repeat from * 6 more times, sl st to 2nd ch from beginning ch 7.
Round 4: ch 9 (counts as DC+7), skip 5, *DC, ch 7, skip 5, repeat from * 6 more times, sl st to 2nd ch from beginning ch 9.
Round 5: ch 11 (counts as DC+9), skip 7, *DC, ch 9, skip 7, repeat from * 6 more times, sl st to 2nd ch from beginning ch 11.
Round 6: ch 13 (counts as DC+11), skip 9, *DC, ch 11, skip 9, repeat from * 6 more times, sl st to 2nd ch from beginning ch 13. Tie off and weave in ends.
Spider (purple)
Make a large pom pom with a 3 3/8” pom pom maker. Cut 8 legs about 3 inches long (or desired length). Hot glue the legs to the bottom of the spider. Use hot glue to attach two craft eyes.
Assembly
Wrap the wreath cover around the 16” wreath form. Using the long tail, sew the long ends together around the wreath frame (see photos). When you have completed sewing around the entire perimeter of the wreath, sew the first and last row of the wreath cover together.
To attach the web, cut a long length of black yarn. Thread it through a few stitches along the back side of the wreath. Use the black yarn and loop it through Round 6 of the spider web tightly to stretch it to the size of the inside of the wreath. *note: I did not loop it through all 8 sections of Round 6, decide what shape you want your web to be and play around with different combinations. When you reach the point where you started, thread the yarn through a few more stitches on the back. Tie the yarn tails together (maintaining the tight pull on the web) and weave in ends.
Hot glue the spider’s body in desired location. Glue legs individually so they are spanning the web/wreath.
More Free Crochet Patterns You'll Love
Find all FREE CROCHET PATTERNS here
Now the legal stuff...You may sell items made from this pattern, but please credit me as the original designer. Also, please do not share the written pattern in print or electronically. The photos on this webpage belong to Megan Meyer of Left in Knots and may not be used for product sales/product listings. You may share a link back to my blog if you would like someone else to see or work with this pattern. Thank you for your cooperation and if you have any questions please feel free to contact me!
This post contains affiliate links. Thank you for supporting free patterns and yarn deals from Left in Knots!