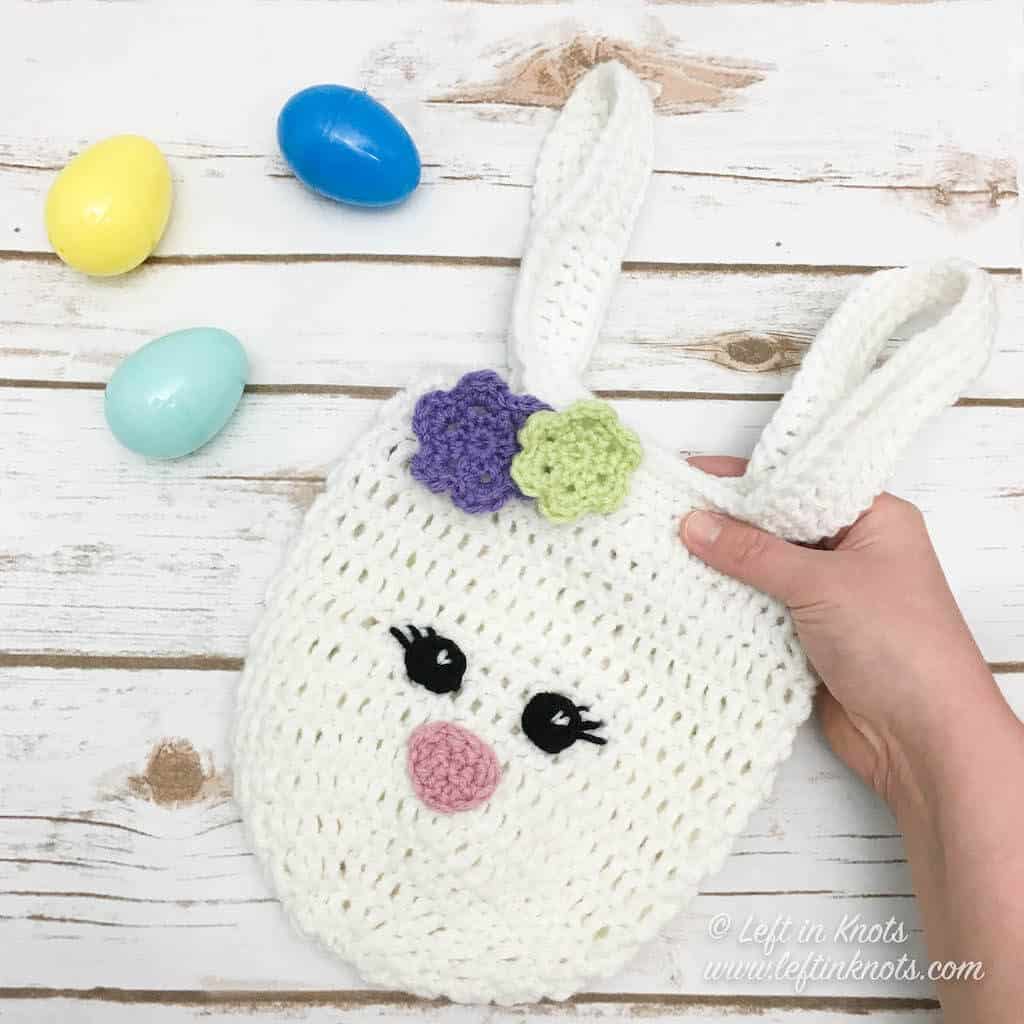
This crochet Bunny Bag is perfect for Easter! Add a bowtie or ear bow for an extra cute touch. Keep reading for the free crochet pattern.
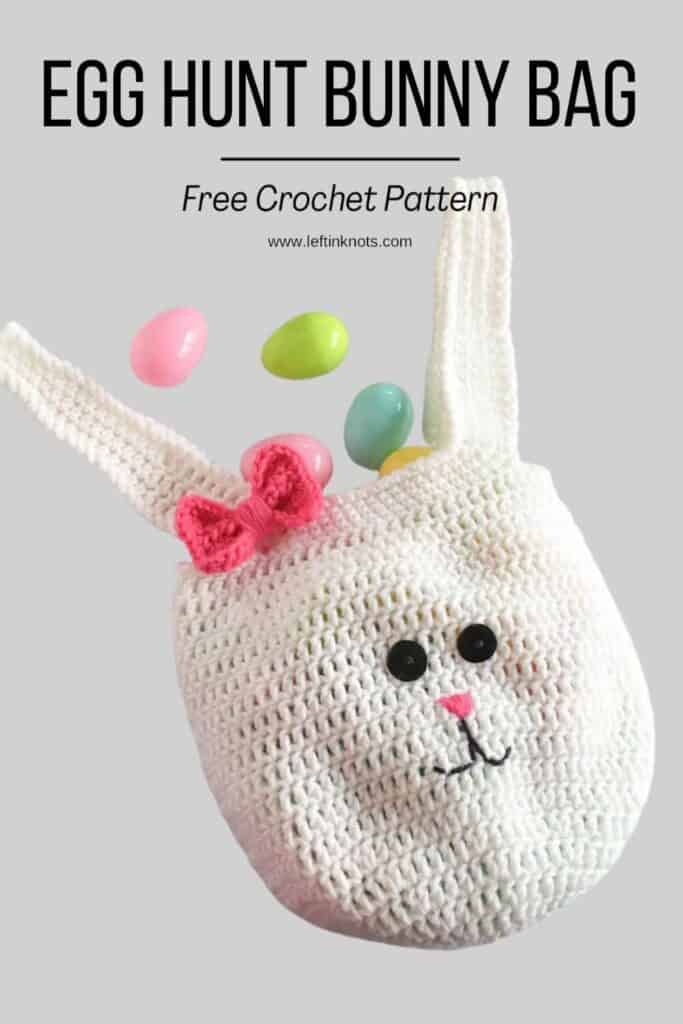
Crochet a Bunny Bag for Easter Egg Hunts
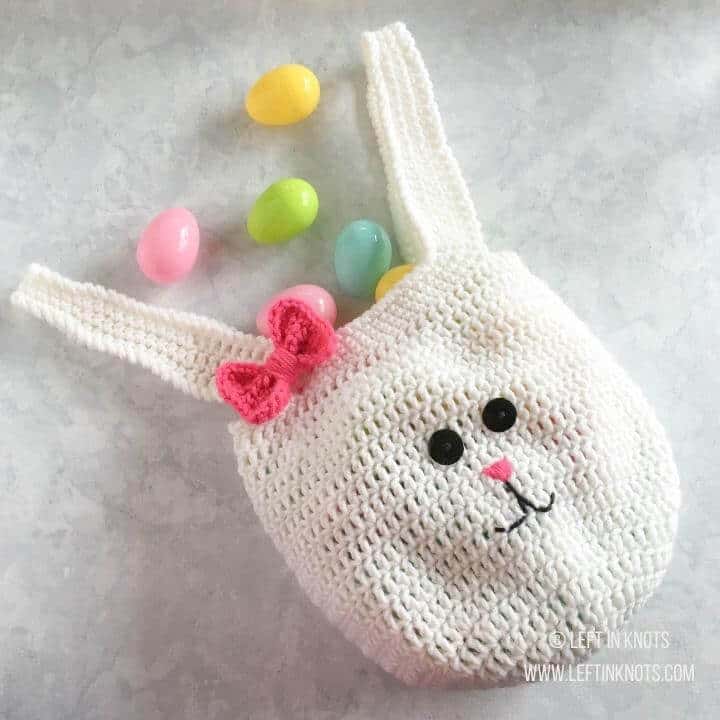
This bag is a perfect surprise for Easter egg hunts or even as a cute little Easter purse! Just imagine all of the kids running around stuffing their eggs into these bags on Easter. How cute would that be?!
White Easter Bunny or Brown Easter Bunny?
This bag is made with basic worsted weight acrylic, so if you have any kind of yarn stash lying around you probably have everything you need to make at least one of these bags. Your crochet bunny doesn’t need to be white, either. You’d can make it tan, gray, brown or any other color you like! Make up one or several for your spring time festivities.
A Crochet Easter Project That You Will Keep for Years
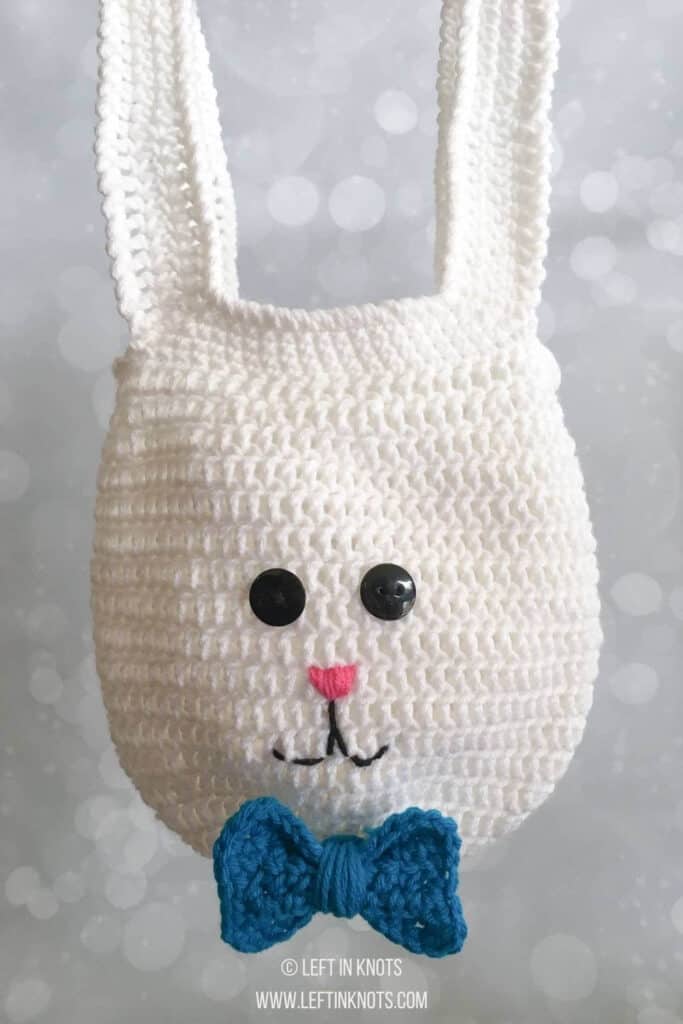
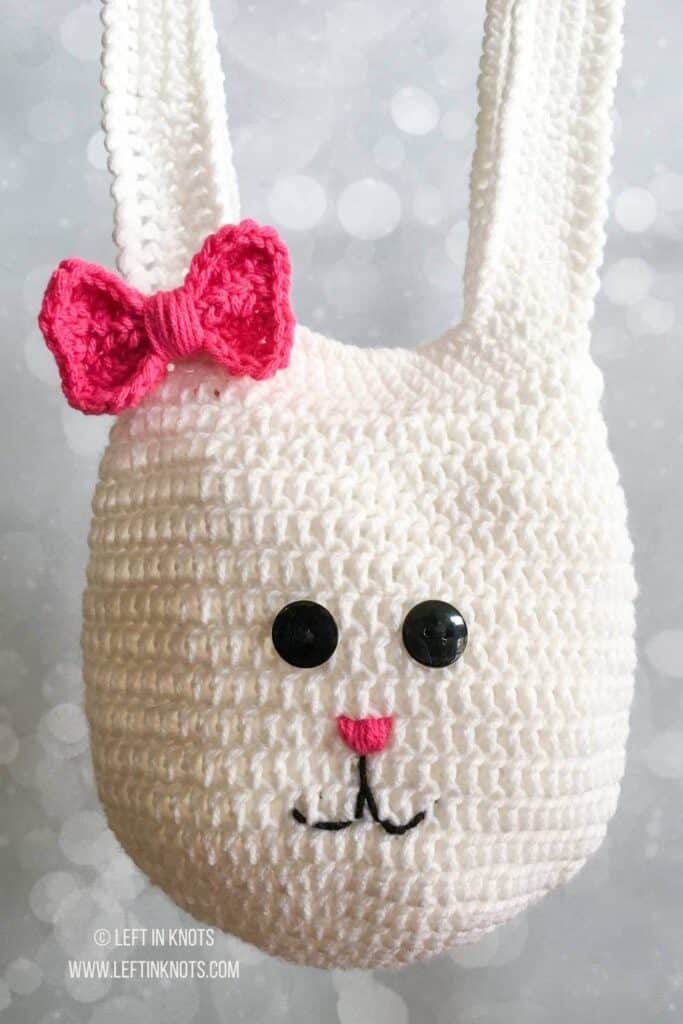
Personalize these Easter bunny bags with a hair bow or bow tie. Your kids will be able to keep these Easter bunny bags for years and use them for all their egg hunts. Just be sure to personalize them with hair bows and bow ties so everyone knows which bag is theirs!
Show off Your Crochet Projects
Don’t forget to share pictures of your projects with me in my Facebook Group or by tagging @leftinknots on Instagram. I can’t wait to see what you make!
Easter Bunny Bag - Free Crochet Pattern
Supplies:
- Worsted weight yarn (I used Red Heart with Love and Red Heart Super Saver)
- I/5.5mm crochet hook (I used Clover Amour)
- Yarn Needle
- 2 - 3/4" Buttons
- Scissors (I always keep these travel scissors in my hook case)
Abbreviations:
- ch: chain
- sl st: slip stitch
- SC: single crochet
- HDC: half double crochet
- DC: double crochet
- SC2TOG: single crochet two together
- DC2TOG: double crochet two together
- RSC: reverse single crochet (aka crab stitch)
Finished Size:
Length (with handles) = approx. 20"
Width = approx. 12"
Gauge is not particularly important for this project
Pattern Notes
- Chain stitches at the beginning rounds do not count as a stitch
- The end of each round is connected to the first round with a sl st.
Instructions:
start with a magic circle
Round 1: Ch 2, 10 DC in magic circle (10)
Round 2: Ch 2, 2 DC in each st around (20)
Round 3: Ch 2, *2 DC, DC, repeat from * around (30)
Round 4: Ch 2, *2 DC, DC in next two st, repeat from * around (40)
Round 5: Ch 2, *2 DC, DC in next three sts, repeat from * around (50)
Round 6: Ch 2, *2 DC, DC in next four sts, repeat from * around (60)
Round 7: Ch 2, *2 DC, DC in next five sts, repeat from * around (70)
Round 8: Ch 2, *2 DC, DC in next six sts, repeat from * around (80)
Round 9-18: Ch 2, DC around (80)
Round 19: Ch 2, *DC2TOG, DC in next six sts, repeat from * around (70)
Round 20: Ch 2, *DC2TOG, DC in next five sts, repeat from * around (60)
Round 21: Ch 2, DC around (60)
Round 22: Ch 1, SC in 10, ch 50, skip 10, SC in 20, ch 50, skip 10, SC in 10 (140)
Round 23: Ch 1, SC in 10, DC in 10, HDC in 10, SC in 10, HDC in 10, DC in 10, SC in 20, DC in 10, HDC in 10, SC in 10, HDC in 10, DC in 10, SC in 10 (140)
Round 24: Ch 1, SC in 8, SC2TOG, DC in 10, HDC in 10, SC in 10, HDC in 10, DC in 10, SC2TOG, SC in 16, SC2TOG, DC in 10, HDC in 10, SC in 10, HDC in 10, DC in 10, SC2TOG, SC in 8 (136)
Round 25: Ch 1, SC in 7, SC2TOG, DC in 10, HDC in 10, SC in 10, HDC in 10, DC in 10, SC2TOG, SC in 14, SC2TOG, DC in 10, HDC in 10, SC in 10, HDC in 10, DC in 10, SC2TOG, SC in 7 (132)
Round 26: Ch 1, RSC around. At the end of the Round, tie off and weave in ends.
Finishing: Attach the yarn with a slip stitch along the outer edge of the handle space. Ch 1 and RSC around. Repeat this for the other handle. Use black and pink yarn to stitch a bunny face onto your bag. If desired, make a bow using this free pattern and add it as a hair bow or bowtie as pictured.
More Free Crochet Patterns You'll Love
Find all FREE CROCHET PATTERNS here
Now the legal stuff...You may sell items made from this pattern, but please credit me as the original designer. Also, please do not share the written pattern in print or electronically. The photos on this webpage belong to Megan Meyer of Left in Knots and may not be used for product sales/product listings. You may share a link back to my blog if you would like someone else to see or work with this pattern. Thank you for your cooperation and if you have any questions please feel free to contact me!
This post contains affiliate links. Thank you for supporting free patterns and yarn deals from Left in Knots!