A removable pom pom on your crochet project means that you will be able to wash your hat without ruining the pom pom. This techniques works for both yarn and faux fur pom poms. Keep reading for the easy tutorial and video.
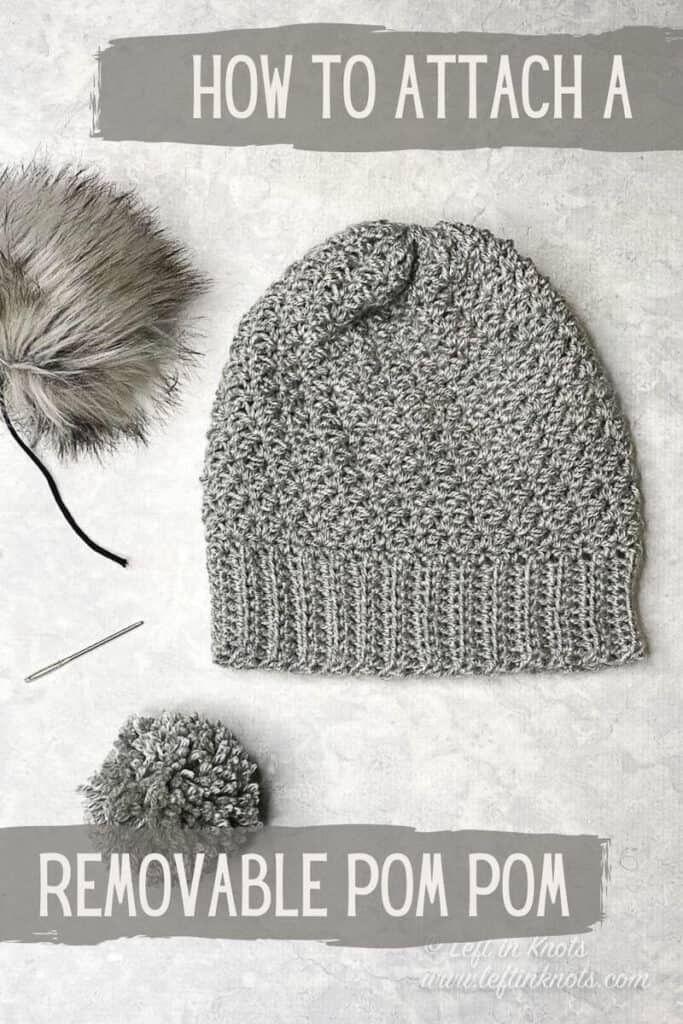
The Easiest Removable Pom Pom Tip
Can we speak honestly for a second? Faux fur pom poms are kind of expensive! They are beautiful, I appreciate the work artists put into making them, AND when I can I like to be able to preserve them and even use them on multiple hats.
The key to this tip is the yarn you use as your ties - so pay attention to that part! You can either watch my quick video tutorial or look at my step-by-step photos below. Either way, I hope you find it helpful!
How to Attach a Removable Pom Pom - Video Tutorial
This video tutorial loads with the page.
Attaching a Removable Pom Pom
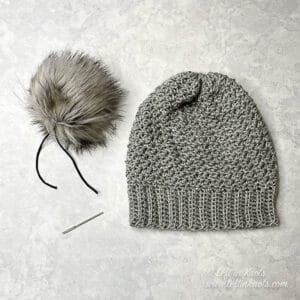
Step 1: Gather your supplies
All you need to attach a removable pom pom is a faux fur or yarn pom, yarn needle and the project you are attaching it to. You may also need yarn suitable for attaching a pom pom (more on that next).
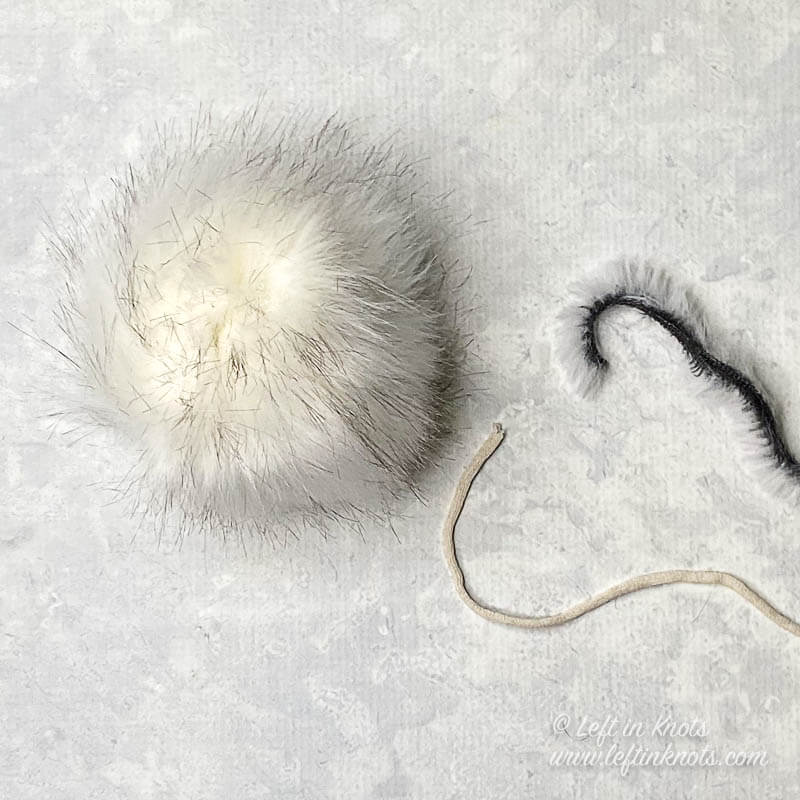
Step 2: Attach Ties
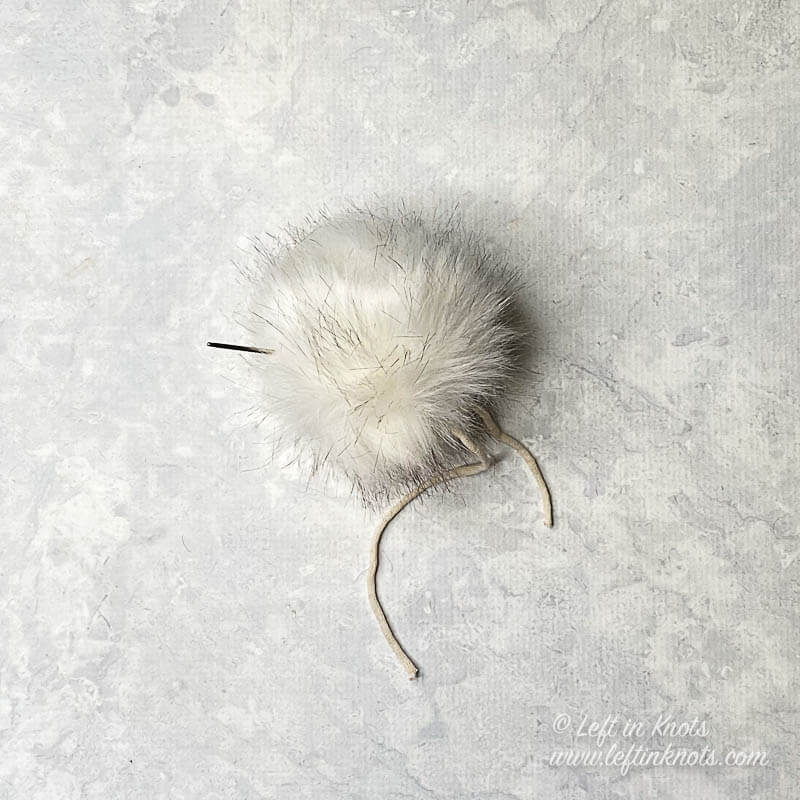
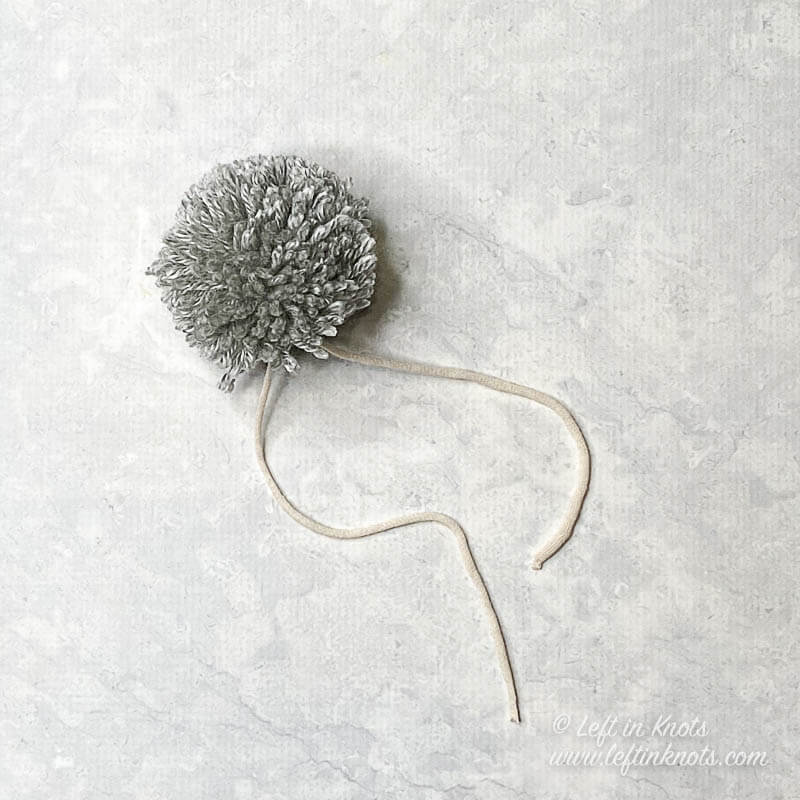
Many faux fur poms come with long strings for attaching them to your hat. Some come with a velcro loop and some come with nothing. Yarn pom poms can easily have ties made out of the same yarn as the pom, but I recommend replacing it.
Select a yarn that can be tied securely without breaking. Pictured below are Bernat Home Dec and Lion Brand Go for Faux. If you need to add ties to your pom pom, use a sharp yarn needle and sew through the center of pom pom as pictured below. This works for both faux fur and yarn pom poms. Did you know you can also crochet Faux Fur Pom Poms? Here's the free pattern.
Step 3: Place the Pom Pom
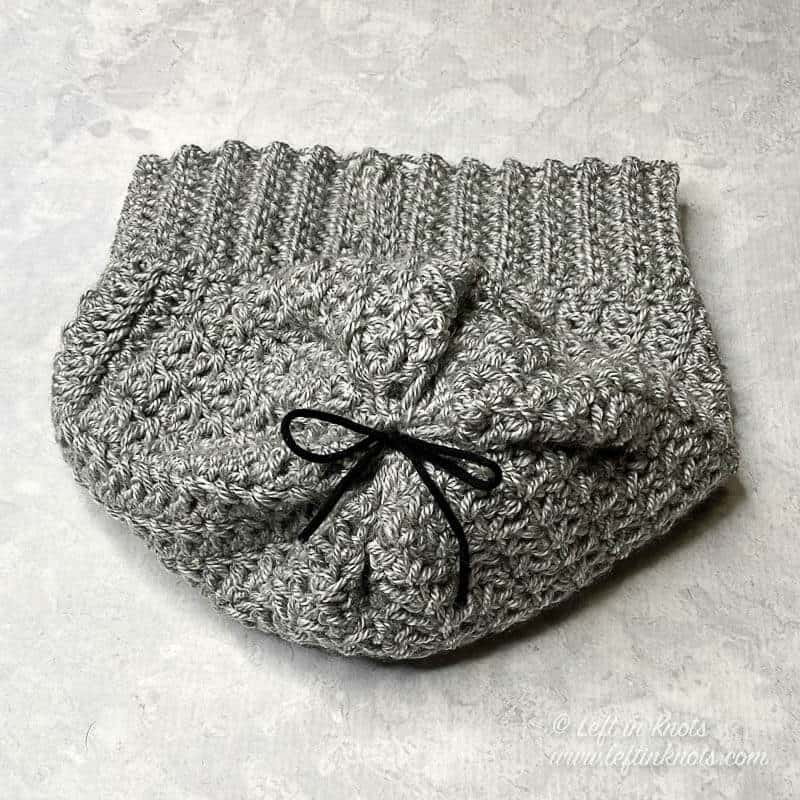
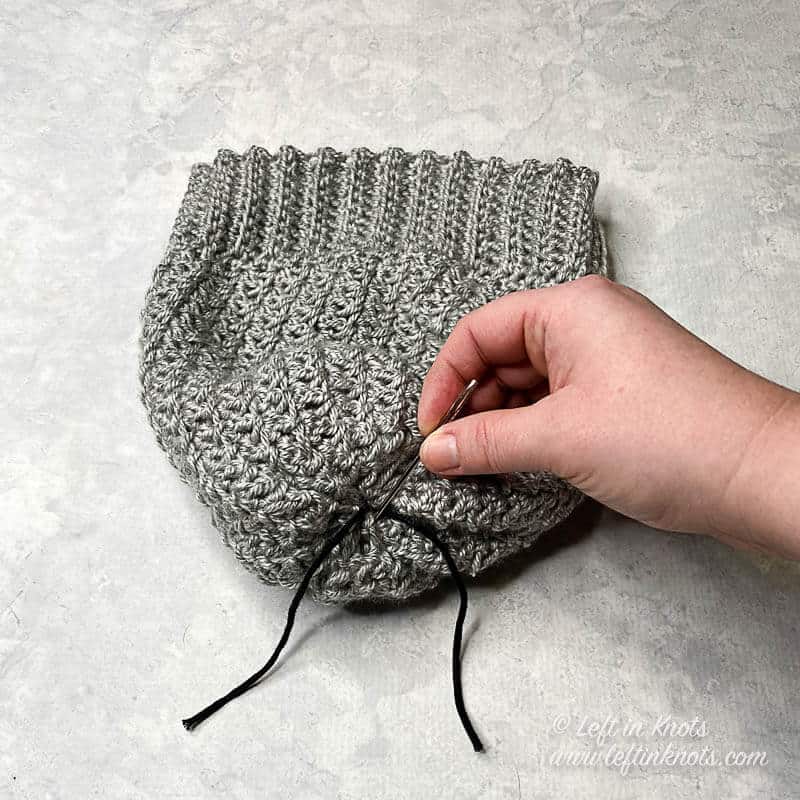
Insert the tie strings into the top of your hat (or whatever you are adding a pom pom to) about 1 inch apart.
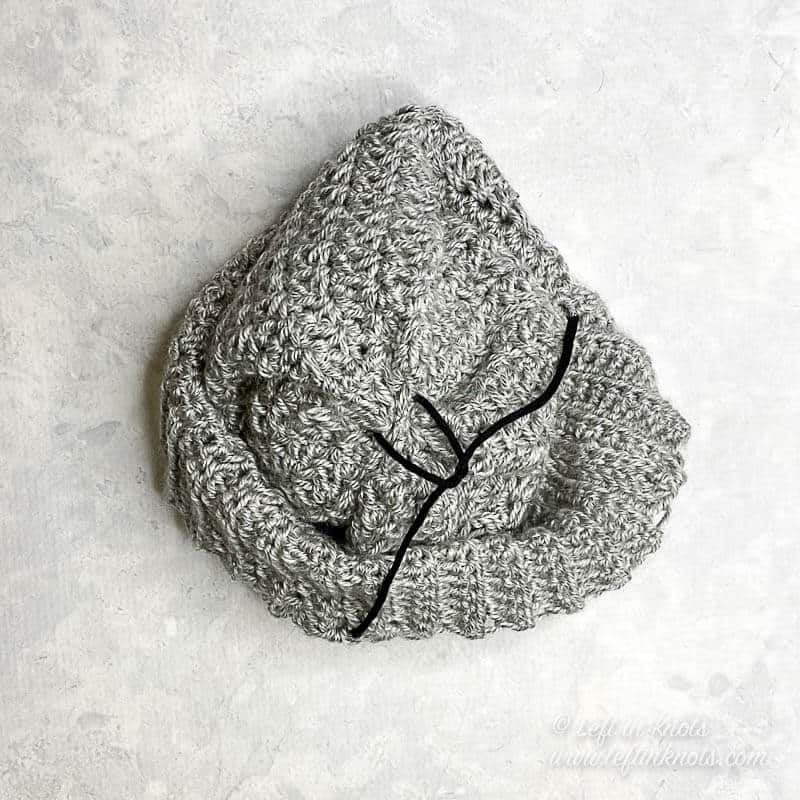
Step 4: Secure the Pom Pom
Tie the strings with one tight knot and a tight bow on the inside of the project.
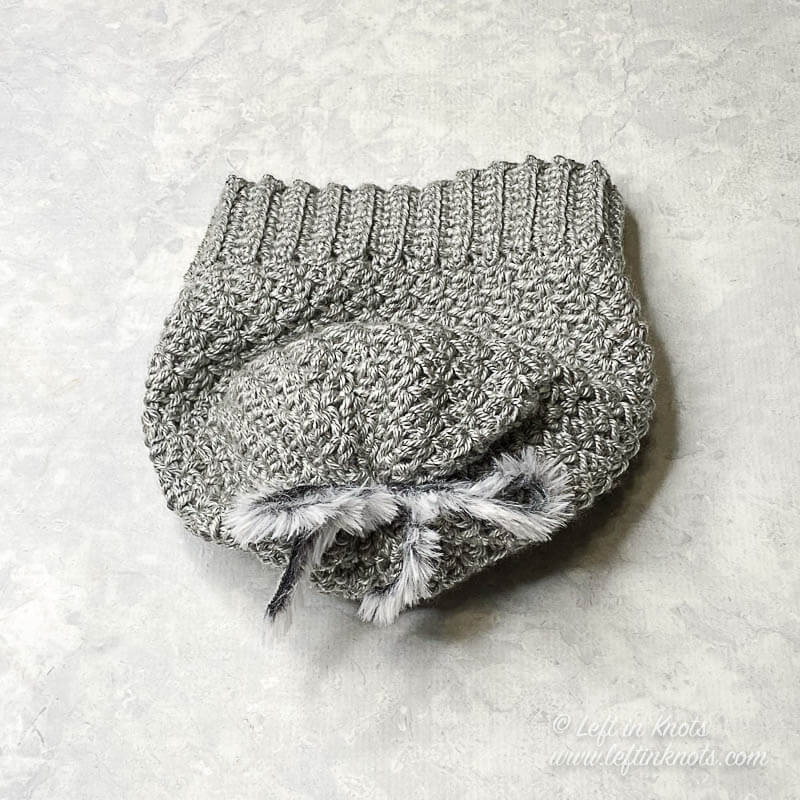
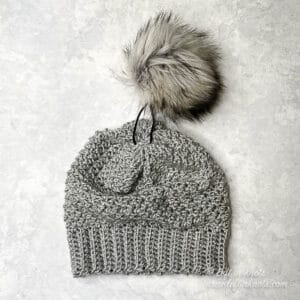
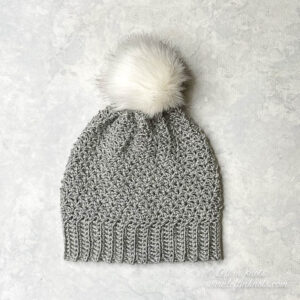
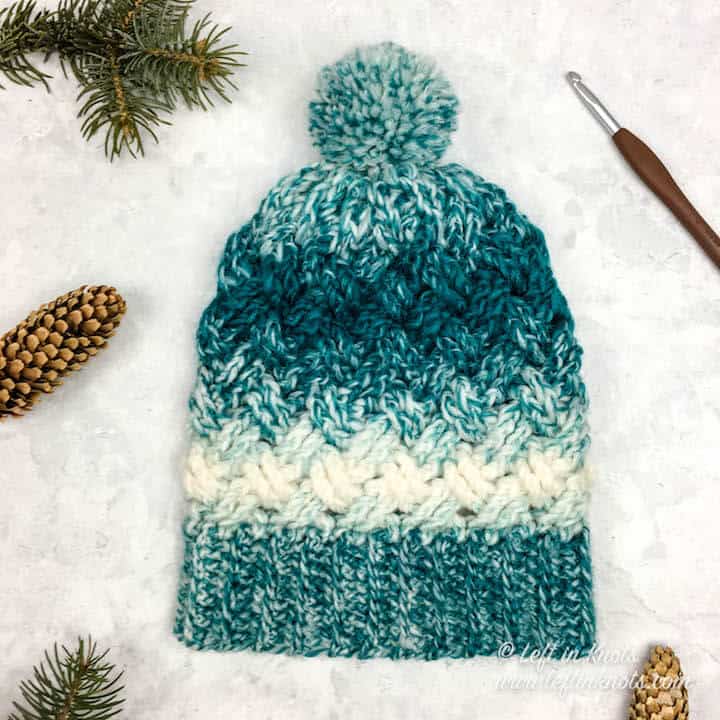
Step 5: Your Pom Pom is Ready to Show Off!
Turn your project right side out, and it is ready to use.
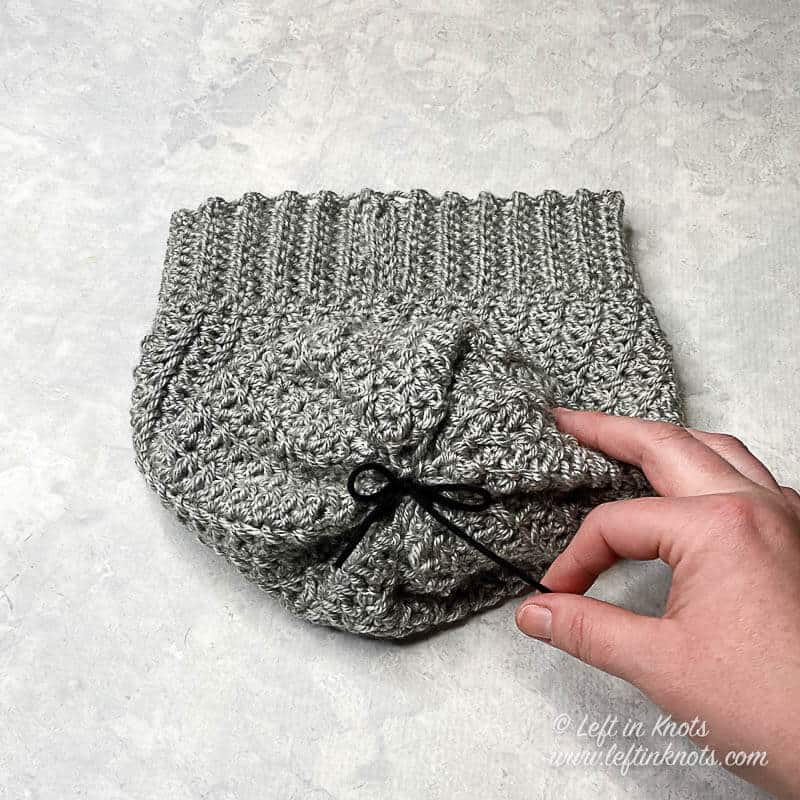
Step 6: Removing the Pom Pom
To remove the pom pom just untie the bow and knot. If your knot is tight and you are struggling with it, using a yarn needle to help ease it apart works well. Now you can change your pom, wash your hat, or change the look of your hat whenever you want to!

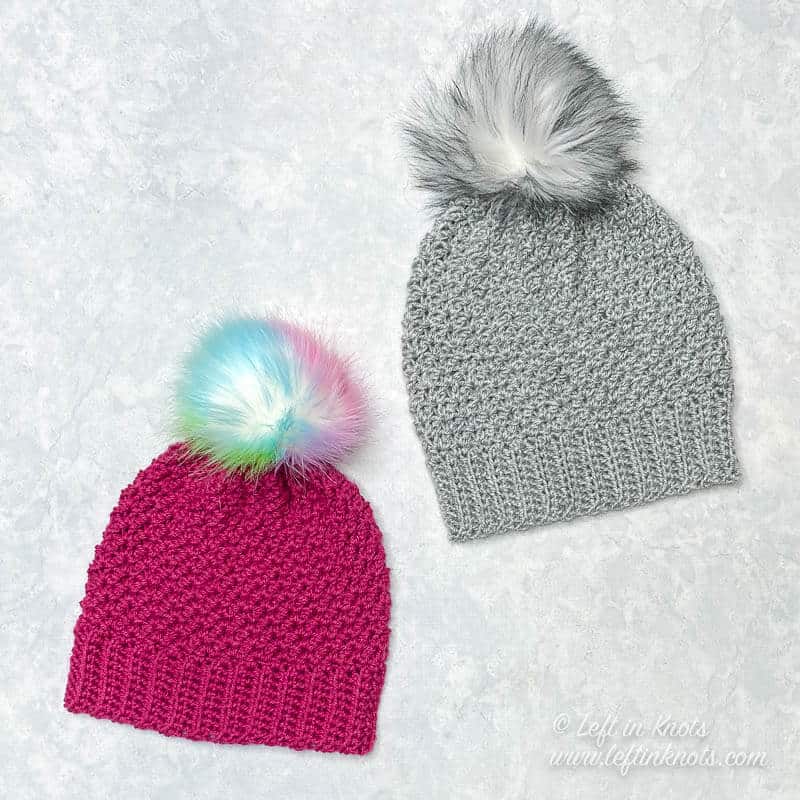
Now it's time to make a new hat to try this technique out! Check out these free hat crochet patterns:


This post contains affiliate links.