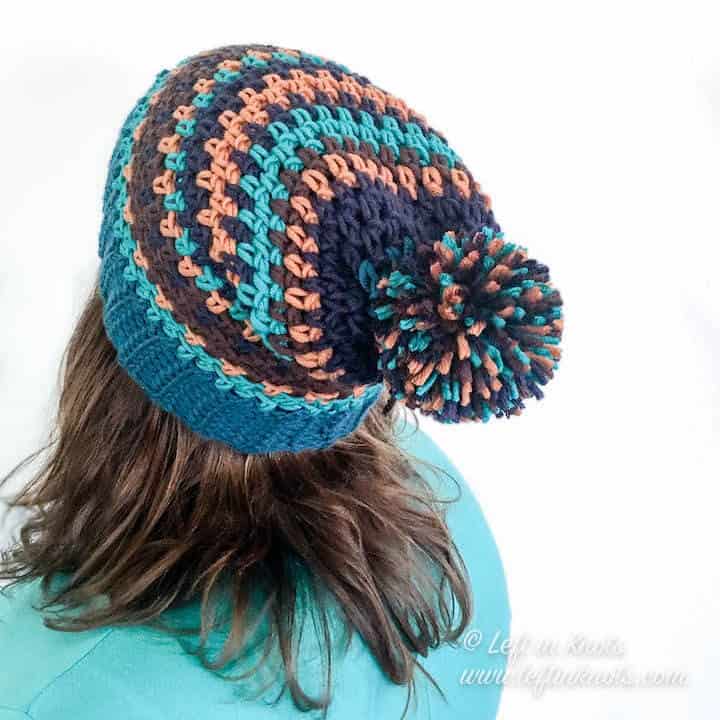
The crochet Moody Pumpkins Hat combines the simple moss stitch with random striping to create an eye catching piece you won’t want to be without this fall! Keep reading for the free crochet pattern.
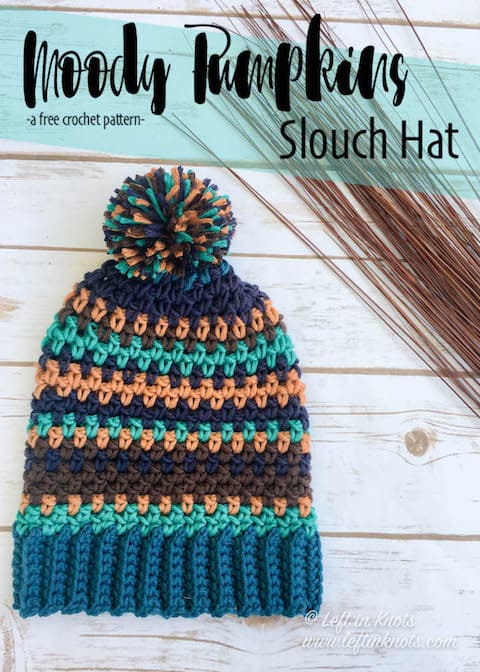
Crochet the Moody Pumpkins Hat as a Great Scrap Buster
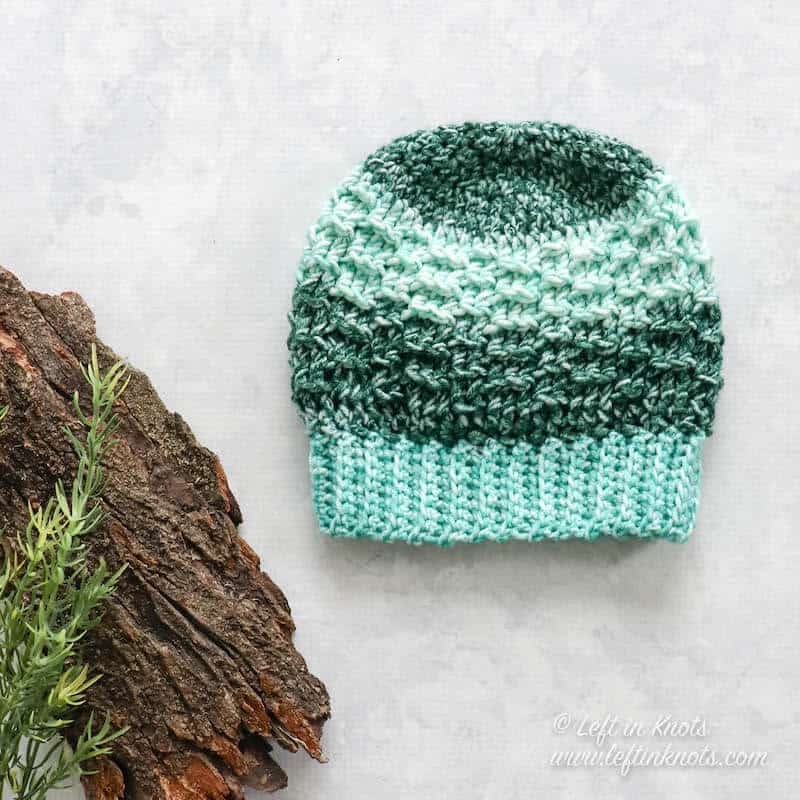
I love playing with color when I crochet, and I have been wanting to make a random stripes hat for a while now! Random striping is such a simple but effective way to create a stunning piece. And you also have the option to switch up your color changes so that each hat is different. This is also an excellent way to use up yarn scraps from your stash.

Yarnspirations new Caron x Pantone yarn worked fabulously for this pattern because it already had 5 separate colors combined for me to work with! This yarn is a lovely merino blend and is soooo soft. It can be a little bit splitty to work with, but I found if you keep a nice loose tension it actually works up beautifully and with nice stitch definition.
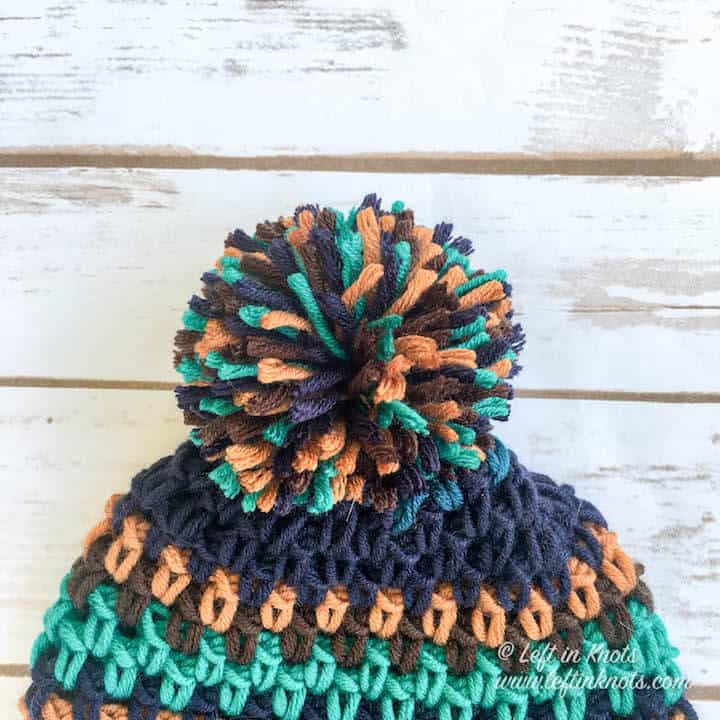
Top Your Hat with a Pom
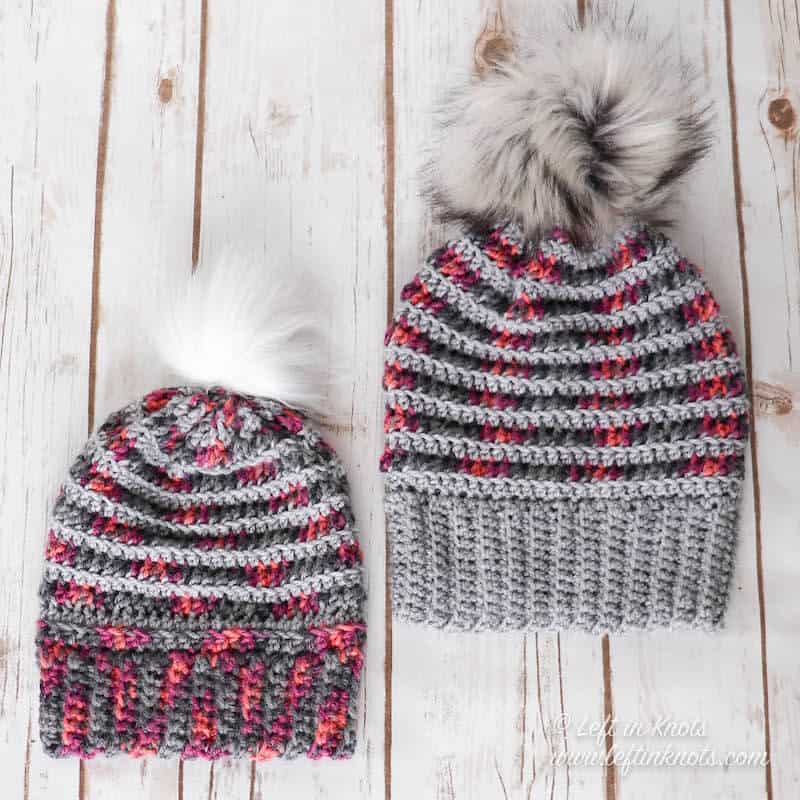
This yarn is a Category 5 bulky, so this hat works up quickly and it will be the perfect project for wearing immediately OR stashing away for future holiday gifts! I made my pom pom on top with all of the yarn colors combined, but I think this would also look fun with a faux fur pom on top as well. Find my favorite faux fur pom poms from ThreadHead Knits Co. here.
Moody Pumpkins Hat - Free Crochet Pattern
Supplies:
- Caron x Pantone yarn (2 skeins of ‘Moody Pumpkin’ pictured) or about 135 yards of a comparable category 5 yarn. If you substitute yarn be sure to check the gauge. I did have yarn left over from my 2 skeins.
- 6.0mm crochet hook (I LOVE Clover Amour)
- Scissors - I always keep these travel scissors in my hook case
- Yarn needle
- Pom pom maker or a faux fur pom pom (optional)
Abbreviations (written in U.S. terms):
- ch: chain
- sl st: slip stitch
- BLO: back loop only
- SC: single crochet
- SC2Tog: single crochet two together
Helpful Video Tutorials
How to Crochet SC Ribbing - the Right Handed video loads with the page
Find the left handed tutorial here
Gauge
11 sts x 13 rows = 4” square
Finished Size:
- Width: 9”
- Length: 11”
Pattern Notes
- ch stitches at the beginning of rows/rounds do not count as a stitch
- the end of each round is attached to the first stitch of the round with a sl st
- the main part of this hat is crocheted using the granite/moss stitch
- continue with current color until a change is stated in the pattern
- Color A = 19-4340; Color B= 17-5034; Color C= 18-1163; Color D= 19-0915; Color E= 19-4024
Instructions
Note: You will be working in rows first to make the ribbed edge of the hat
ch 9
Row 1 (Color A): SC in the second ch from the hook and SC across (8). Turn.
Row 2-50: ch 1, SC in the BLO across (12). Turn.
When you finish the ribbed band, fold it so that Row 1 and 50 are on top of on another. Working through the back loop of Row 50 and the front loop of Row 1, seam the two rows together by slip stitching across. Do not cut your yarn. Continue on to work in rounds along the “raw” edge of ribbed band.
Round 1 (Color B): ch 1, SC around the top of the band working one stitch per row (50). Attach to first SC of the round with a sl st.
Round 2: ch 1, *SC, ch 1, skip 1, repeat from * around. Attach to the first SC of the round with a sl st (50).
Round 3 (Color C): ch 2, skip 1, SC in ch space from previous round, *ch 1, skip 1, SC in the ch space from the previous round, repeat from * around. Attach to the 2nd ch from the starting ch 2 with a sl st. (50)
***Continue repeating Round 2 (on even rounds) and Round 3 (on odd rounds). The instruction for Rounds 4-22 will indicate color only.***
Round 4-6: Color D
Round 7: Color E
Round 8: Color D
Round 9: Color C
Round 10: Color B
Round 11-12: Color E
Round 13-14: Color C
Round 15: Color E
Round 16-17: Color B
Round 18: Color D
Round 19: Color C
Round 20-22: Color E
Round 23 (Color A): ch 1, *SC in next 3 sts, SC2Tog, repeat from * around (40). Join to the first st of the round with a sl st.
Round 24: ch 1, *SC2Tog around (20). Join to the first st of the round with a sl st.
Tie off leaving a long (approx. 12”) tail of yarn. Using a yarn needle, weave the yarn back and forth through the stitches of Round 24. Pull tight to cinch the top of the hat closed. Make and attach a pom pom if desired. Weave in all ends.
More Free Crochet Patterns You'll Love

Find all FREE CROCHET PATTERNS here
Now the legal stuff...You may sell items made from this pattern, but please credit me as the original designer. Also, please do not share the written pattern in print or electronically. The photos on this webpage belong to Megan Meyer of Left in Knots and may not be used for product sales/product listings. You may share a link back to my blog if you would like someone else to see or work with this pattern. Thank you for your cooperation and if you have any questions please feel free to contact me!
This post contains affiliate links. I receive a small commission for any purchases made through these links at no additional charge to you.