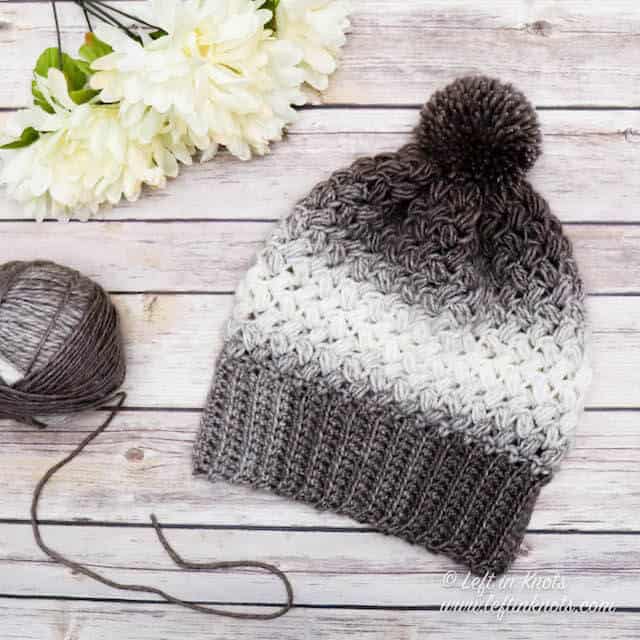
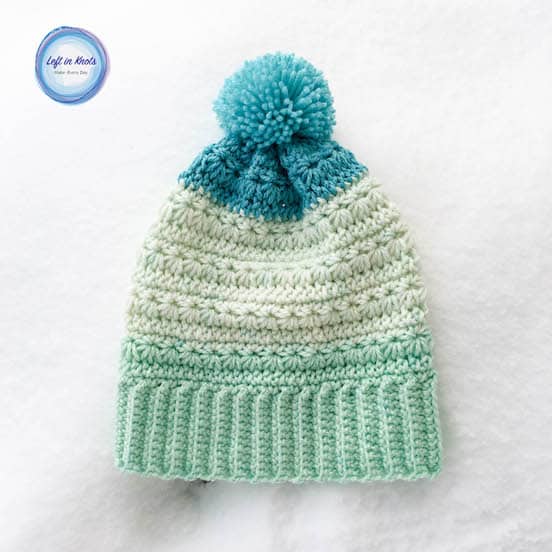
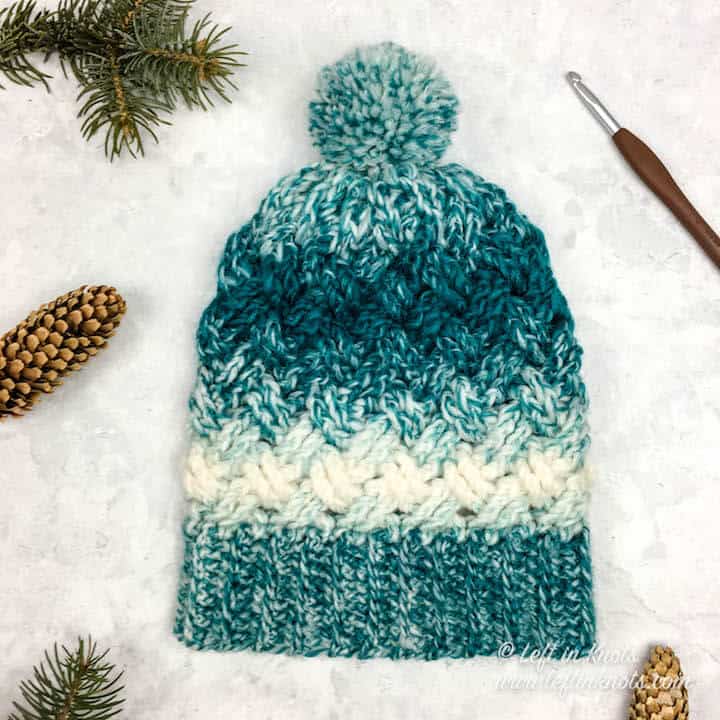
Crochet the heart stitch hat using the heart puff stitch, ribbed edging, and just one skein of yarn to make a cute beanie in multiple sizes. Keep reading for the free crochet pattern.
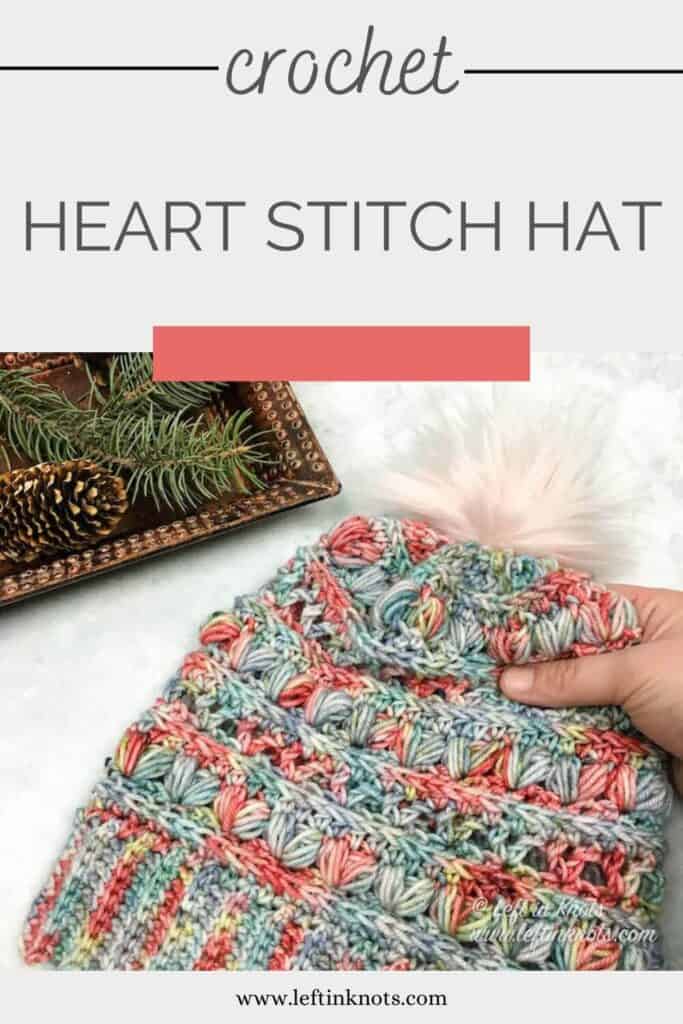
Crochet the Heart Stitch Hat in 3 Different Sizes
I have heard people reference so many times a “special skein” of yarn in their stash that they just aren’t sure what to use it on. Crochet the Heart Stitch Hat with just one skein! No hand-dyed yarn in your stash? No problem! I am also going to work these patterns up using a more widely available and more budget friendly yarn. The beanie is shown in the stunning hand dyed yarn and the always beautiful Lion Brand Heartland yarn and it can be made in toddler, child, and adult sizes.
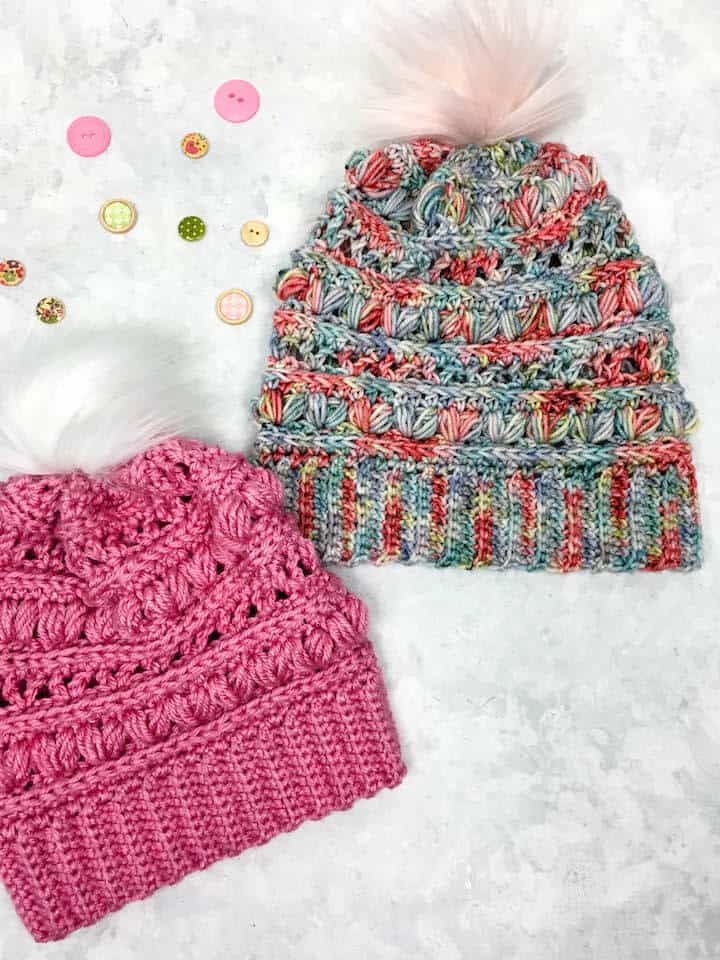
Crochet with Hand Dyed Yarn
This crochet pattern was made to feature Sewrella Yarn for the adult size (eh hem..mine that I'm keeping). The colorway I used was ‘Sushi Roll’, and I LOVE the huge variation in color that you get with this yarn. Every heart stitch ends up looking a little different and it really makes them stand out.
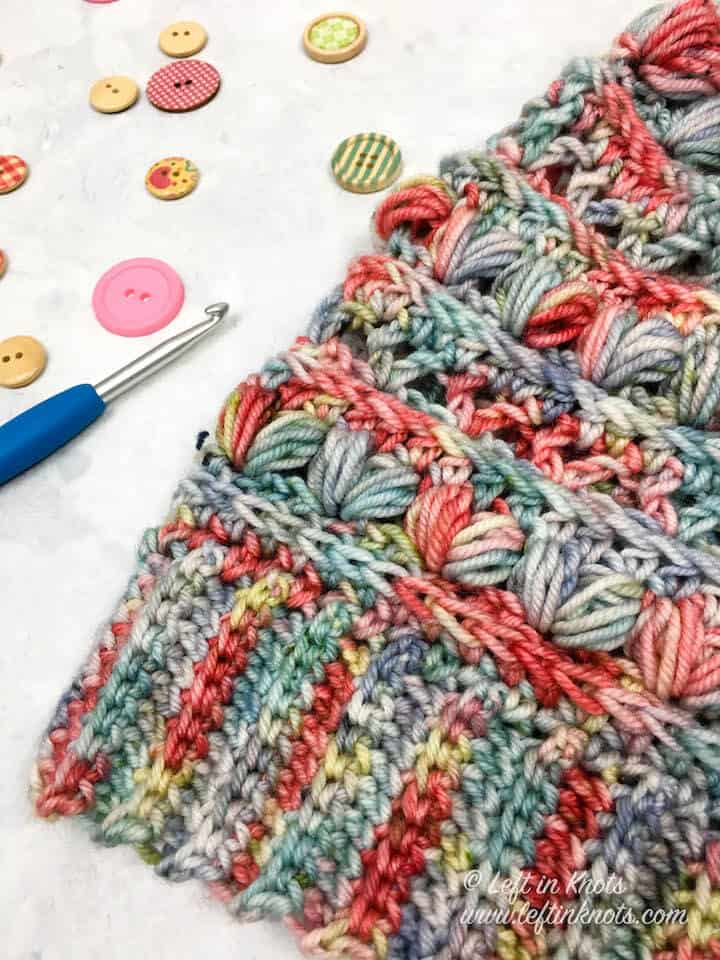
Crochet Heart Stitch for Valentine's Day
I selected this colorway for a subtle Valentine’s themed hat. I say subtle, because this hat can really be worn all fall and winter long with that amazing texture of the puff stitches! But with the heart shaped puff stitches it gives the hat a special Valentine’s flare around this time of year. And of course I had to top mine with a blush pom for the final romantic touch. I wrote up this pattern in 3 sizes, toddler-adult, so you can crochet it for any Valentine on your list this year.
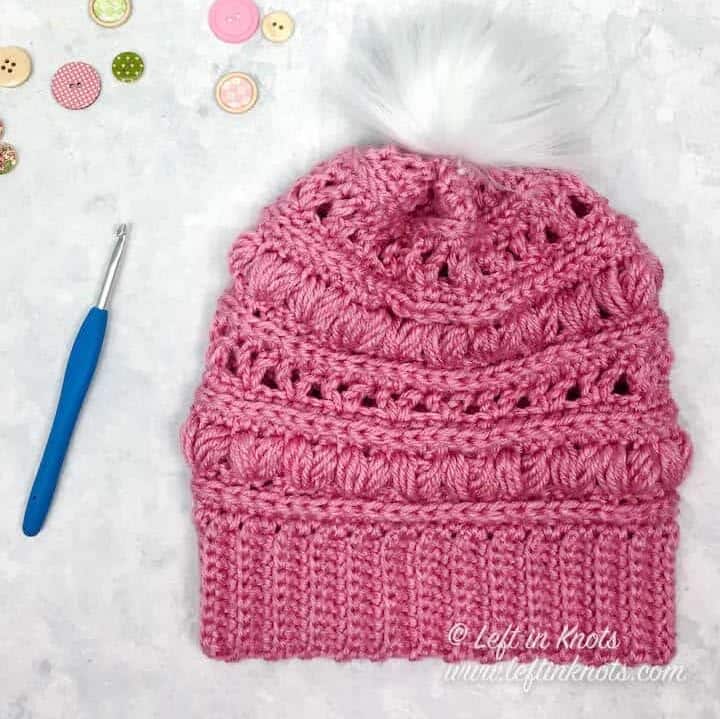
Pink Crochet Heart Stitches
Now I know that hand-dyed yarn isn’t always the easiest to come by, so for the child sized sample I used Lion Brand Heartland yarn and I am happy to say that I am equally pleased with the results! The gauge was very similar (but always check!) and the texture of the heart puff stitches is so pretty in a solid color. If you want to make your little Valentine a different hat, the Crochet Crinkle Beanie is also a cute option!
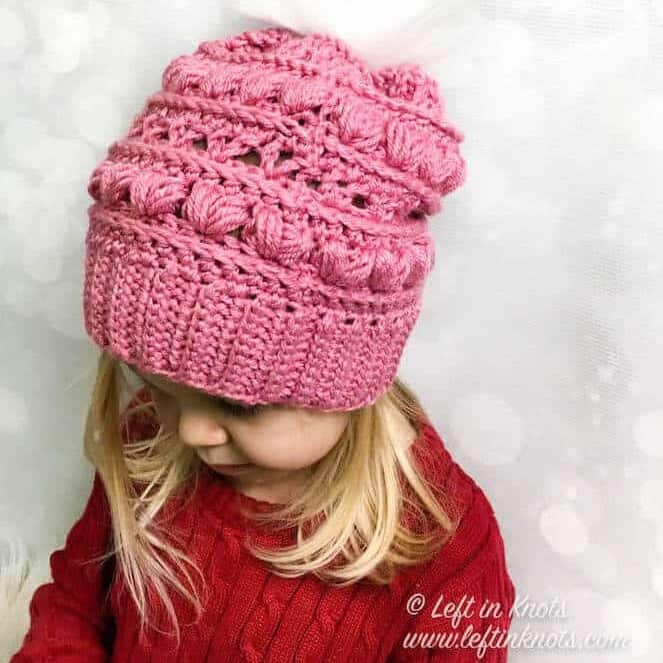
Show off Your Crochet Projects
Don’t forget to share pictures of your projects with me in my Facebook Group or by tagging @leftinknots on Instagram. I can’t wait to see what you make!
Heart Stitch Hat - Free Crochet Pattern
Supplies:
- Approx. 200 yards of a Category 3 or 4 yarn - I used a hand-dyed worsted weight yarn from Sewrella Yarn in ‘Sushi Roll’ for the adult size. This yarn was a light worsted weight yarn. Please check your gauge. To show the pattern in a more mainstream yarn I used Lion Brand Heartland for the child sized hat.
- H/5.0mm crochet hook - I love Clover Amour or check out these adorable custom polymer clay hooks!
- Scissors - I always keep these travel scissors in my hook case
- Yarn needle
- Faux fur pom or make your own Faux Fur Pom Pom with this free crochet pattern!
Abbreviations (written in U.S. terms):
- ch: chain
- sl st: slip stitch
- BLO: back loop only
- SC: single crochet
- SC2Tog: single crochet two together
- HDC: half double crochet
- Puff: (Yarn over hook and pull up a loop) repeat 4 times. You will have 9 loops on your hook. Yarn over and pull through all 9 loops.
- DCV: double crochet v-stitch - (double crochet, ch 1, double crochet) into one stitch
Video Tutorials To Help You Get Started:
How to Crochet SC Ribbing - the Right Handed video loads with the page
Find the left handed tutorial here
How to Crochet the Puff Stitch - Left Handed Video (the right handed video will load with the page.)
Gauge
9 sts x 7 rows = 2” square in BLO SC
Finished Size:
- Adult Width = 9"
- Adult Length = 10"
- Child Width = 8.5”
- Child Height = 9”
- Toddler Width = 8”
- Toddler Height = 8”
Pattern Notes
- Chain stitches at the beginning of rows/rounds do not count as a stitch
- The end of each round is joined to the first stitch of the round with a sl st.
Instructions
Toddler
Bottom Ribbing - Working in Rows
ch 7
Row 1: SC in the second ch from the hook and SC across (6). Turn
Row 2-54: ch 1, working in BLO, SC across (6). Turn.
When you finish the ribbed band, fold it so that Row 1 and 54 are on top of one another. Working through the back loop of Row 54 and the front loop of Row 1, seam the two rows together by slip stitching across. Do not cut your yarn. Continue on to work in rounds along the “raw” edge of ribbed band.
Round 1: ch 1, HDC around the top of the band working one stitch per row (54). Attach to the first st of the round with a sl st.
Round 2: ch 1, SC in the third loop around (54). Attach to the first st of the round with a sl st.
Round 3: ch 2, skip 1, (puff, ch 1, puff), *skip 2, (puff, ch 1, puff), repeat from * 16 more times, skip the last st and sl st into the first st of the round (18 puff-v sts)
Round 4: ch 1, HDC around (54). Attach to the first st of the round with a sl st.
Round 5: ch 1, SC in the third loop around (54). Attach to the first st of the round with a sl st.
Round 6: ch 1, skip 1, DCV, *skip 2, DCV, repeat from * 16 more times, skip the last st and sl st into the first st of the round (18 DCV)
Round 7: ch 1, HDC around (54). Attach to the first st of the round with a sl st.
Round 8: ch 1, SC in the third loop around (54). Attach to the first st of the round with a sl st.
Round 9-14: Repeat Rounds 3-8
Round 15: ch 1, SC2Tog around (27). Attach to the first st of the round with a sl st.
Round 16: ch 1, SC2Tog around, SC in the last st (14). Attach to the first st of the round with a sl st.
Tie off leaving a long (approx. 12”) tail of yarn. Using a yarn needle, weave the yarn back and forth through the stitches of Round 16. Pull tight to cinch the top of the hat closed. Make and attach a pom pom if desired. Weave in all ends
Child
Bottom Ribbing - Working in Rows
ch 11
Row 1: SC in the second ch from the hook and SC across (10). Turn
Row 2-57: ch 1, working in BLO, SC across (10). Turn.
When you finish the ribbed band, fold it so that Row 1 and 57 are on top of one another. Working through the back loop of Row 57 and the front loop of Row 1, seam the two rows together by slip stitching across. Do not cut your yarn. Continue on to work in rounds along the “raw” edge of ribbed band.
Round 1: ch 1, SC around the top of the band working one stitch per row (57). Attach to first SC of the round with a sl st.
Round 2: ch 1, HDC around (57). Attach to the first st of the round with a sl st.
Round 3: ch 1, SC in the third loop around (57). Attach to the first st of the round with a sl st.
Round 4: ch 2, skip 1, (puff, ch 1, puff), *skip 2, (puff, ch 1, puff), repeat from * 17 more times, skip the last st and sl st into the first st of the round (19 puff-v sts)
Round 5: ch 1, HDC around (57). Attach to the first st of the round with a sl st.
Round 6: ch 1, SC in the third loop around (57). Attach to the first st of the round with a sl st.
Round 7: ch 1, skip 1, DCV, *skip 2, DCV, repeat from * 17 more times, skip the last st and sl st into the first st of the round (19 DCV)
Round 8: ch 1, HDC around (57). Attach to the first st of the round with a sl st.
Round 9: ch 1, SC in the third loop around (57). Attach to the first st of the round with a sl st.
Round 10-15: Repeat Rounds 4-9
Round 16: ch 1, SC2Tog around, SC in the last st (29). Attach to the first st of the round with a sl st.
Round 17: ch 1, SC2Tog around, SC in the last st (15). Attach to the first st of the round with a sl st.
Tie off leaving a long (approx. 12”) tail of yarn. Using a yarn needle, weave the yarn back and forth through the stitches of Round 17. Pull tight to cinch the top of the hat closed. Make and attach a pom pom if desired. Weave in all ends
Adult
Bottom Ribbing - Working in Rows
ch 11
Row 1: SC in the second ch from the hook and SC across (10). Turn
Row 2-60: ch 1, working in BLO, SC across (10). Turn.
When you finish the ribbed band, fold it so that Row 1 and 60 are on top of one another. Working through the back loop of Row 60 and the front loop of Row 1, seam the two rows together by slip stitching across. Do not cut your yarn. Continue on to work in rounds along the “raw” edge of ribbed band.
Round 1: ch 1, SC around the top of the band working one stitch per row (60). Attach to first SC of the round with a sl st.
Round 2: ch 1, HDC around (60). Attach to the first st of the round with a sl st.
Round 3: ch 1, SC in the third loop around (60). Attach to the first st of the round with a sl st.
Round 4: ch 2, skip 1, (puff, ch 1, puff), *skip 2, (puff, ch 1, puff), repeat from * 18 more times, skip the last st and sl st into the first st of the round (20 puff-v sts)
Round 5: ch 1, HDC around (60). Attach to the first st of the round with a sl st.
Round 6: ch 1, SC in the third loop around (60). Attach to the first st of the round with a sl st.
Round 7: ch 1, skip 1, DCV, *skip 2, DCV, repeat from * 18 more times, skip the last st and sl st into the first st of the round (20 DCV)
Round 8: ch 1, HDC around (60). Attach to the first st of the round with a sl st.
Round 9: ch 1, SC in the third loop around (60). Attach to the first st of the round with a sl st.
Round 10: ch 2, skip 1, (puff, ch 1, puff), *skip 2, (puff, ch 1, puff), repeat from * 18 more times, skip the last st and sl st into the first st of the round (20 puff-v sts)
Round 11-16: repeat Rounds 5-10
Round 17: ch 1, HDC around (60). Attach to the first st of the round with a sl st.
Round 18: ch 1, SC in the third loop around (60). Attach to the first st of the round with a sl st.
Round 19: ch 1, SC2Tog around (30). Attach to the first st of the round with a sl st.
Round 20: ch 1, SC2Tog around (15). Attach to the first st of the round with a sl st.
Tie off leaving a long (approx. 12”) tail of yarn. Using a yarn needle, weave the yarn back and forth through the stitches of Round 20. Pull tight to cinch the top of the hat closed. Make and attach a pom pom if desired. Weave in all ends
More Free Crochet Patterns You'll Love
Find all FREE CROCHET PATTERNS here
Now the legal stuff...You may sell items made from this pattern, but please credit me as the original designer. Also, please do not share the written pattern in print or electronically. The photos on this webpage belong to Megan Meyer of Left in Knots and may not be used for product sales/product listings. You may share a link back to my blog if you would like someone else to see or work with this pattern. Thank you for your cooperation and if you have any questions please feel free to contact me!
This post contains affiliate links. I receive a small commission for any purchases made through these links at no additional charge to you.

