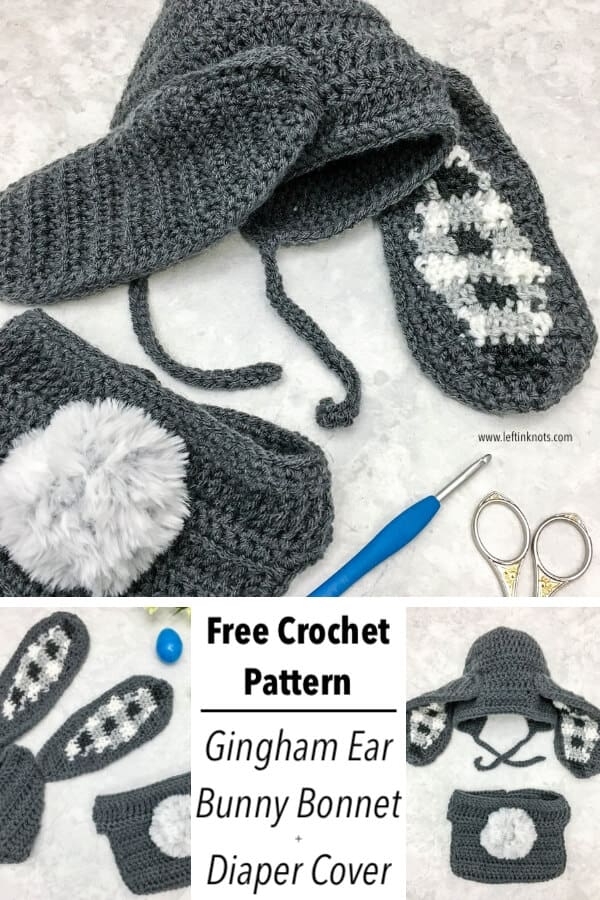
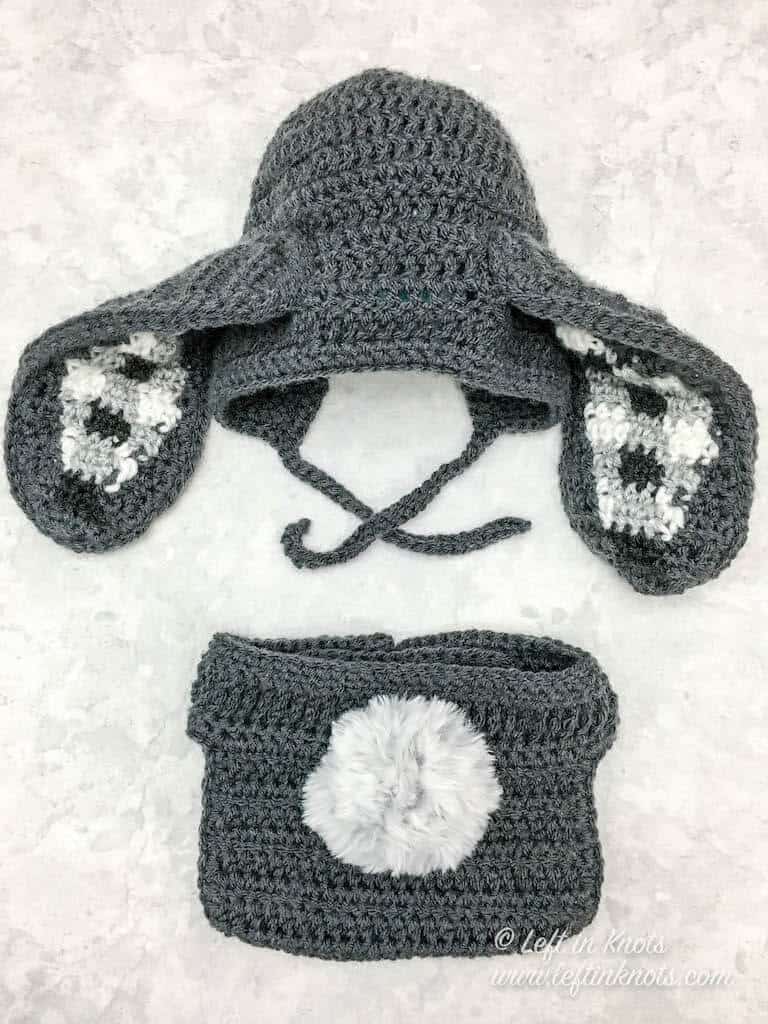
Use this free pattern to make a cute baby or toddler crochet bunny photo prop set for spring. This easy bunny bonnet and diaper cover is accented with modern gingham ears and a fluffy bunny faux fur pom tail. Use this set around Easter time or as a photo prop for spring babies. Keep reading for the free crochet pattern.
A Perfect Pattern for Crochet Photo Props
When I published my basic crochet bonnet pattern a few weeks ago, I mentioned that I like to use that pattern as a base for other ideas. This bunny bonnet is exhibit A! The easy bonnet base works up quickly, and can be made by itself for older kids or adults. OR pair it with a cute little cottontail diaper cover for babies and toddlers.
Crochet this Diaper Cover as a Baby Gift
I made this set for my son who is almost a year old. I would have loved to share some pictures with you of him wearing it, but he is unfortunately speedy and it was actually impossible to get a decent picture of him toddling around in this. (I remember lamenting similar problems when my daughter was this age 3 years ago!) Regardless, this would make such a CUTE photo prop for spring babies or babies celebrating their first Easter!
Show off Your Crochet Projects
Don’t forget to share pictures of your projects with me in my Facebook Group or by tagging @leftinknots on Instagram. I can’t wait to see what you make!
Crochet Bunny Photo Prop with Gingham Print - Free Pattern
Supplies:
- Worsted weight yarn (Category 4) -approx. 290 yards for the primary color; small amounts of colors used in gingham print (Lion Brand Yarn Vanna’s Choice in ‘Dark Grey Heather’, ‘Charcoal Grey’, ‘Silver Heather’ and ‘White’ pictured)
- Lion Brand ‘Go For Faux’ yarn -OR- a faux fur pom pom for the bunny tail
- I/5.5 mm crochet hook - Clover Amour are my favorites!
- Scissors - I always keep these travel scissors in my hook case
- Yarn needle
Abbreviations (written in U.S. terms):
- Sl St: slip stitch
- Ch: chain
- SC: single crochet
- SC2Tog: single crochet two together
- HDC: half double crochet
- HDC2Tog: half double crochet two together
- DC: double crochet
- DC2Tog: double crochet two together
Gauge
6 sts x 4 rows = 2” square in DC
Finished Size:
Child (Small) Height = 9”
Child (Small) Width = 8.25”
Toddler Height = 8”
Toddler Width = 7.5”
Baby Height = 7”
Baby Width = 6.75”
Ears Length = 10.25”
Ears Width = 4.25”
Magic Circle Video Tutorial
How to Crochet the Magic Cirlce - the right handed video loads with the page
Find the left handed tutorial here
Pattern Notes
- Chain stitches at the beginning of rounds/rows do not count as a stitch
- The end of each round is joined to the first stitch of the round with a sl st.
- The ties on the bonnet are optional, and should not be used on bonnets for unsupervised babies or toddlers.
- The bunny ears are only written in one size, and they are shown on a small child sized bonnet. If you would like the ears to be smaller, try going down a hook size or two.
Instructions
Bonnet
Baby
Start by making a magic circle
Round 1: ch 2, DC 11 stitches in magic circle (11)
Round 2: ch 2, 2 DC in each st around (22)
Round 3: ch 2, *2 DC, DC in next st, repeat from * around (33)
Round 4: ch 2, *2 DC, DC in next two sts, repeat from * around (44)
Round 5-6: ch 2, DC in each st around (44)
**You will now be working in rows**
Row 7-10: ch 2, DC in 42 sts. (42) Turn.
Row 11: ch 2, DC2Tog, DC in 38 sts, DC2Tog. (40) Turn.
Row 12: ch 1, *SC2Tog, SC in 6, repeat from * across (35) Turn.
Row 13: ch 1, SC in each st across (35).
Continue to make the ears.
Toddler
Start by making a magic circle
Round 1: ch 2, DC 10 stitches in magic circle (10)
Round 2: ch 2, 2 DC in each st around (20)
Round 3: ch 2, *2 DC, DC in next st, repeat from * around (30)
Round 4: ch 2, *2 DC, DC in next two sts, repeat from * around (40)
Round 5: ch 2, *2 DC, DC in next three sts, repeat from * around (50)
Round 6-7: ch 2, DC in each st around (50)
**You will now be working in rows**
Row 8-12: ch 2, DC in 48 sts. (48) Turn.
Row 13: ch 1, *SC2Tog, SC in 4, repeat from * across (40) Turn.
Row 14: ch 1, SC in each st across (40).
Continue to make the ears.
Child (small)
Start by making a magic circle
Round 1: ch 2, DC 11 stitches in magic circle (11)
Round 2: ch 2, 2 DC in each st around (22)
Round 3: ch 2, *2 DC, DC in next st, repeat from * around (33)
Round 4: ch 2, *2 DC, DC in next two sts, repeat from * around (44)
Round 5: ch 2, *2 DC, DC in next three sts, repeat from * around (55)
Round 6-7: ch 2, DC in each st around (55)
**You will now be working in rows**
Row 8-12: ch 2, DC in 52 sts. (52) Turn.
Row 13: ch 2, DC2Tog, DC in 48 sts, DC2Tog. (50) Turn.
Row 14: ch 1, *SC2Tog, SC in 8, repeat from * across (45) Turn.
Row 15: ch 1, SC in each st across (45).
Continue to finishing instructions.
Finishing Instructions
Basic Bonnet (no ties)
When you reach the edge of your final row, do not tie off your yarn. Chain 1 and SC around the raw edge of the bottom of the bonnet (Figure 1). When you reach the end of the raw edge, sl st to join into the first stitch of your last row.
Bonnet with ties
When you reach the edge of your final row, do not tie off your yarn. Chain 25. SC into the second chain from your hook and across all the chain stitched. Continue to SC around the raw edge of the bottom of the bonnet (Figure 2). When you reach the end of the raw edge, chain 25. SC into the second chain from the hook and across all the chain stitches. When you reach the end of the chain stitches, sl st to join into the first stitch of your last row.
Continue to make the ears.
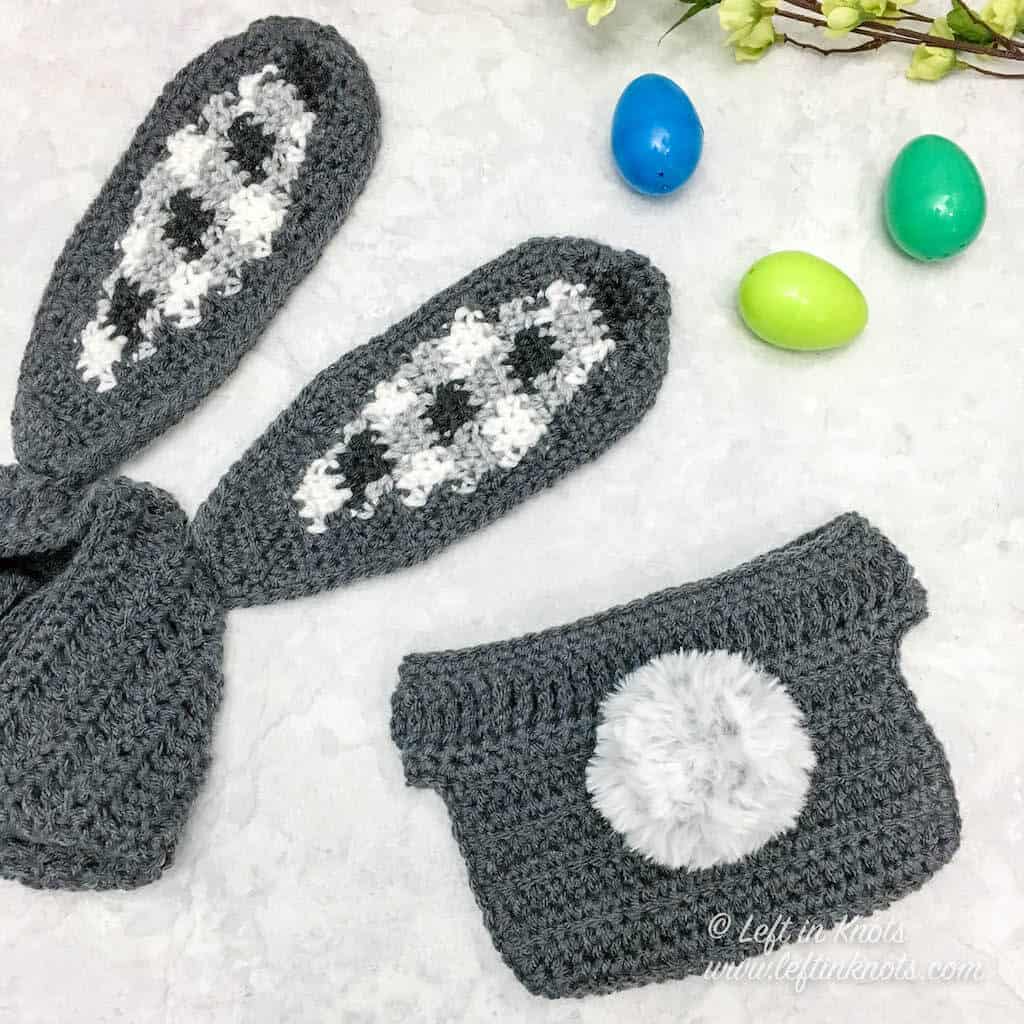
Ears (make 2 solid color; 2 gingham print)
ch 6
Row 1: HDC in the second ch from the hook and HDC across (5). Turn
Row 2: ch 1, HDC across (5). Turn
Row 3: ch 1, 2 HDC in first st, HDC in 5, 2 HDC in last st (7). Turn
Row 4: ch 1, HDC across (7). Turn.
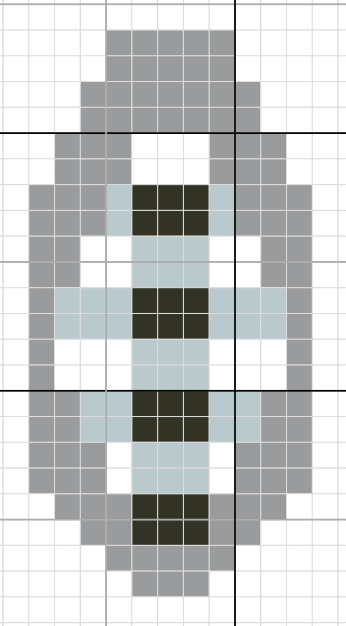
** for the gingham print ears, start following the chart for color changes now. I will not indicate color changes in the written pattern**
Row 5: ch 1, 2 HDC in first st, HDC in 7, 2 HDC in last st (9). Turn
Row 6: ch 1, HDC across (9). Turn.
Row 7: ch 1, 2 HDC in first st, HDC in 9, 2 HDC in last st (11). Turn
Row 8-18: ch 1, HDC across (11). Turn.
Row 19: ch 1, HDC2Tog, HDC in 7, HDC2Tog (9). Turn.
Row 20: ch 1, HDC2Tog, HDC in 5, HDC2Tog (7). Turn.
Row 21: ch 1, HDC2Tog, HDC in 3, HDC2Tog (5). Turn.
Row 22: ch 1, HDC2Tog, HDC in 1, HDC2Tog (3). Turn.
Take a solid ear and a gingham ear and place them on top of one another (the yarn ends from the gingham should be on the inside of the ear). Attach your yarn through both layers of ear and SC around. Repeat with the other two ear pieces.
Place ears in desired location on bonnet and sew into place using yarn and a yarn needle.
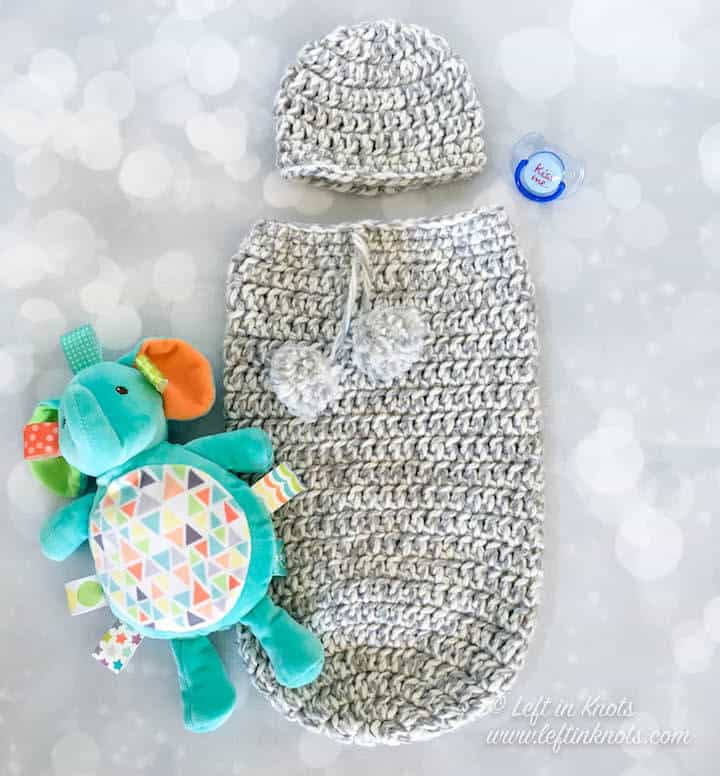
Diaper Cover
Find the free crochet pattern for the diaper cover here
Bunny Tail
Start with a Magic Circle
Round 1: ch 1, work 5 SC into your magic circle and pull tight. Attach to the first st of the round with a sl st. (5)
Round 2: ch 1, 2 SC in each stitch around. Attach to the first st of the round with a sl st. (10)
Round 3: ch 1, *2 SC in the first st, SC in the next st, repeat from * around. Attach to the first st of the round with a sl st. (15)
Round 4-5: ch 1, SC in each stitch around. Attach to the first st of the round with a sl st. (15)
Round 6: ch 1, *SC2Tog, SC in the next st, repeat from * around. Attach to the first st of the round with a sl st. (10)
Round 7: ch 1, SC2Tog around. Attach to the fist st of the round with a sl st. (5)
Tie off yarn leaving a long tail. If desired, stuff your pom pom with polyfil. Using the tail and a yarn needle, weave back and forth between the stitches in Round 7 and pull to cinch shut. Tie off yarn and weave in ends. Tie a 12” piece of worsted weight yarn to the bottom of your pom pom and use this to attach it to your project.
More Free Crochet Patterns You'll Love
Find all FREE CROCHET PATTERNS here
Now the legal stuff...You may sell items made from this pattern, but please credit me as the original designer. Also, please do not share the written pattern in print or electronically. The photos on this webpage belong to Megan Meyer of Left in Knots and may not be used for product sales/product listings. You may share a link back to my blog if you would like someone else to see or work with this pattern. Thank you for your cooperation and if you have any questions please feel free to contact me!
This post contains affiliate links. Thank you for supporting free patterns and yarn deals from Left in Knots!