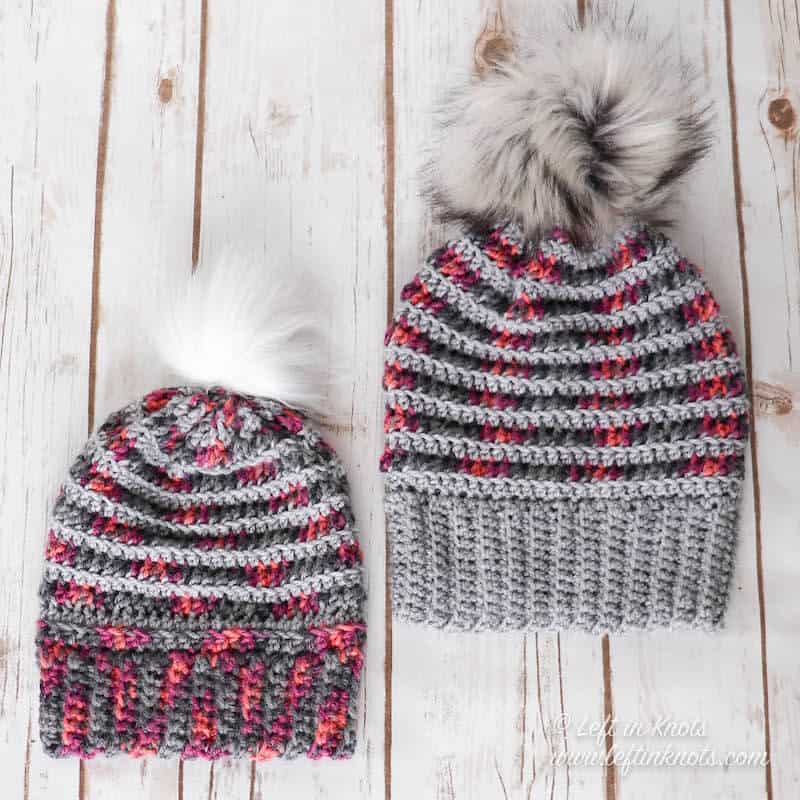
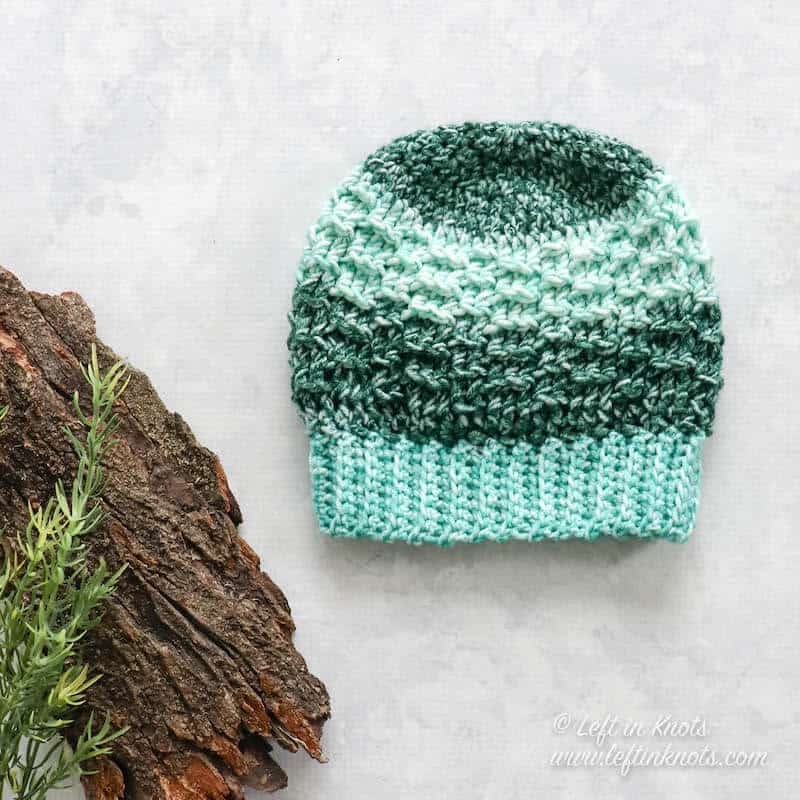
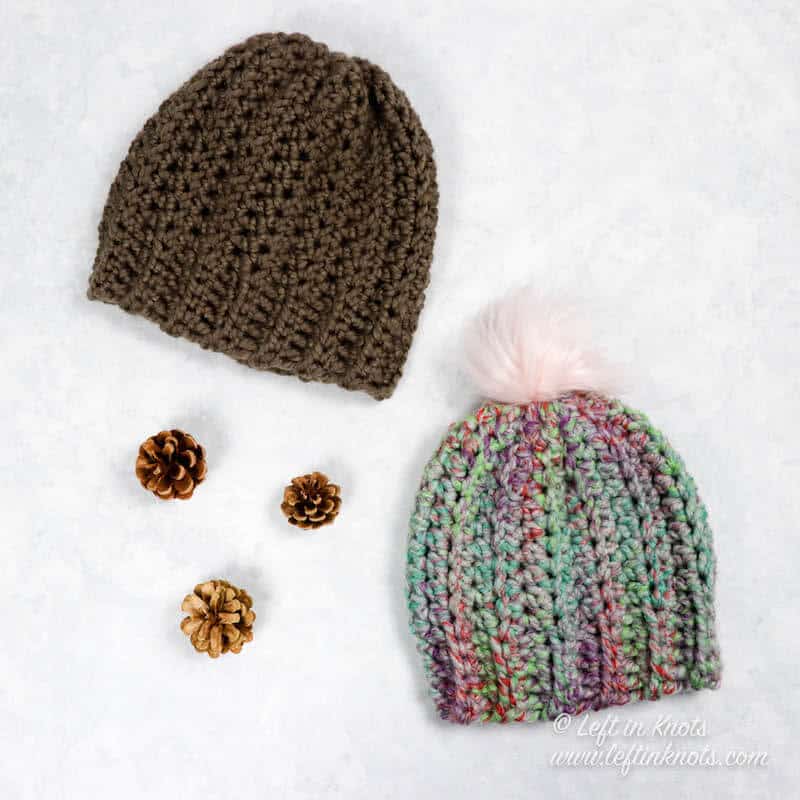
Crochet the Spice Earflap Beanie to turn a basic fitted hat into something cute and perfect for anyone. This free pattern is written in child and adult sizes and can be customized in so many ways. Keep reading for the free crochet pattern.
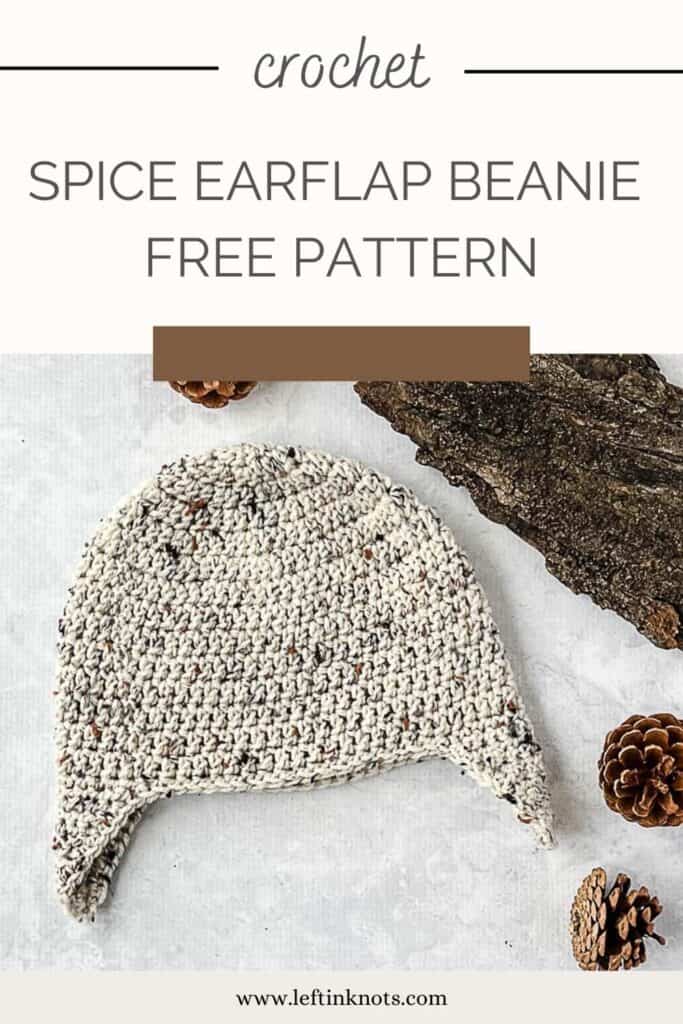
Keep this Easy Earflap Beanie Pattern Handy
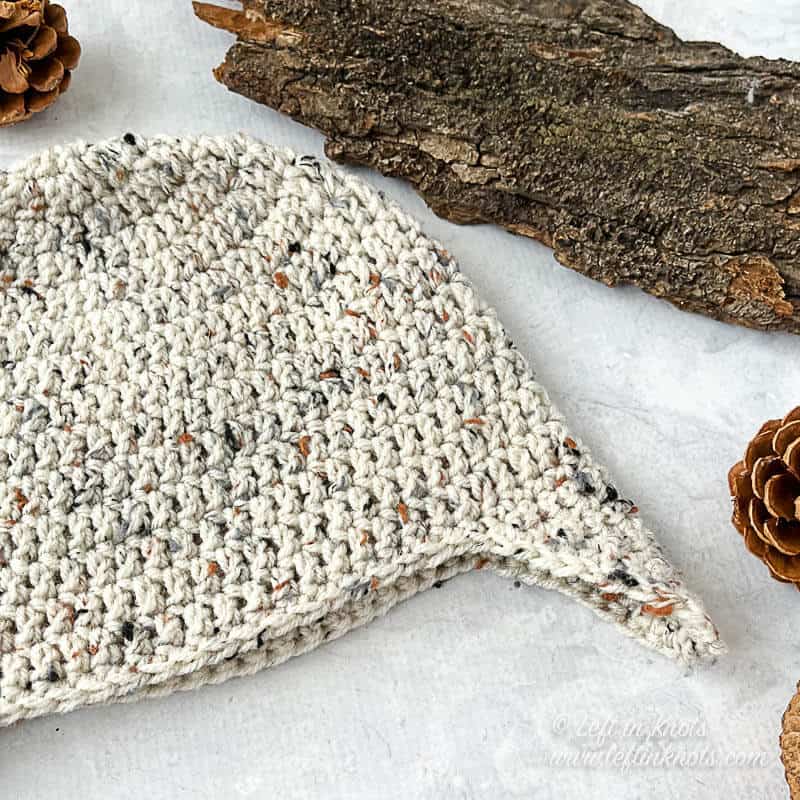
Welcome to another pattern in our Seven ONEderful Skeins pattern collection. The Spice Earflap Beanie pattern is written in child and adult sizes, and I want you to start thinking about who may need a mommy and me/daddy and me matching set in your life! This easy pattern will be one you keep coming back to year after year.
Seven Days of Scarfie
Welcome to my Seven Days of Scarfie pattern event. This year all of our patterns will be made with one skein of simple worsted weight acrylic, BUT I also made them with Lion Brand Scarfie yarn. You get to decide what yarn you're going to use. But one way or the other - we are going to make 7 projects in 7 days with 7 skeins (or less) of yarn!
I hope that you love each of these pattern collections as much as I do!
- START HERE: This will give you all the information you need about the supplies you will need, you can find the patterns I have released so far in this year’s collection along with the patterns from previous Seven Days of Scarfie pattern collections.
- If you want to interact with others participating in Seven Days of Scarfie, I urge you to join my Facebook Community.
- If you want to be notified of each new Seven Days of Scarfie pattern directly – please sign up for my Newsletter
- If you are on Instagram I would LOVE to see your work! Use @leftinknots and #sevendaysofscarfie so I can see it!
How to Customize a Crochet Beanie
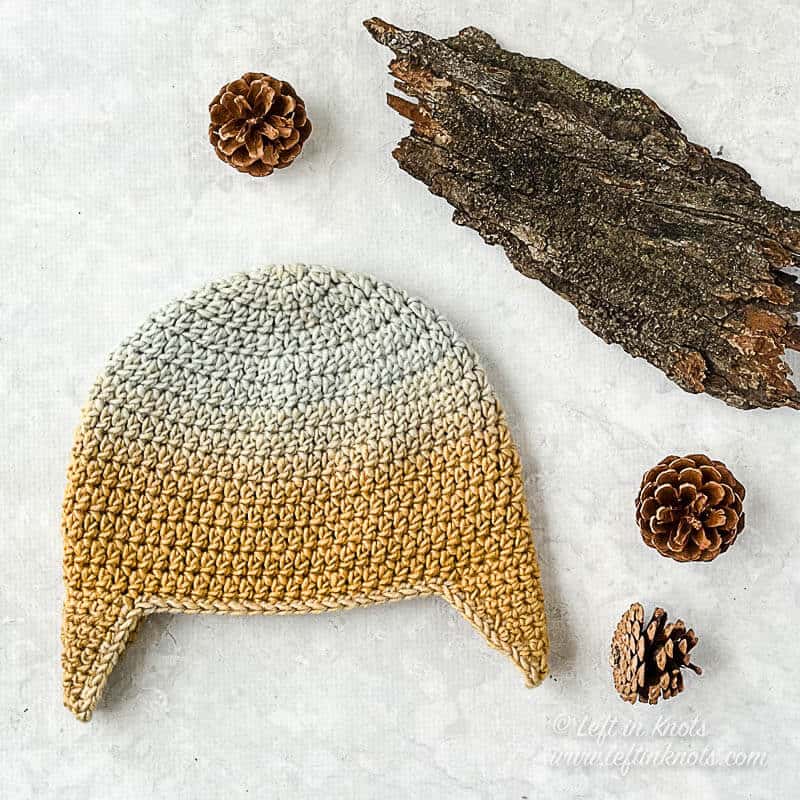
This Spice Earflap Beanie is one that I consider a "blank canvas" pattern. There are SO many ways you can customize it, and here are just a few ideas to get you started:
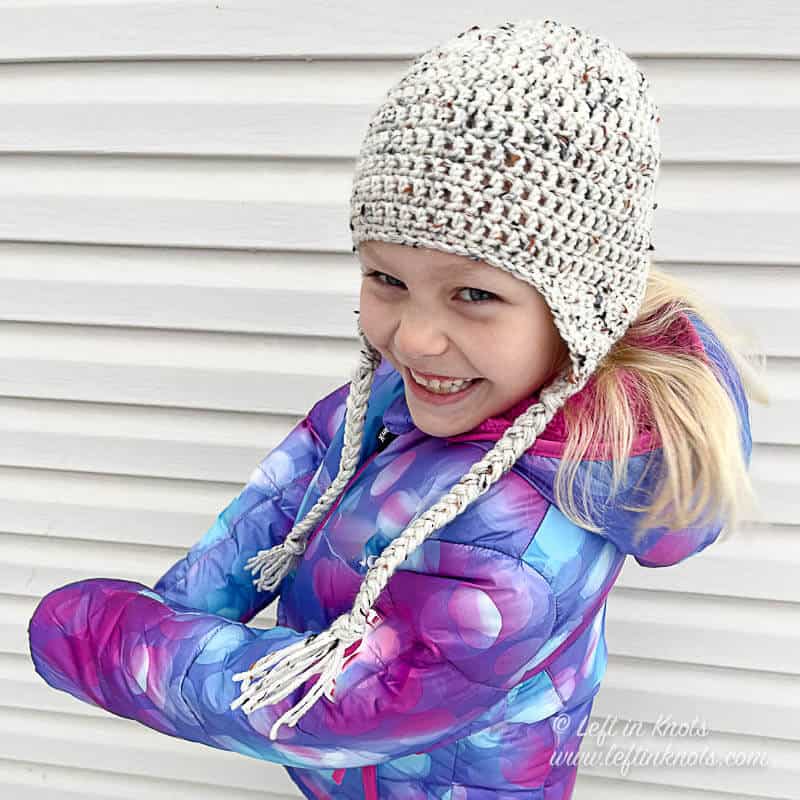
- Add braided ties to the bottom of each ear flap
- Crochet this earflap hat with two or three colors to incorporate stripes
- Add a face or ears to make this hat come alive for your littles
And that's just the start! I can't wait to see what you decide to do with this pattern.
Show off Your Crochet Projects
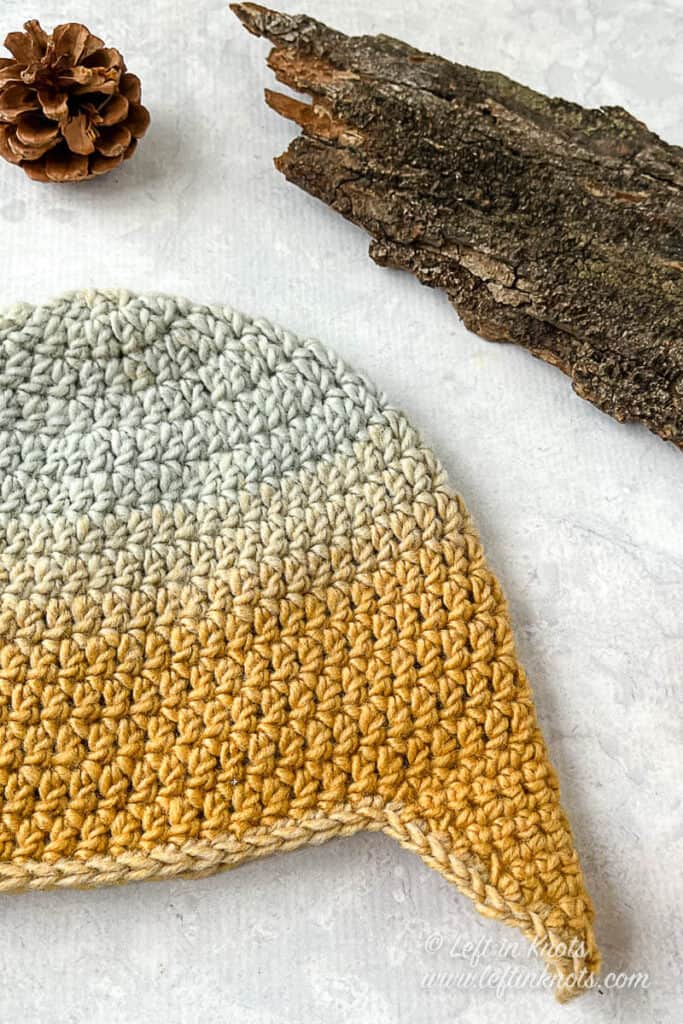
Don’t forget to share pictures of your projects with me in my Facebook Group or by tagging @leftinknots on Instagram. I can’t wait to see what you make!
Spice Earflap Beanie - Free Crochet Pattern
Supplies:
- Approx. 125 yards of Lion Brand Scarfie yarn or a comparable Category 4 yarn (Red Heart Super Saver also pictured). Find some of my Scarfie substitution suggestions here.
- I/5.0mm crochet hook - I love Clover Amour.
- Yarn needle
- Scissors - I always keep these travel scissors in my hook case
- (optional) Faux fur pom pom or pom pom maker
Abbreviations (written in U.S. terms):
- ch: chain
- st(s): stitch(s)
- sl st: slip stitch
- SC: single crochet
- SC2Tog: single crochet two together
- DC: half double crochet\
Related Video Tutorials:
How to Crochet the Magic Cirlce - the right handed video loads with the page
Find the left handed tutorial here
Gauge:
8 sts x 4 rows = 2" square in DC
Finished Size:
Child Height (without earflap): 7"
Child Width: 8"
Adult Height (without earflap): 8"
Adult Width: 9.5"
Pattern Notes:
- Chain stitches at the beginning of rounds do not count as a stitch.
- The end of each round is joined to the first st of the round with a sl st.
Instructions
*If you love Seven ONEderful Skeins and want to help me in a very simple way - I would appreciate any and all Pins and Ravelry saves! It helps me out so much! Thank you 💜
Child
Round 1: ch 2, 10 DC in magic circle (10)
Round 2: ch 2, 2 DC in each st around (20)
Round 3: ch 2, *2 DC, DC, repeat from * around (30)
Round 4: ch 2, *2 DC, DC in next two sts, repeat from * around (40)
Round 5: ch 2, *2 DC, DC in next three sts, repeat from * around (50)
Round 6: ch 2, *2 DC, DC in next four sts, repeat from * around (60)
Round 7-14: ch 2, DC in each st around (60). Tie off yarn
Making the Earflaps
Lay the beanie flat with the seam at the back. On one side of the hat, use stitch markers to mark 10 sts wide. This will be the location of your first earflap. Leaving a space of 20 stitches in the front and back of the hat, mark the other 10 st wide earflap with stitch markers on the other side of the hat.
Attach your yarn at the start of one earflap
Row 1: ch 1, SC in 10 sts (from stitch marker to stitch marker). Turn.
Row 2: ch 1, SC in 10 sts. Turn.
Row 3: ch 1, SC2Tog, SC in 6 sts, SC2Tog (8). Turn.
Row 4: ch 1, SC in 8 sts. Turn.
Row 5: ch 1, SC2Tog, SC in 4 sts, SC2Tog (6). Turn.
Row 6: ch 1, SC in 6 sts. Turn.
Row 7: ch 1, SC2Tog, SC in 2 sts, SC2Tog (4). Turn.
Row 8: ch 1, SC in 4 sts. Turn.
Row 9: ch 1, SC2Tog two times across (2). Turn.
Row 10: ch 1, SC2Tog (1). Tie off yarn.
Repeat on the other side of the beanie.
At the end of the second earflap, do not cut the yarn. Chain 1 and SC around the entire bottom edge of the hat including the earflaps. Join with a sl st to the first st of the border, tie off yarn and weave in ends. Add braided ties if desired.
Adult
Round 1: ch 2, 11 DC in magic circle (11)
Round 2: ch 2, 2 DC in each st around (22)
Round 3: ch 2, *2 DC, DC, repeat from * around (33)
Round 4: ch 2, *2 DC, DC in next two sts, repeat from * around (44)
Round 5: ch 2, *2 DC, DC in next three sts, repeat from * around (55)
Round 6: ch 2, *2 DC, DC in next four sts, repeat from * around (66)
Round 7-16: ch 2, DC in each st around (66)
Making the Earflaps
Lay the beanie flat with the seam at the back. On one side of the hat, use stitch markers to mark 12 sts wide. This will be the location of your first earflap. Leaving a space of 21 stitches in the front and back of the hat, mark the other 12 st wide earflap with stitch markers on the other side of the hat.
Attach your yarn at the start of one earflap
Row 1: ch 1, SC in 12 sts (from stitch marker to stitch marker). Turn.
Row 2: ch 1, SC in 12 sts. Turn.
Row 3: ch 1, SC2Tog, SC in 8 sts, SC2Tog (10). Turn.
Row 4: ch 1, SC in 10 sts. Turn.
Row 5: ch 1, SC2Tog, SC in 6 sts, SC2Tog (8). Turn.
Row 6: ch 1, SC in 8 sts. Turn.
Row 7: ch 1, SC2Tog, SC in 4 sts, SC2Tog (6). Turn.
Row 8: ch 1, SC in 6 sts. Turn.
Row 9: ch 1, SC2Tog, SC in 2 sts, SC2Tog (4). Turn.
Row 10: ch 1, SC in 4 sts. Turn.
Row 11: ch 1, SC2Tog two times across (2). Turn.
Row 12: ch 1, SC2Tog (1). Tie off yarn.
Repeat on the other side of the beanie.
At the end of the second earflap, do not cut the yarn. Chain 1 and SC around the entire bottom edge of the hat including the earflaps. Join with a sl st to the first st of the border, tie off yarn and weave in ends. Add braided ties if desired.
More Free Crochet Patterns You'll Love
Find all FREE CROCHET PATTERNS here
Now the legal stuff...You may sell items made from this pattern, but please credit me as the original designer. Also, please do not share the written pattern in print or electronically. The photos on this webpage belong to Megan Meyer of Left in Knots and may not be used for product sales/product listings. You may share a link back to my blog if you would like someone else to see or work with this pattern. Thank you for your cooperation and if you have any questions please feel free to contact me!
This post contains affiliate links. I receive a small commission for any purchases made through these links at no additional charge to you.

