If you run out of elastic while sewing face masks; use the tutorial below to DIY some crochet “elastic”. Then make some ear savers in one of three different styles using the free crochet patterns below.

Crocheters and Crafter Want to Help with Face Masks
Crocheting and crafting skills are useful even in a normal world, but now, especially, they can be put to good use. If you have the means and ability please consider making a few extra masks and ear savers for anyone who may need them in your community. I hope you find this tutorial helpful!
How to DIY Your Own Elastic
Step One:
Use a worsted weight or bulky yarn to crochet some loose chain stitches. I used Bernat Maker Home Dec and a 7.0mm hook and chained 18 sts. Make two of these the same length.
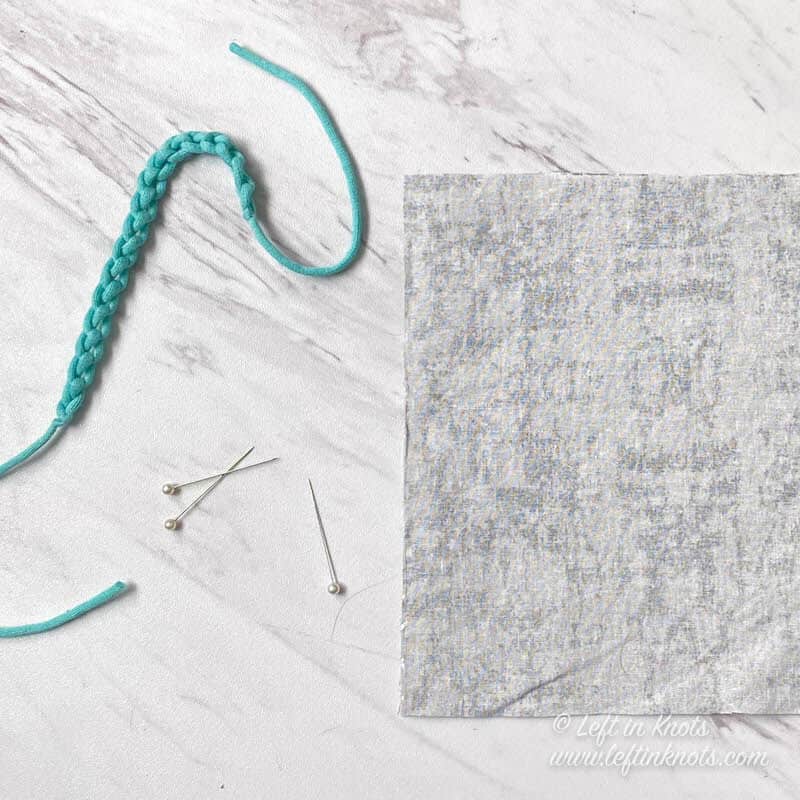
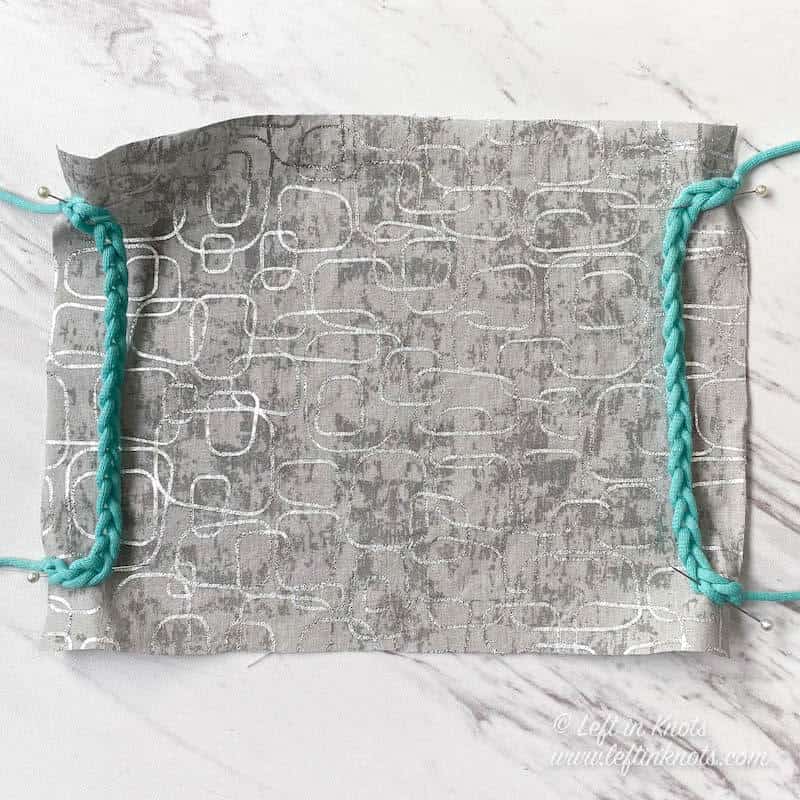
Step Two:
Find a fabric mask pattern. I used this video tutorial from Sweet Red Poppy. Pin the length of chain stitches as you would the elastic called for in the pattern.
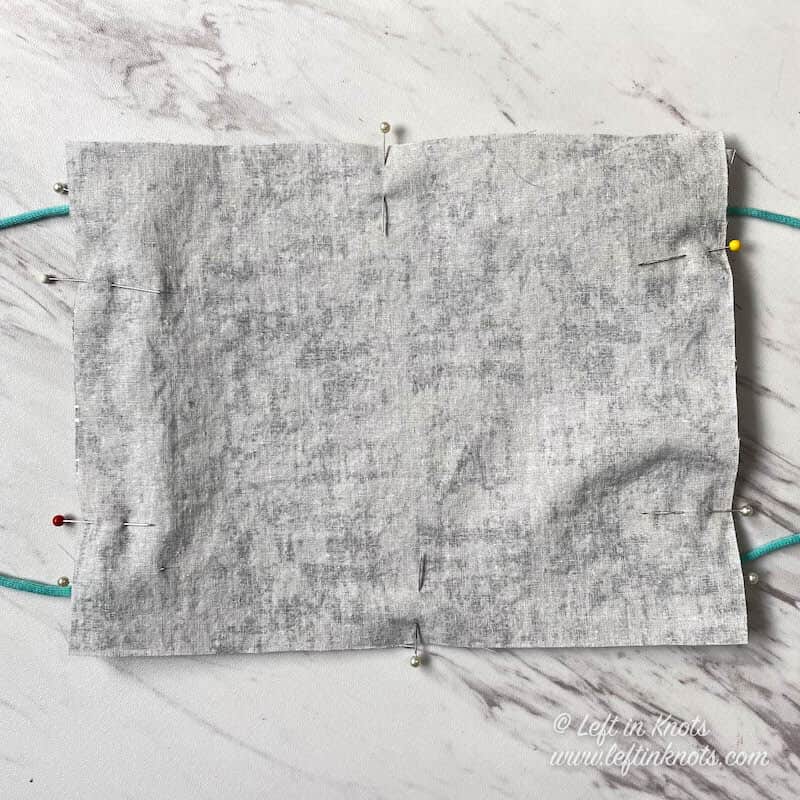
Step 3:
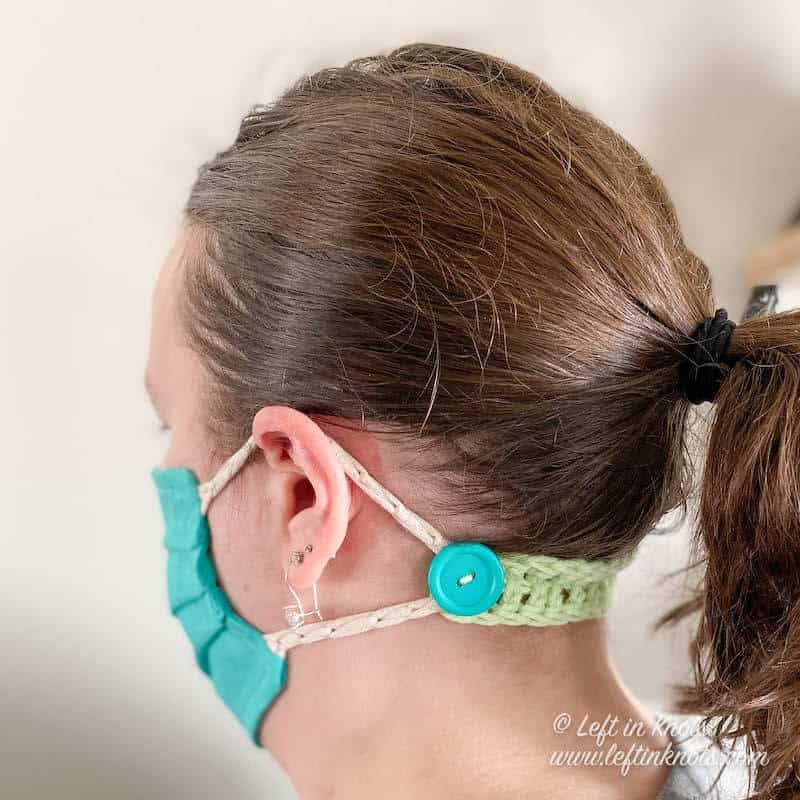
Sew the mask per the instructions given in whatever mask pattern you are using. The crochet chain stitches give just enough to have some stretch. They work to hold a mask around your ears or even with an ear saver (pattern for that next)
Tips For Crocheting Faux Elastic:
- Use a yarn that will be soft and comfortable against your skin
- Use a yarn that is washable and durable
- You may need to play with length or stitch tension to get just the right size for your face mask
- Use different colors of yarn to color code masks for different members of your family (I am making my husband’s masks slightly larger than mine)
Show off Your Crochet Projects
Don’t forget to share pictures of your projects with me in my Facebook Group or by tagging @leftinknots on Instagram. I can’t wait to see what you make!
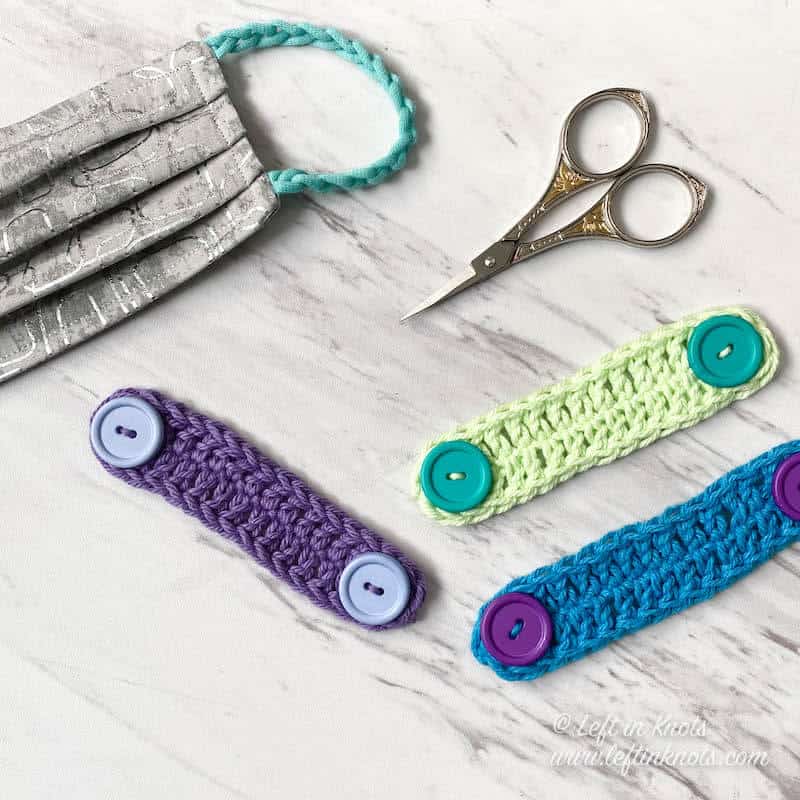
Crochet Ear Savers - Free Pattern
Supplies
- Cotton yarn
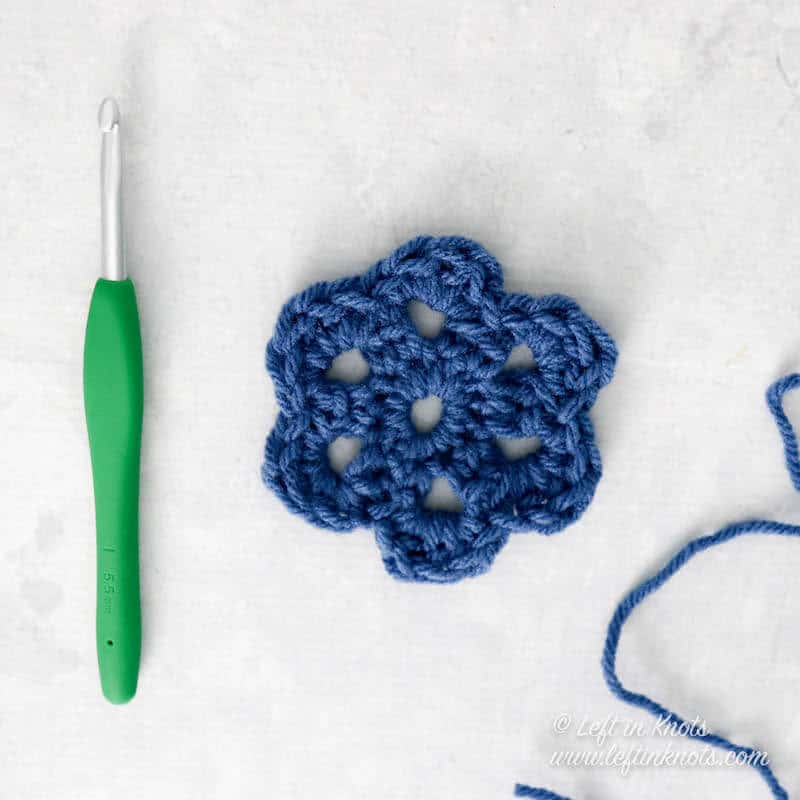
- 5.5 mm crochet hook (I use Clover Amour)
- Yarn needle
- Scissors (I always keep these travel scissors in my hook case)
Abbreviations
- st/sts: stitch/stitches
- sl st: slip stitch
- ch: chain
- SC: single crochet
- DC: double crochet
Finished Size:
Approximately 5-6” long
Pattern Notes
- Chain stitches at the beginning of rows do not count as a stitch
Video Tutorial/Instructions:
Right Handed Instructions
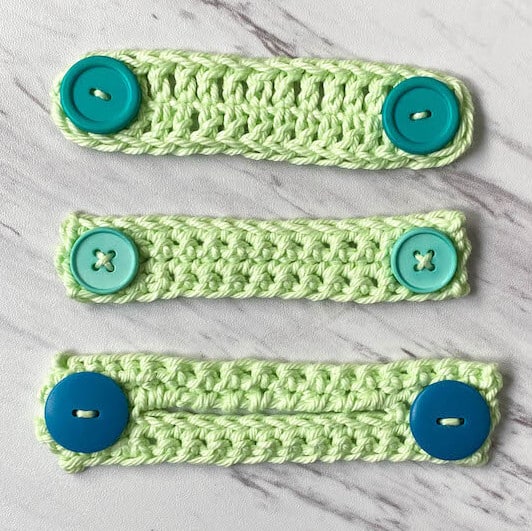
Style 1 (Top):
ch 18
Round 1: DC in the third ch from the hook and continue to DC along the length of your ch sts. DC 3 sts in the last ch st. Continue to DC along the back side of each ch. DC 2 sts in the back of the first ch st (the end of your round). Attach to the first DC of the round with a sl st. Tie off yarn and weave in ends. Attach buttons on both sides.
Style 2 (Middle):
ch 17
Row 1: SC in the second ch from the hook and SC across (16). Turn.
Row 2-4: ch 1, SC in each st across (16).
At the end of Row 4, tie off yarn and weave in ends. Attach a button on both sides.
Style 3 - Pony Tail Ear Saver (Bottom):
ch 19
Row 1: SC in the second ch from the hook and SC across (18). Turn
Row 2: c 1, SC across (18). Turn.
Row 3: ch 1, SC in 4 sts, ch 10, skip 10, SC in 4 sts (18). Turn
Row 4-5: ch 1, SC in each st across (18).
At the end of Row 5, tie off yarn and weave in ends. Attach a button on both sides.
More Free Crochet Patterns You'll Love
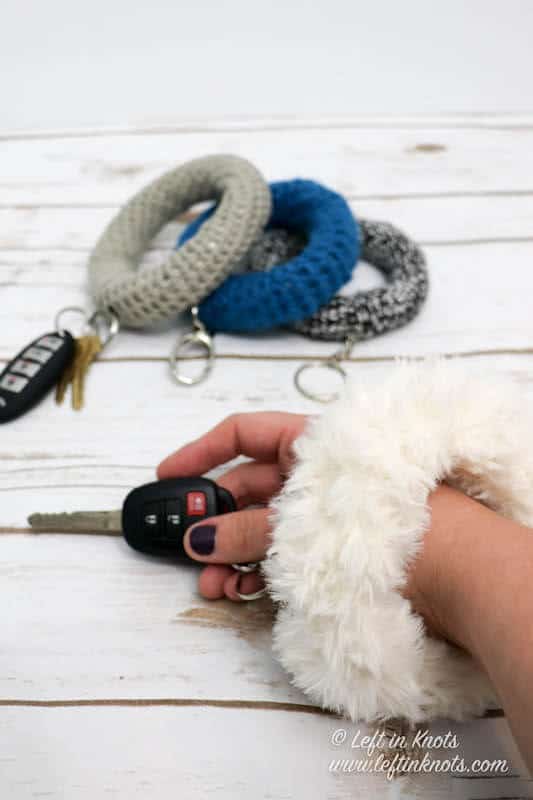
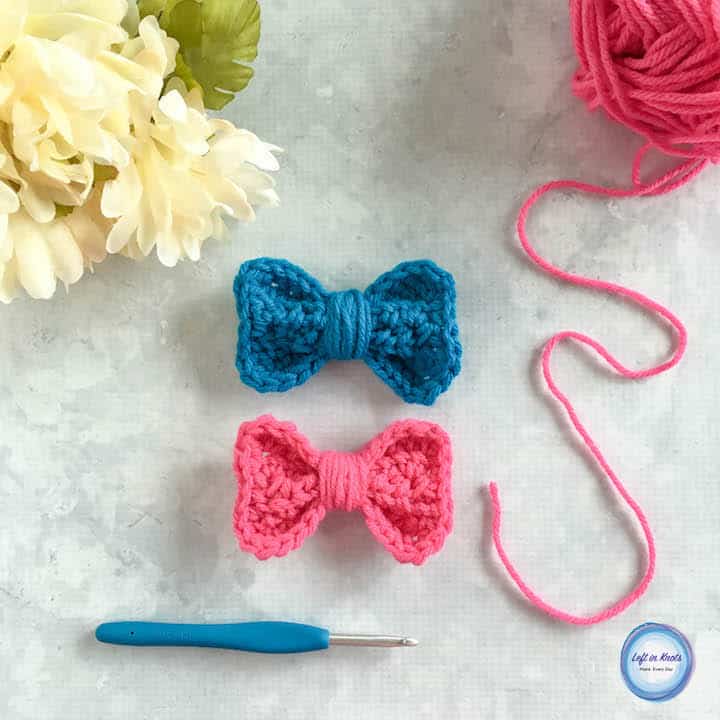
Find all FREE CROCHET PATTERNS here
Now the legal stuff...You may sell items made from this pattern, but please credit me as the original designer. Also, please do not share the written pattern in print or electronically. The photos on this webpage belong to Megan Meyer of Left in Knots and may not be used for product sales/product listings. You may share a link back to my blog if you would like someone else to see or work with this pattern. Thank you for your cooperation and if you have any questions please feel free to contact me!
This post contains affiliate links. Thank you for supporting free patterns and yarn deals from Left in Knots!