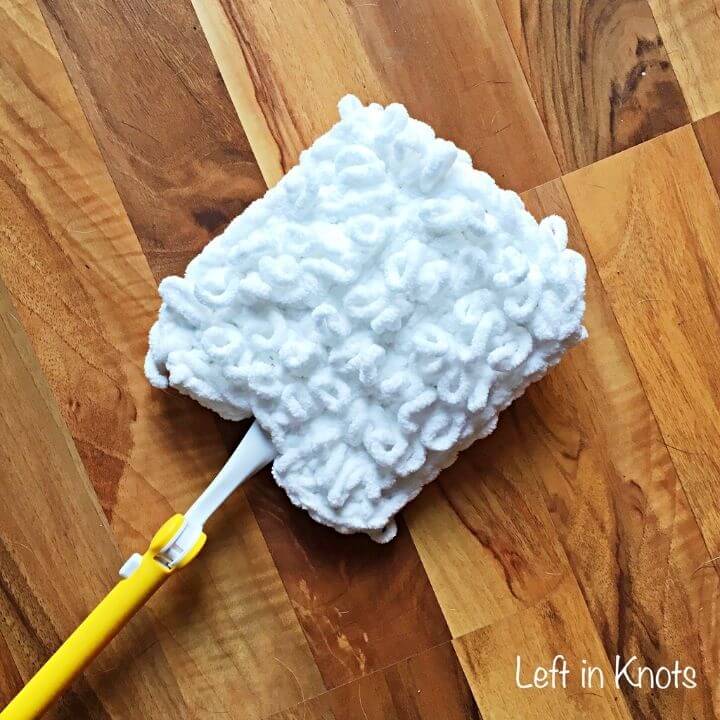
Make a washable, reusable crochet duster cover. This eco-friendly DIY project uses bulky blanket yarn and is fast to make! Keep reading for the free crochet pattern
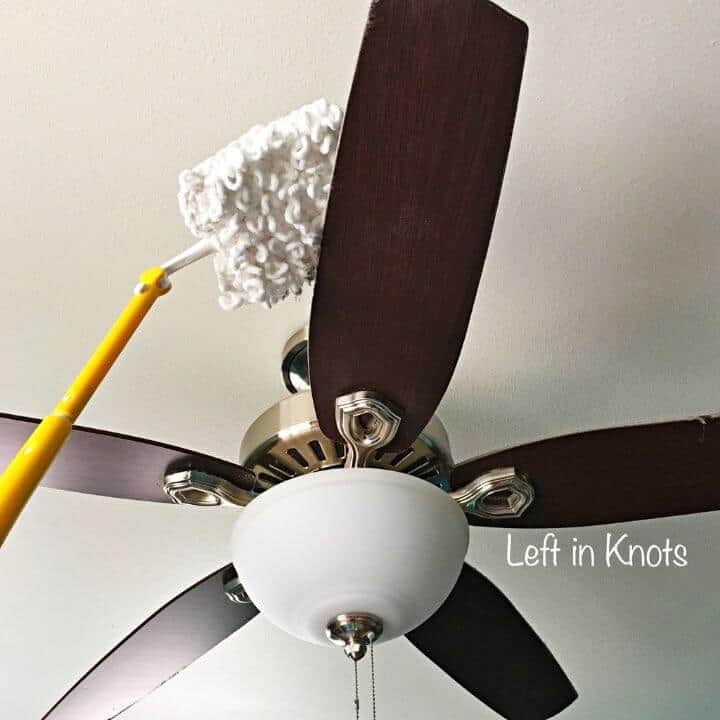
Crochet a Reusable Duster Cover
Instead of cleaning the house on this long, holiday weekend I thought it would be much more enjoyable to make something to help me clean the house later. I know that I have mentioned my daughter, but have I mentioned that I also have a houseful of fur babies? My husband and I are a sucker for rescue animals-so, in addition to our daughter, we also have two cats and two dogs! Needless to say, we have plenty of animal hair that circulates around the house regardless of how much we vacuum! It is this that has inspired the next pattern in my Quick and Thick cleaning series: The Quick and Thick Duster Cover.
Crochet a Whole Set of Cleaning Supplies
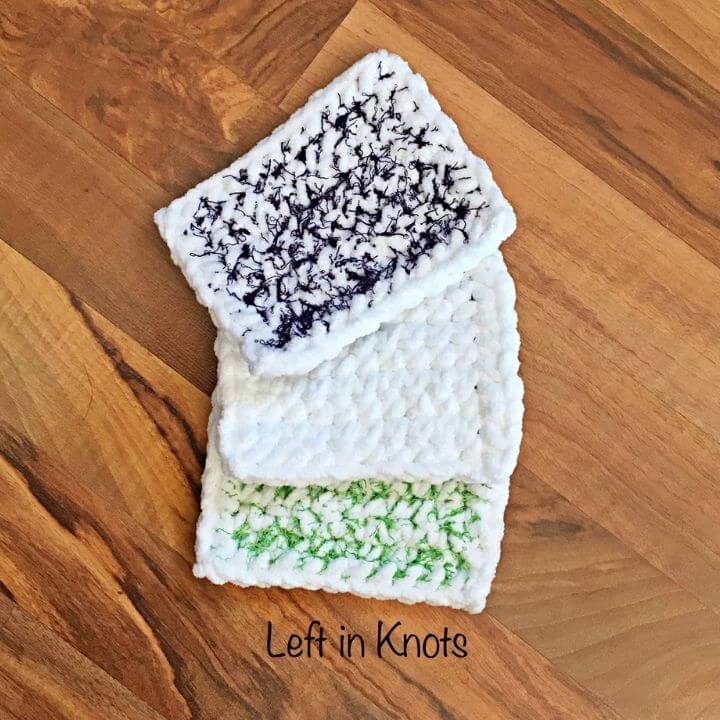
Like the Quick and Thick Sweeper Cover and the Quick and Thick Scrubby Sponge, this pattern is made with Bernat Blanket yarn. And each of these patterns uses a small amount of yarn, so if you buy a Big Ball you can make all of them!
Show off Your Crochet Projects
Don’t forget to share pictures of your projects with me in my Facebook Group or by tagging @leftinknots on Instagram. I can’t wait to see what you make!
Supplies:
- Bernat Blanket or Baby Blanket Yarn in any color
- 9.0 mm crochet hook- I used Clover Amour
- Yarn Needle
- Scissors
Abbreviations
- ch: chain
- SC: single crochet
- LS: loop stitch (View a video tutorial by HappyBerry Crochet HERE)
Pattern
Ch 11
Row 1: SC in second ch from the hook and down the rest of the chain (10). Turn
Row 2: Ch 1, LS across (10). Turn
Row 3-25: Repeat Row 1 on odd rows and Row 2 on even rows
At the end of row 25, do not tie off. Fold the piece in half. From this point on you will be working through both layers. Continue to SC around the piece, working 1 stitch per row along the “raw” edge. When you get to the folded edge, work SC stitches into the posts of the stitches in Row 13. SC the second raw edge together.
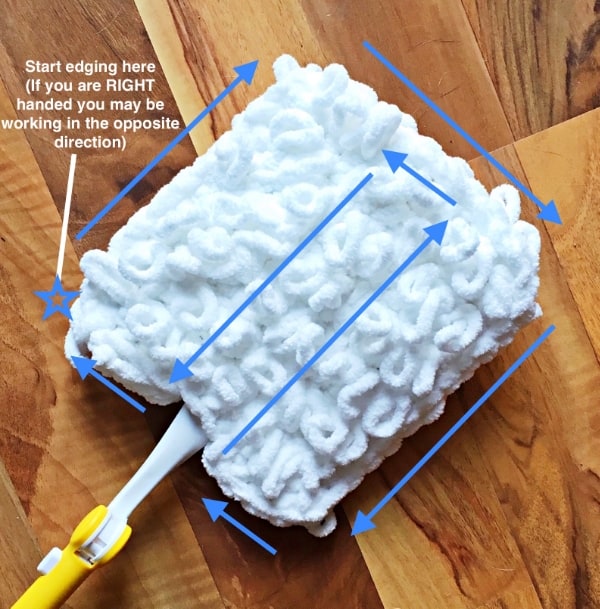
Now you have just the end where Row 1 and Row 25 meet open. SC in the first 4 stitches. Now, this is the point where you make the pocket that will slip onto the duster handle. Please see the diagram if my explanation is confusing. After crocheting the first 4 stitches of Row 1 and 25 together, turn your work 90 degrees and begin slip stitching perpendicular to your rows back up to the fold at Row 13. When you reach the fold, turn your work 90 degrees again and work two more slip stitches parallel with the fold. Turn 90 degrees again and slip stitch perpendicular to your rows again back to where Row 1 and 25 meet. Your two rows of perpendicular slip stitching should be about 2 stitches apart. Finish with 4 SC in the last four stitches of Row 1 and 25. Tie off, weave in ends, and VOILA! You are ready to dust your ceiling fans!
More Free Crochet Patterns You'll Love

Find all FREE CROCHET PATTERNS here
Now the legal stuff...You may sell items made from this pattern, but please credit me as the original designer. Also, please do not share the written pattern in print or electronically. The photos on this webpage belong to Megan Meyer of Left in Knots and may not be used for product sales/product listings. You may share a link back to my blog if you would like someone else to see or work with this pattern. Thank you for your cooperation and if you have any questions please feel free to contact me!
This post contains affiliate links. Thank you for supporting free patterns and yarn deals from Left in Knots!