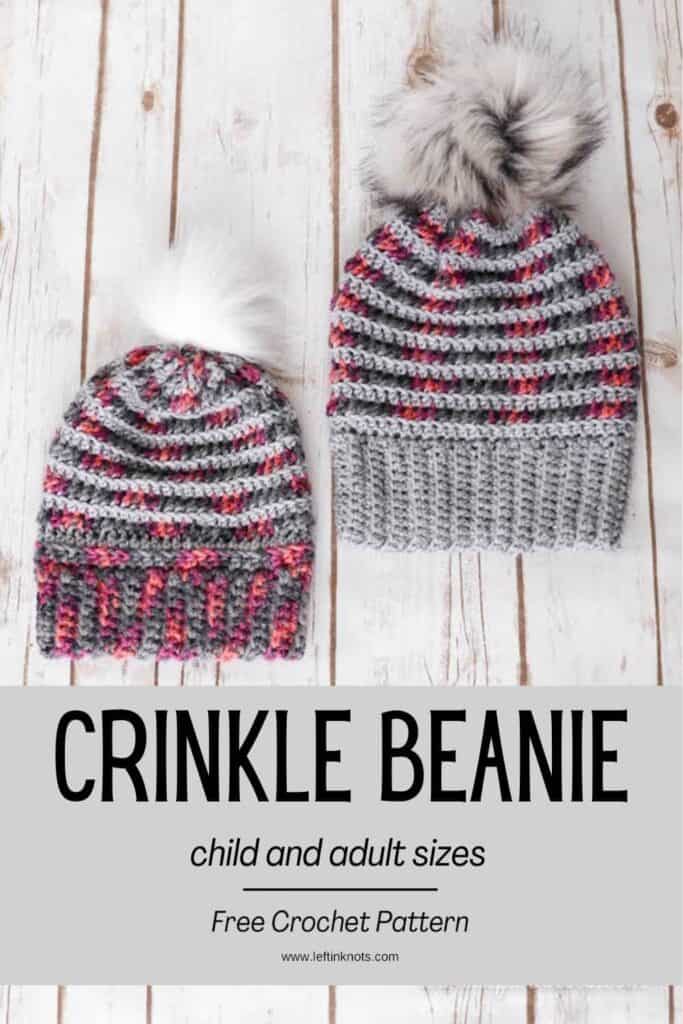
The Crinkle Beanie free crochet pattern features a warm winter hat written in sizes for adults and children. Use easy stitches perfect for beginners to make this beanie out of yarn from your stash! Keep reading for the free Crinkle Beanie crochet pattern.
Free Crochet Beanie Pattern in Two Sizes
If you’ve been following my blog before today, you may have picked up on the fact that I am a big fan of texture in my crochet patterns. And here is what I like best - texture doesn’t have to mean complicated! This hat uses such basic stitches that even a beginner can make it, and it still gives you the ‘wow’ effect when it’s done.
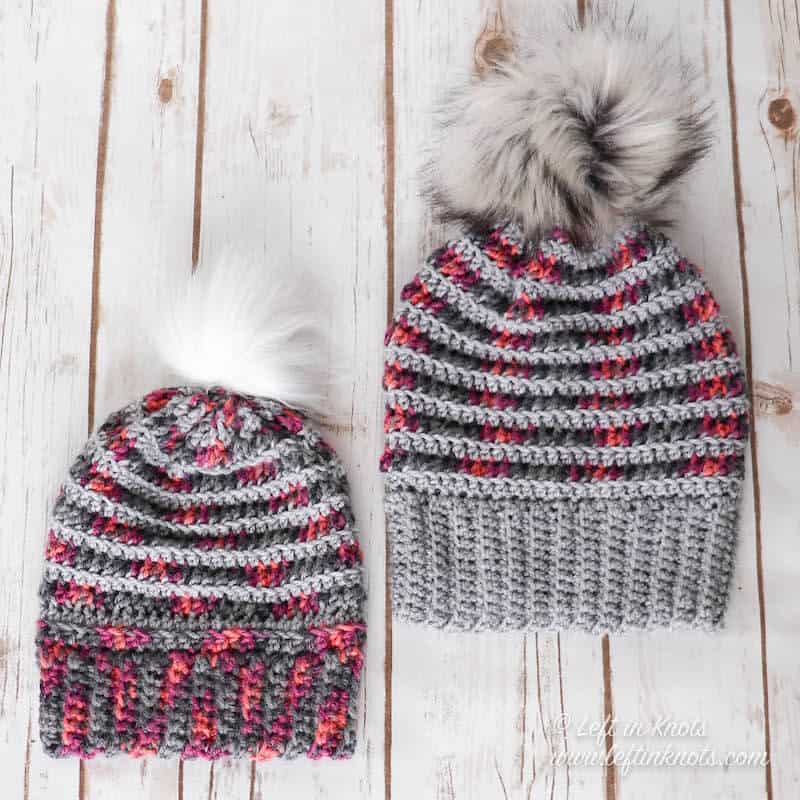
Alternate Variegated and Solid Yarn
Another simple technique that I used to make this hat eye catching yet easy is by alternating variegated and solid yarn. This also makes the pattern a wonderful scrap buster if you have some leftovers from previous crochet projects.
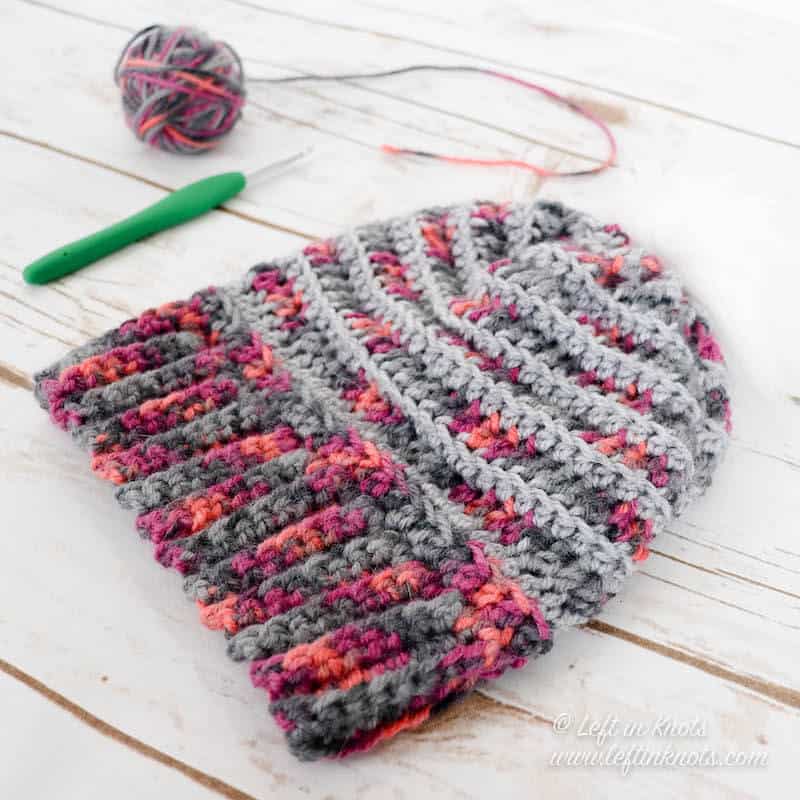
A Hat in Children and Adult Sizes
I crocheted the Crinkle Beanie for both myself and my daughter, so I wrote the pattern in child and adult sizes. That being said, this hat can be made in literally any size because there isn’t a particular stitch multiple you have to follow.
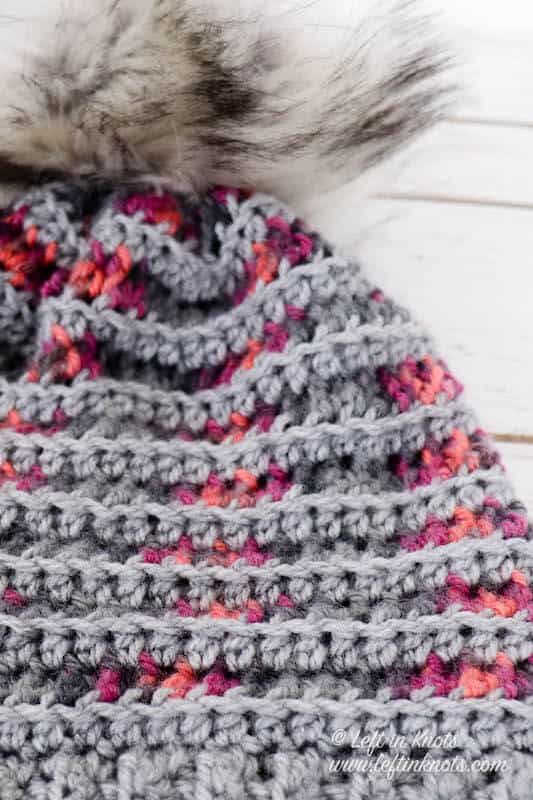
Show off Your Crochet Projects
I can’t wait to see your finished pieces and the colors you choose to combine! Come share pictures with me in my Facebook group or tag me on Instagram with @leftinknots.
Crinkle Beanie - Free Crochet Pattern
Supplies:
- Approx. 130 yards of worsted weight yarn (or split approx. evenly if you use two colors). The samples are made out of Lion Brand Wool-Ease Hand Dyed ‘Cosmopolitan and Lion Brand Basic Stitch Premium ‘Slate’
- I/5.5mm crochet hook - I love Clover Amour
- Scissors - I always keep these travel scissors in my hook case
- Yarn needle
- (optional) Pom Pom Maker or Faux Fur Pom
Abbreviations (written in U.S. terms):
- ch: chain
- sl st: slip stitch
- BLO: back loop only
- SC: single crochet
- DC: double crochet
- HDC2Tog: half double crochet two together
Related Video Tutorials
How to Crochet SC Ribbing - the Right Handed video loads with the page
Find the left handed tutorial here
Gauge
7 sts x 7 rows = 2” square in BLO SC
Finished Size:
- Adult Width = 8.5”
- Adult Height = 9.5”
- Child Width = 7.5”
- Child Height = 8.5”
Pattern Notes
- Chain stitches at the beginning of rows do not count as a stitch
- The end of each round is attached to the first st of the round with a sl st.
- Color A = Lion Brand Basic Stitch ‘Slate’; Color B = Wool Ease Hand Dyed ‘Cosmopolitan'
Instructions
Adult
Bottom Ribbing - Working in rows
ch 13 (Color A)
Row 1: SC in the second ch from the hook and SC across (12). Turn
Row 2-56: ch 1, working in BLO, SC across (12). Turn.
When you finish the ribbed band, fold it so that Row 1 and 56 are on top of one another. Working through the back loop of Row 56 and the front loop of Row 1, seam the two rows together by slip stitching across. Do not cut your yarn. Continue on to work in rounds along the “raw” edge of ribbed band.
Top of Beanie - Working in rounds
Round 1: ch 1, SC around the top of the band working one stitch per row (56). Attach to first SC of the round with a sl st.
Round 2: ch 2, HDC in FLO around.
Round 3 (switch to Color B): ch 2, HDC in BLO around.
Round 4-17: repeat round 2 and 3, Color A on even rounds, Color B on odd rounds
Round 18: ch 2, HDC2tog around (28)
Tie off leaving a long (approx. 12”) tail of yarn. Using a yarn needle, weave the yarn back and forth through the stitches of Round 18. Pull tight to cinch the top of the hat closed. Make and attach a pom pom if desired. Weave in all ends
Child
ch 9 (Color B)
Row 1: SC in the second ch from the hook and SC across (8). Turn
Row 2-52: ch 1, working in BLO, SC across (8). Turn.
When you finish the ribbed band, fold it so that Row 1 and 52 are on top of one another. Working through the back loop of Row 52 and the front loop of Row 1, seam the two rows together by slip stitching across. Do not cut your yarn. Continue on to work in rounds along the “raw” edge of ribbed band.
Top of Beanie - Working in turning rounds
Round 1: ch 1, SC around the top of the band working one stitch per row (52). Attach to first SC of the round with a sl st.
Round 2: ch 2, HDC in FLO around.
Round 3 (switch to Color A): ch 2, HDC in BLO around.
Round 4-15: repeat round 2 and 3, Color B on even rounds, Color A on odd rounds
Round 16: ch 2, HDC2tog around (26)
Tie off leaving a long (approx. 12”) tail of yarn. Using a yarn needle, weave the yarn back and forth through the stitches of Round 18. Pull tight to cinch the top of the hat closed. Make and attach a pom pom if desired. Weave in all ends
More Free Crochet Patterns You'll Love
Find all FREE CROCHET PATTERNS here
Now the legal stuff...You may sell items made from this pattern, but please credit me as the original designer. Also, please do not share the written pattern in print or electronically. The photos on this webpage belong to Megan Meyer of Left in Knots and may not be used for product sales/product listings. You may share a link back to my blog if you would like someone else to see or work with this pattern. Thank you for your cooperation and if you have any questions please feel free to contact me!
This post contains affiliate links. I receive a small commission for any purchases made through these links at no additional charge to you.

