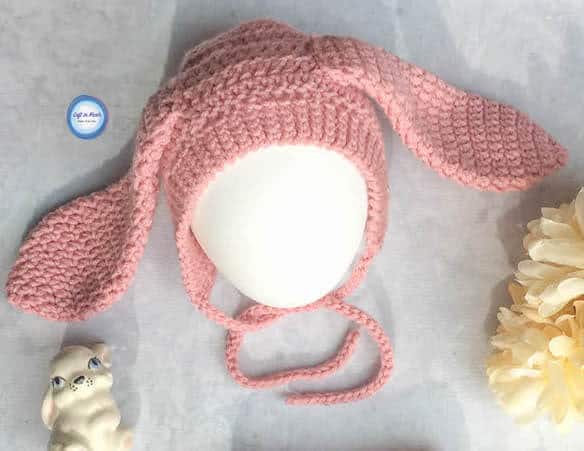
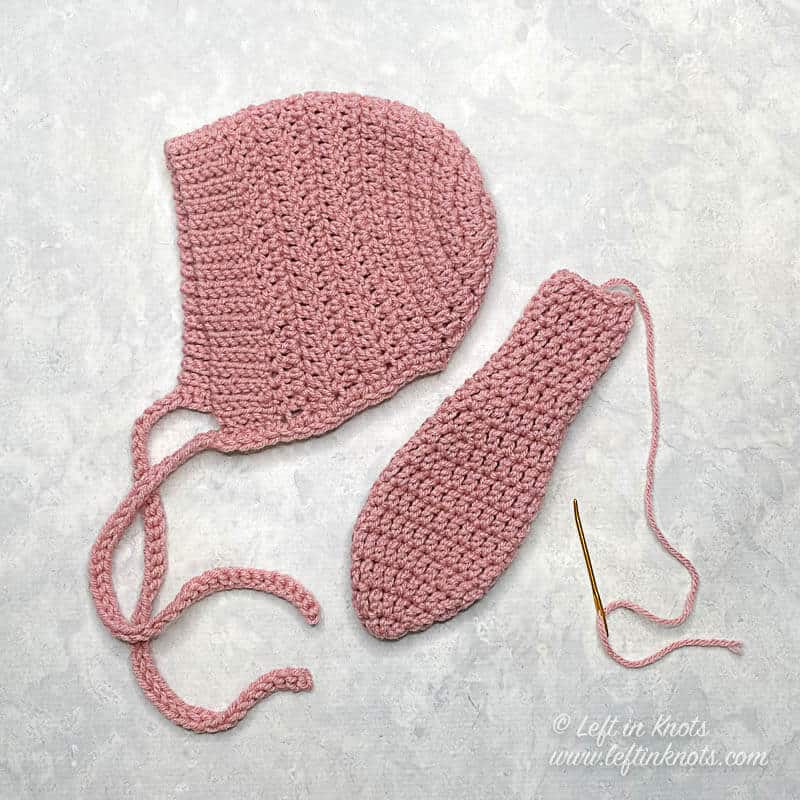
This crochet bunny bonnet is a simplistic and whimsical newborn photo prop or Easter hat. Below you will find the free crochet pattern in the X-small (Newborn) size. The complete crochet pattern includes sizes from baby, child though adult.
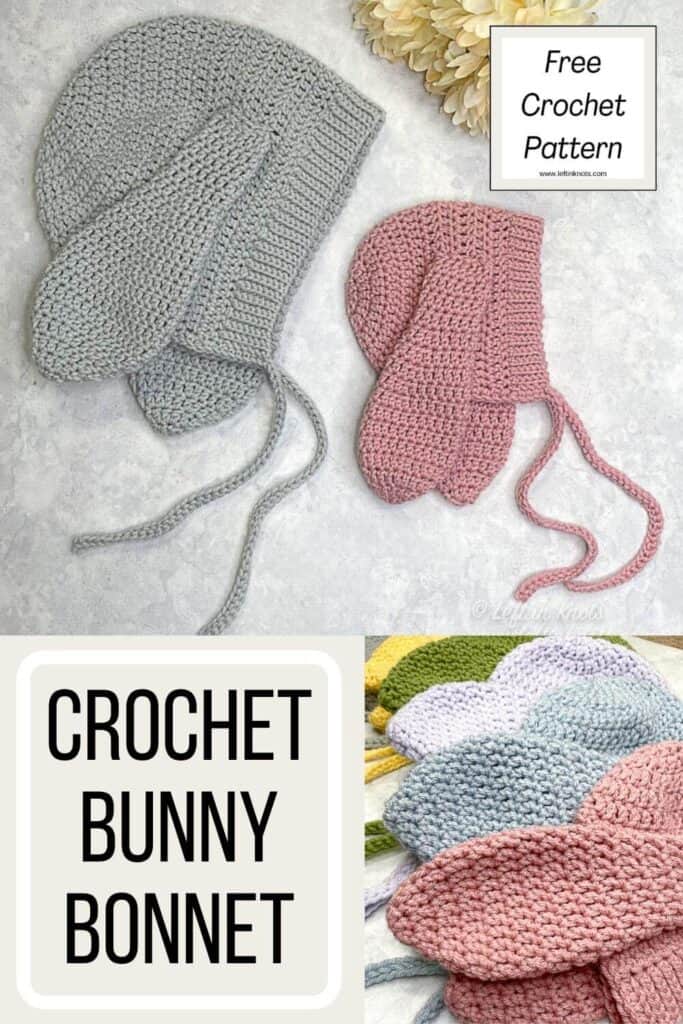
An Easy Crochet Bunny Bonnet with Simple Details
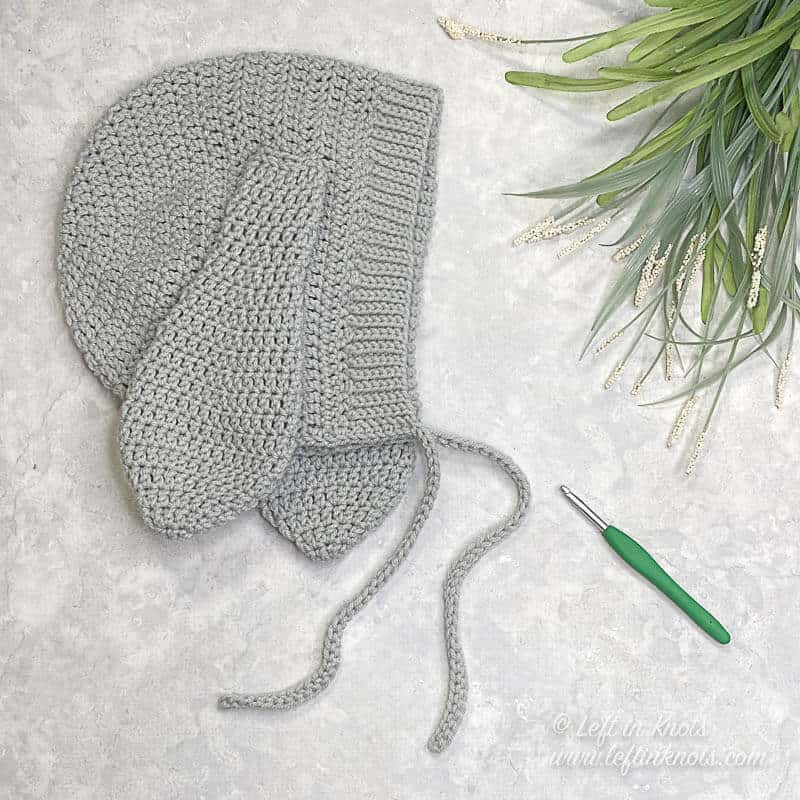
The base of this crochet bunny bonnet is as easy as crocheting a regular beanie. The special design in this project comes in the tightly ribbed border and the long floppy bunny ears. The pattern includes instructions and photo tutorials to help you master these details for a perfect project.
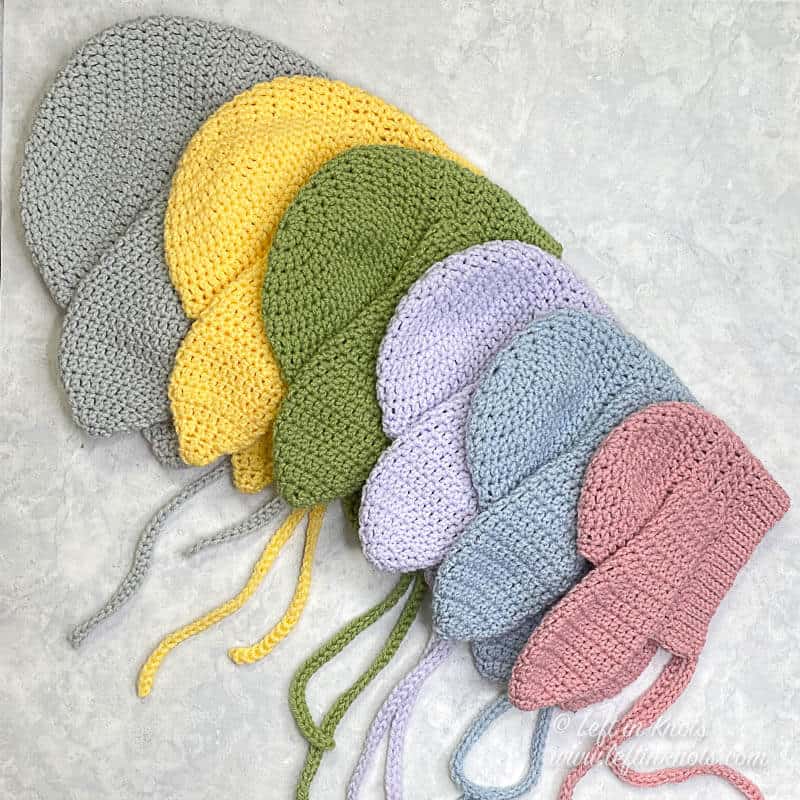
Crochet Bunny Bonnets for the Whole Family
When I originally published this pattern, it included sizes for newborns, infants, toddlers and children. Since then, I have gotten SO many requests for an adult sized bunny bonnet. I finally worked up this cute crochet bunny bonnet in an adult size, and now you can make a matching set for the entire family!
Need More Crochet Bunny Patterns?
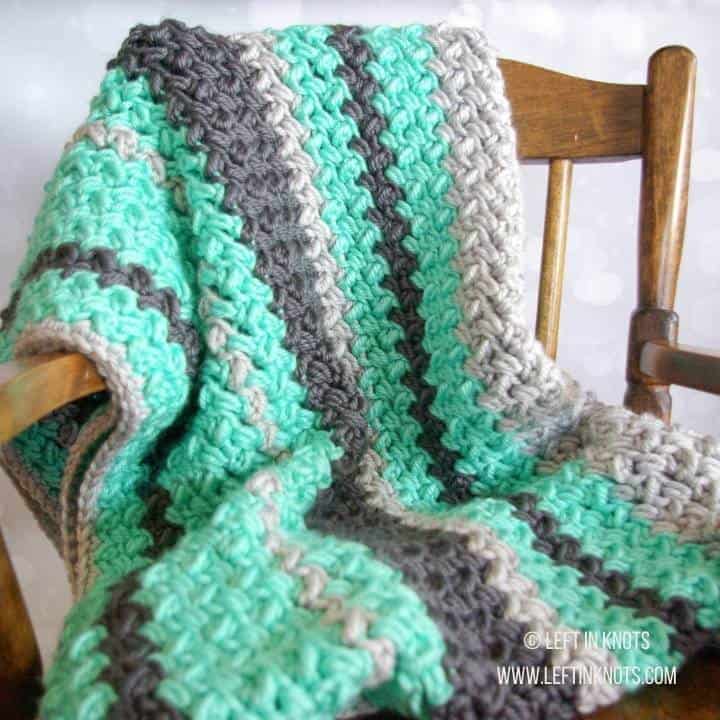
I must really love crocheting for spring because I have so many crochet patterns for Easter and Spring! If you need more bunnies, check out my Easter Bunny Blanket, Mini Bunny Bag, or even this Bunny C2C Square. If you want more patterns for your spring baby; try this sweet crochet Baby Chick Cocoon.
Show Me Your Projects
Don’t forget to share pictures of your projects with me in my Facebook Group or by tagging @leftinknots on Instagram. I can’t wait to see what you make!
Crochet Bunny Bonnet Pattern Instructions
Supplies:
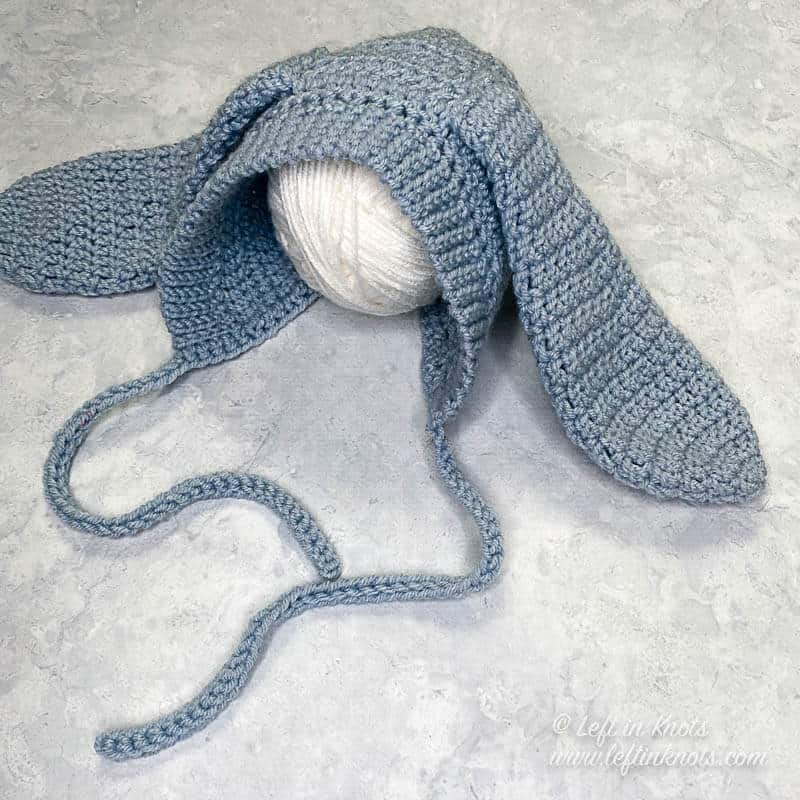
- Worsted weight yarn- I used Vanna's Choice in Silver Blue
- 5.0 (H) Hook and 5.5 (I) Hook - I love Clover Amour or check out these adorable custom polymer clay hooks!
- Scissors - I always keep these travel scissors in my hook case
- Yarn needle
- Stitch markers

Abbreviations
- St/Sts: stitch/stitches
- Sl St: slip stitch
- Ch: chain
- SC: single crochet
- HDC: half double crochet
- DC: double crochet
- DC Inc: 2 DC in the same stitch
- BLO: Back loop only
- DC2TOG: Double crochet two together
- Slst2TOG: Slip stitch two together- Insert hook into st and pull through. Insert hook into next st and pull through the st and all loops on hook. This creates a pseudo “chain” stitch, so do not chain to turn after this.
Related Video Tutorials
How to Crochet the Magic Cirlce - the right handed video loads with the page
Find the left handed tutorial here
How to Crochet Attached SC Ribbing (find the left handed video here - the right handed video loads with the page)
Gauge
14 sts x 7 rows = 4” square in DC with I hook
Notes
- The last stitch of the round is connected to the first stitch of the round with a sl st.
- Photos shown below are from a left handed perspective.
Bonnet Instructions (using I hook)
Start by making a magic circle
Round 1: Ch 2, 10 DC in magic circle (10)
Round 2: Ch 2, DC Inc in each st around (20)
Round 3: Ch 2, *DC Inc, DC, repeat from * around (30)
Round 4: Ch 2, *DC Inc, DC in next two st, repeat from * around (40)
Round 5: Ch 2, DC around(40).
**You will now be working in rows**
Row 6-7: DC in next 38 sts. Ch 2 and turn (38)
Row 8: DC Inc, DC 36, DC Inc. Ch 2 and turn (40)
Row 9: DC across. Ch 2 and turn (40)
Row 10: DC inc, DC 38, DC inc. Ch 2 and turn (42)
Row 11: DC across. Ch 6 and continue on to edging instructions (42)
Edging Instructions
**You will now be working rows perpendicular to the bonnet. This will create the ribbed edging. These rows will be referred to as Edging Rows (ER). In the following instruction I will be referencing a sl st to attach to Row 11. This refers to Row 11 of the bonnet.
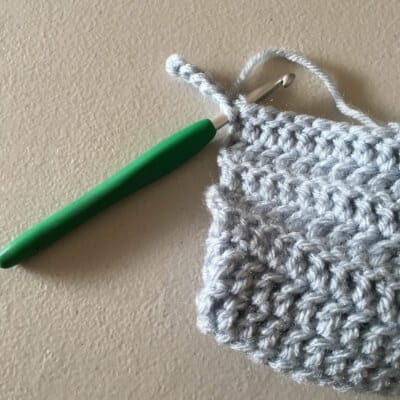
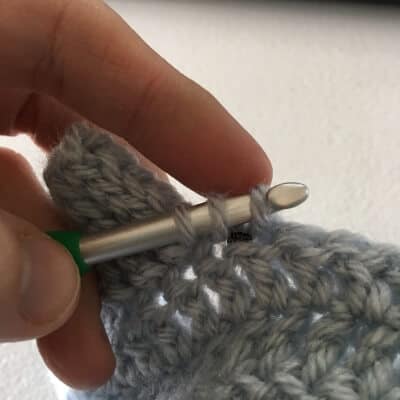
Edging Row 1 (ER1): Starting with the Ch 6 left from Row 11, turn and work BLO sl st into the second Ch from the hook and continue down the Ch (5 sl st total). Attach with a sl st to the first st of Row 11 (Fig. 1). Ch 1 and turn.
ER 2: Working in BLO, sl st across. Ch 1 and turn (5)
ER 3: Working in BLO, sl st across (5). Attach with a sl st to the second st of Row 11. Ch 1 and turn
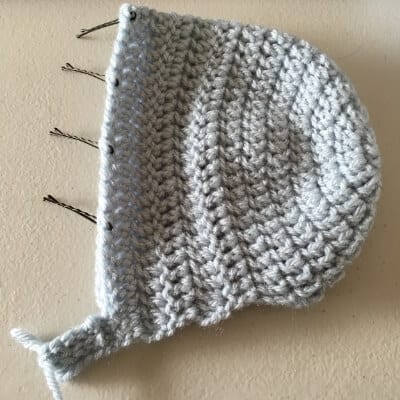
**Please Note: At this point, I found it easiest to attach my stitch markers to Row 11 where the sl st together would be as indicated by ‘XX’ on Chart 1 (Fig. 2). This eliminates the need to count every edging row. I have included the rest of the written instructions for those who prefer to follow them.

ER 4-10: Repeat ER 2 and ER 3, attaching to sts 3-5 in Row 11 as you go.
ER 11: Working in BLO, sl st across (5). Attach to sts 6 and 7 of Row 11 with a Slst2TOG (Fig. 3). Ch 1 and turn.
ER 12-18: Repeat ER 2 and ER 3, attaching to sts 8-10 in Row 11 as you go.
ER 19: Working in BLO, sl st across (5). Attach to sts 11 and 12 of Row 11 with a Slst2TOG. Ch 1 and turn.
ER 20-26: Repeat ER 2 and ER 3, attaching to sts 13-15 in Row 11 as you go.
ER 27: Working in BLO, sl st across (5). Attach to sts 16 and 17 of Row 11 with a Slst2TOG. Ch 1 and turn.
ER 28-34: Repeat ER 2 and ER 3, attaching to sts 18-20 in Row 11 as you go.
ER 35: Working in BLO, sl st across (5). Attach to sts 21 and 22 of Row 11 with a Slst2TOG. Ch 1 and turn.
ER 36-42: Repeat ER 2 and ER 3, attaching to sts 23-25 in Row 11 as you go.
ER 43: Working in BLO, sl st across (5). Attach to sts 26 and 27 of Row 11 with a Slst2TOG. Ch 1 and turn.
ER 44-50: Repeat ER 2 and ER 3, attaching to sts 28-30 in Row 11 as you go.
ER 51: Working in BLO, sl st across (5). Attach to sts 31 and 32 of Row 11 with a Slst2TOG. Ch 1 and turn.
ER 52-58: Repeat ER 2 and ER 3, attaching to sts 33-35 in Row 11 as you go.
ER 59: Working in BLO, sl st across (5). Attach to sts 36 and 37 of Row 11 with a Slst2TOG. Ch 1 and turn.
ER 60-71: Repeat ER 2 and ER 3, attaching to sts 38-42 in Row 11 as you go. At the end of ER 71, attach with a sl st to st 42 of Row 11. Ch 1 and turn. Continue on to finishing instructions.
Finishing Instructions
To create the tie strings, sl st back down ER 71 (one last time). When you get to the corner, Ch 41. Turn. Working in BLO, sl st in the second ch from the hook back up the ch (40 sl st). When you reach the edging, SC in the next 5 sts and continue SC around the unfinished base of the bonnet working 2 SC into the side of each row. 5 SC in ER 1. At the corner, Ch 41. Turn. Working in BLO sl st in the second ch from the hook back up the ch (40 sl st). At the corner, sl st into the SC st and fasten off.
Ears-make 2 (working in continuous rounds using H hook):
Start with a Magic Circle
Round 1: Ch 2, 6 DC
Round 2: DC inc. around (12)
Round 3: *DC inc, DC Repeat from * around the circle (18)
Round 4: *DC inc., DC in next two. Repeat from * around (24)
Round 5-7: DC around (24)
Round 8: DC2TOG, DC in 10, DC2TOG, DC in 10 (22)
Round 9: DC2TOG, DC in 9, DC2TOG DC in 9 (20)
Round 10: DC around (20)
Round 11: DC2TOG, DC in 8, DC2TOG, DC in 8 (18)
Round 12: DC2ToG, DC in 7, DC2TOG, DC in 7 (16)
Round 13: DC2TOG, DC in 6, DC2TOG, DC in 6 (14)
Round 14-17: DC around (14)
Flatten the circle of the ear so that you can work through stitches across from each other. Ch 1, SC, HDC, DC, DC, HDC, SC fasten off and leave a long tail to sew ear onto bonnet. (Fig. 4)
After attaching your ears, just weave in your ends and you are finished! This bonnet works up really quickly once you get the hang of the ribbing! I hope you enjoy the pattern! If you would like to add it to your Ravelry account, click HERE
More Free Crochet Patterns You'll Love
Find all FREE CROCHET PATTERNS here
Now the legal stuff...You may sell items made from this pattern, but please credit me as the original designer. Also, please do not share the written pattern in print or electronically. The photos on this webpage belong to Megan Meyer of Left in Knots and may not be used for product sales/product listings. You may share a link back to my blog if you would like someone else to see or work with this pattern. Thank you for your cooperation and if you have any questions please feel free to contact me!
This post contains affiliate links. Thank you for supporting free patterns and yarn deals from Left in Knots!