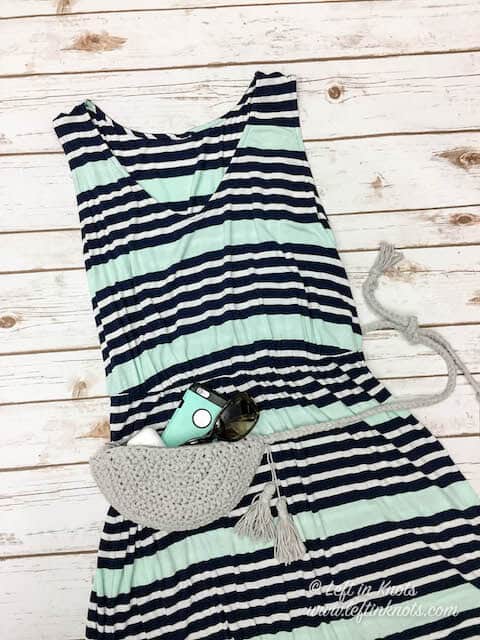
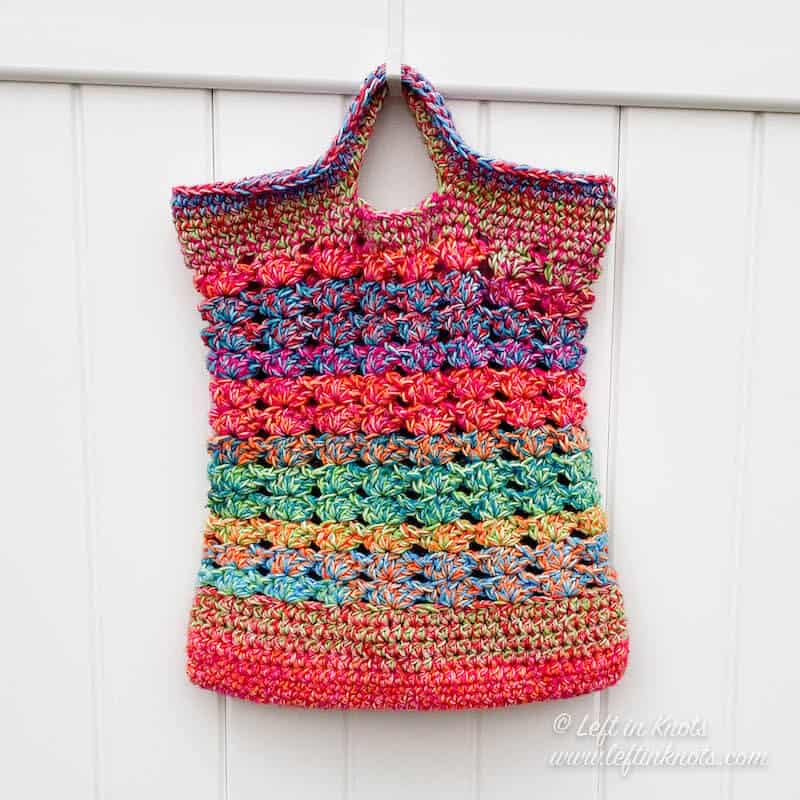
This on-trend crochet fanny pack can store all your little essentials and can be worn with dresses, jeans or even yoga pants. Prefer purses? Make the tie strings long and use it as a crossbody bag instead.
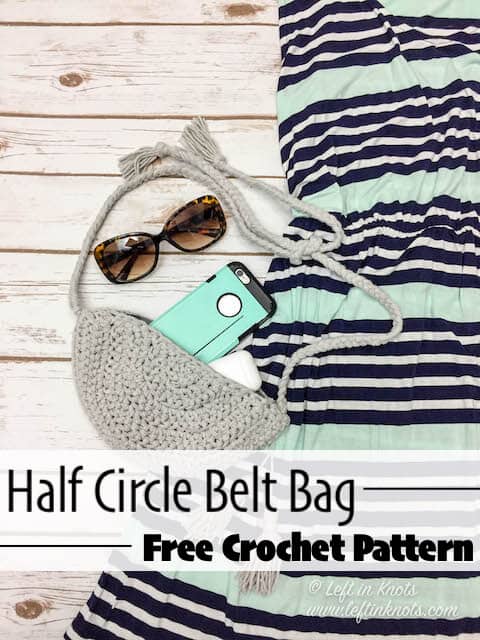
Fanny Packs are Back with this Free Crochet Pattern!
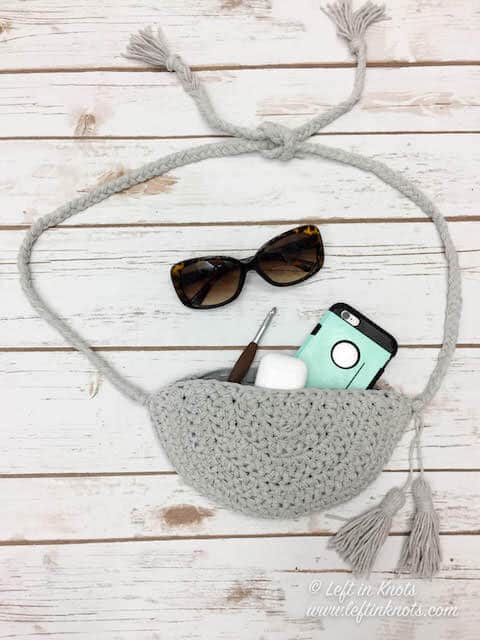
If I take the time to crochet something - I want it to be something I’m going to use. And let me tell ya, I’m going to be using this belt bag (aka fanny pack) alllllllll summer long. This crochet belt bag is the perfect size to hold my phone, keys and sunglasses and I can wear it right on my hip for easy access! No pockets in your yoga pants or dresses? No problem! Just add this stylish little piece to your outfit and you have the space you need to carry your stuff. The easily added zipper will keep all your important things safely inside.
A Crochet Pattern for All Sizes
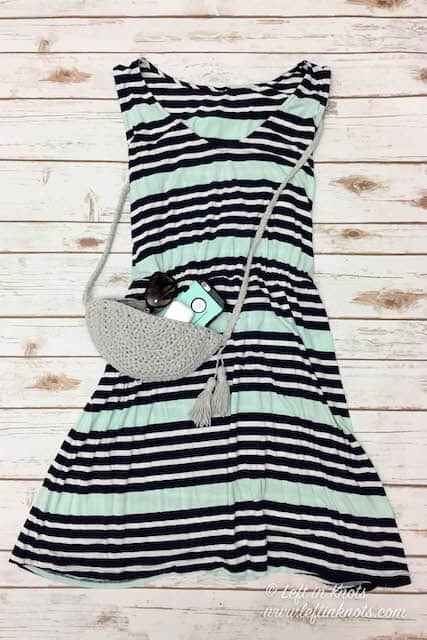
Another thing I love about this pattern is that it can literally be made to fit any size easily. Just change the length of the braided ties to suit your needs. With the instruction I give in the pattern below, the ties are also long enough to tie a long strap if you want to wear this little pouch as a crossbody bag instead. Still just as useful - and a different way to carry it if you aren’t ready to rock a fanny pack quite yet 😉
Caron Cotton Cakes - Now in Solids
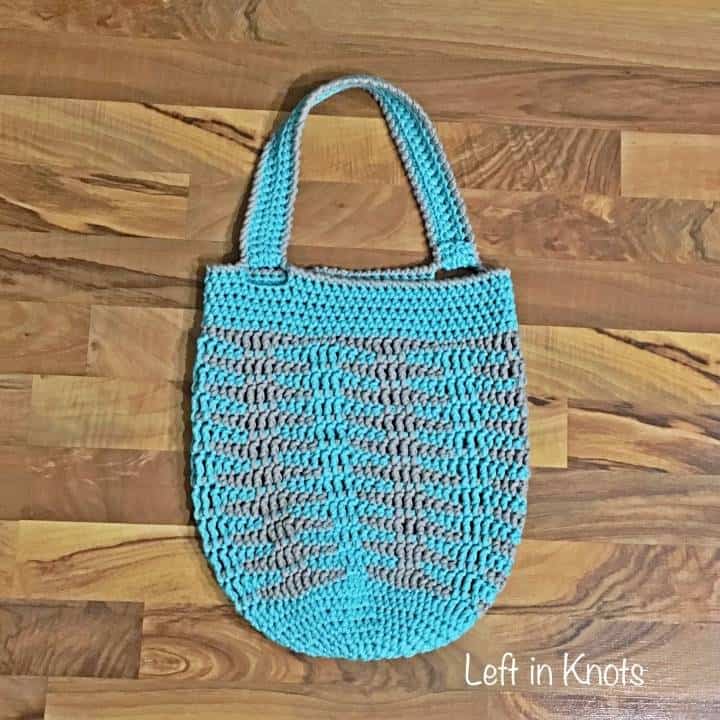
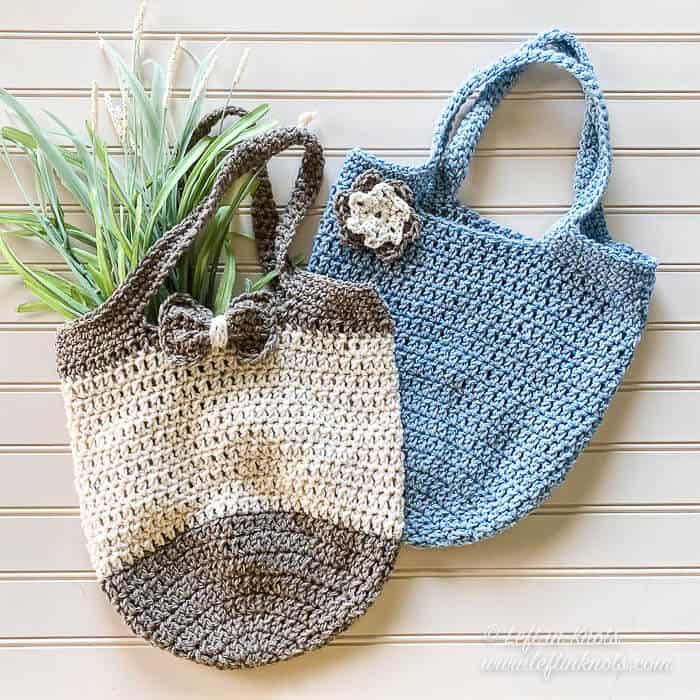
The yarn I used to make my belt bag pictured is Caron Cotton Cakes. I was excited to see them come back to stores this season, and I was SUPER excited to see them in coordinating solid colors. The cakes that are available this season are bigger than they have been in previous years, and one cake can make you two of these handy little zipper pouches. If you don’t have/don’t want to use Caron Cotton Cakes you can absolutely substitute a different worsted weight yarn for this pattern. Gauge isn’t particularly important - just make sure it’s big enough to hold all the stuff you want it to.
Show off Your Crochet Projects
Don’t forget to share pictures of your projects with me in my Facebook Group or by tagging @leftinknots on Instagram. I can’t wait to see what you make!
Crochet Fanny Pack - Free Pattern
Supplies:
- Caron Cotton Cakes (available at Michaels) - approx. 190 yards (‘Silver Cloud’ pictured)
- 6.0mm and 7.0mm crochet hook - I love Clover Amour
- Scissors - I always keep these travel scissors in my hook case
- Yarn needle
- 7” zipper
Abbreviations (written in U.S. terms):
- YO: yarn over
- ch: chain
- sl st: slip stitch
- SC: single crochet
- HHDC: herringbone half double crochet: YO, insert hook into next st, YO pull through the stitch AND your first loop, YO, pull through remaining two loops on the hook
Gauge
6 sts x 5 rows = 2” square in HHDC using 2 strands of yarn
*Note that gauge is not particularly important for this piece
Finished Size:
- Width = 10”
- Length = 5.5”
- Strap Length = 24”
Pattern Notes
- Chain stitches at the beginning of rows do not count as a stitch
Instructions
Using your 7.0mm hook, start with a magic circle
Row 1: work 4 HHDC into the magic circle. Pull tight. Turn
Row 2: ch 2, 2 HHDC in each st around (8). Turn.
Row 3: ch 2, *2 HHDC in first st, HHDC in next st, repeat from * across (12). Turn.
Row 4: ch 2, *2 HHDC in first st, HHDC in next two sts, repeat from * across (16). Turn.
Row 5: ch 2, *2 HHDC in first st, HHDC in next three sts, repeat from * across (20). Turn.
Row 6: ch 2, *2 HHDC in first st, HHDC in next four sts, repeat from * across (24). Turn.
Row 7: ch 2, *2 HHDC in first st, HHDC in next five sts, repeat from * across (28). Turn.
Row 8: ch 2, *2 HHDC in first st, HHDC in next six sts, repeat from * across (32). Turn.
Row 9: ch 2, *2 HHDC in first st, HHDC in next seven sts, repeat from * across (36). Turn.
Row 10: ch 2, HHDC in each st across (36). Turn.
Row 11: ch 1, SC in each st across (36). Tie off yarn and weave in ends.
Assembly:
Lay one half circle wrong side up. Place your zipper wrong side up so that the zipper is aligned just above the top of your half circle. Pin into place (Fig. 1)
Using one strand of yarn and a sharp yarn needle/tapestry needle, hand stitch along the edge of the top zipper tape close to the teeth. (Fig. 2)
Unzip the zipper and grab your second half circle piece (again, wrong side up). Place the zipper so that it is aligned just above the top half of your circle. Pin and sew as you did with the first half of the piece. (Fig. 3) Weave in all loose ends.
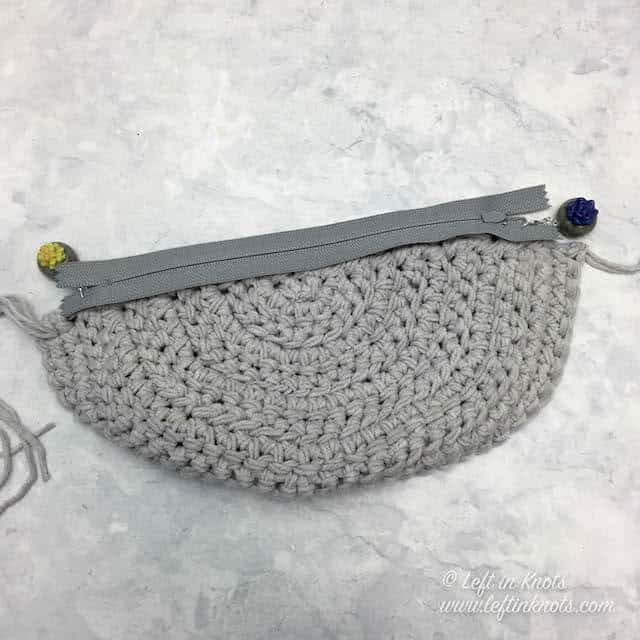
Fig. 1 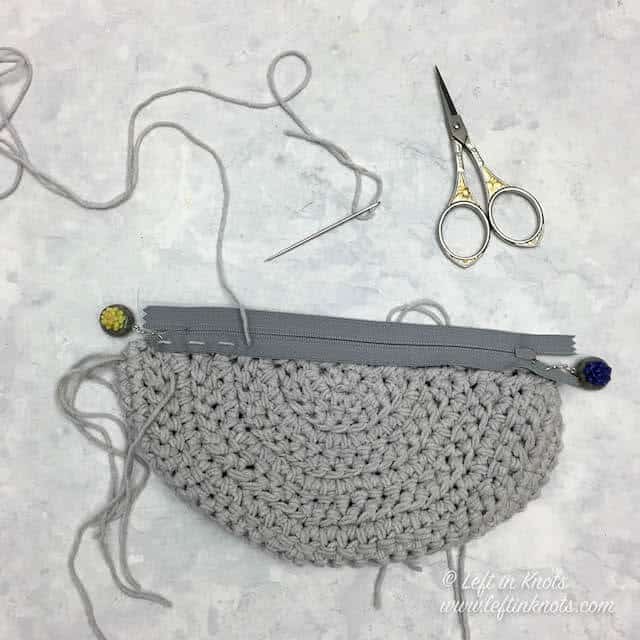
Fig. 2 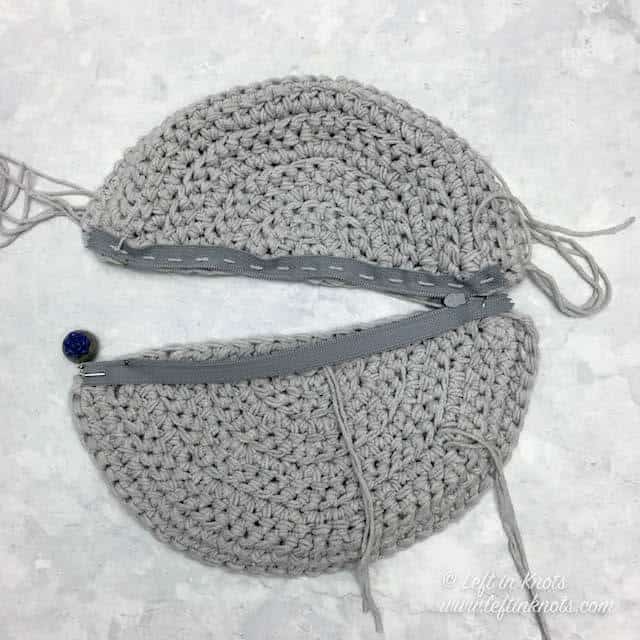
Fig. 3
Turn the bag so that it is right side out (Fig. 4) Using one strand of yarn and a 6.0mm crochet hook, attach your yarn near the zipper on one side (Fig. 5) SC along the top edge of the piece. ch 3 and continue to SC around the curve of the circle (Fig. 6) Ch 3 when you reach the next corner and SC along the top edge until you reach the other side of the zipper. Tie off yarn and weave in all ends.
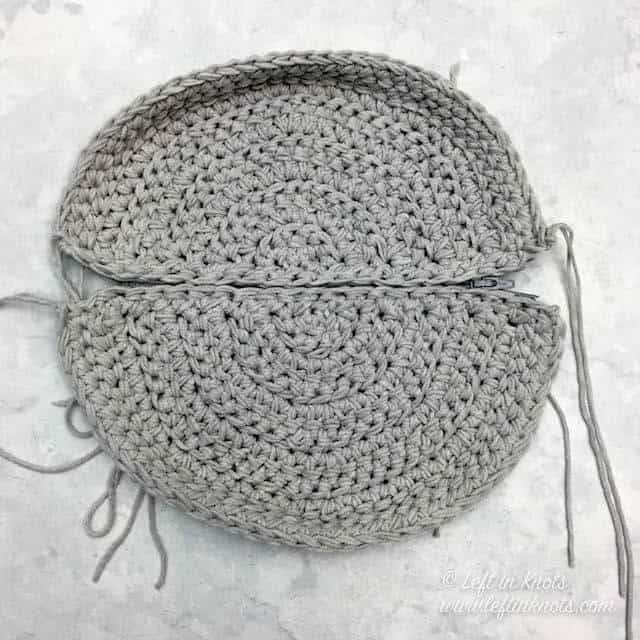
Fig. 4 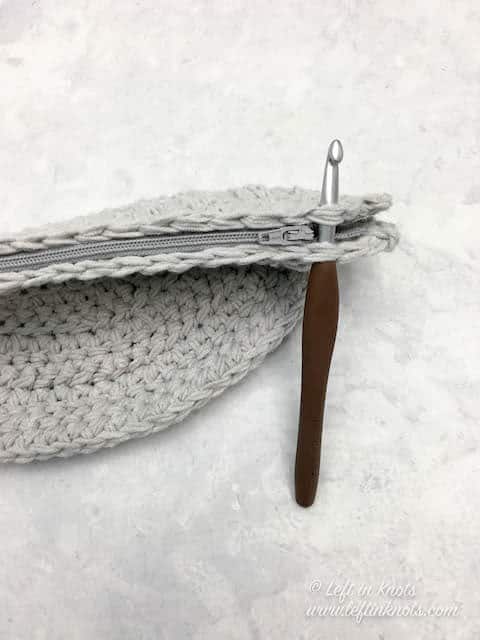
Fig. 5 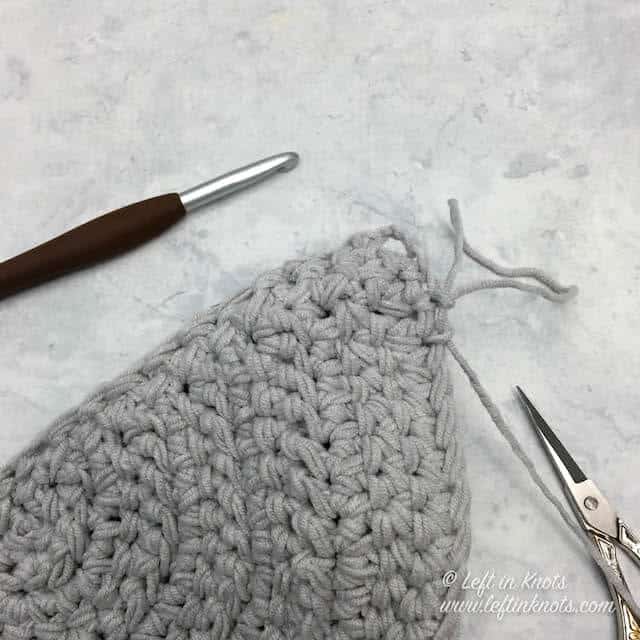
Fig. 6
To make the belt/strap cute 12 pieces of yarn 6’ long. Thread it through the ch 3 space from your seaming border and fold the lengths of yarn in half. Using 6 strands per section, tightly braid the yarn and knot it at the end. Repeat for the other side of the project.
Optional: Make two small tassels and attach them to one side of the pouch.
You can now use your belted bag as a fanny pack and tie it around your waist. Or tie you braids together at their full length and wear it as a small crossbody bag.
More Free Crochet Patterns You'll Love
Find all FREE CROCHET PATTERNS here
Now the legal stuff...You may sell items made from this pattern, but please credit me as the original designer. Also, please do not share the written pattern in print or electronically. The photos on this webpage belong to Megan Meyer of Left in Knots and may not be used for product sales/product listings. You may share a link back to my blog if you would like someone else to see or work with this pattern. Thank you for your cooperation and if you have any questions please feel free to contact me!
This post contains affiliate links. I receive a small commission for any purchases made through these links at no additional charge to you.