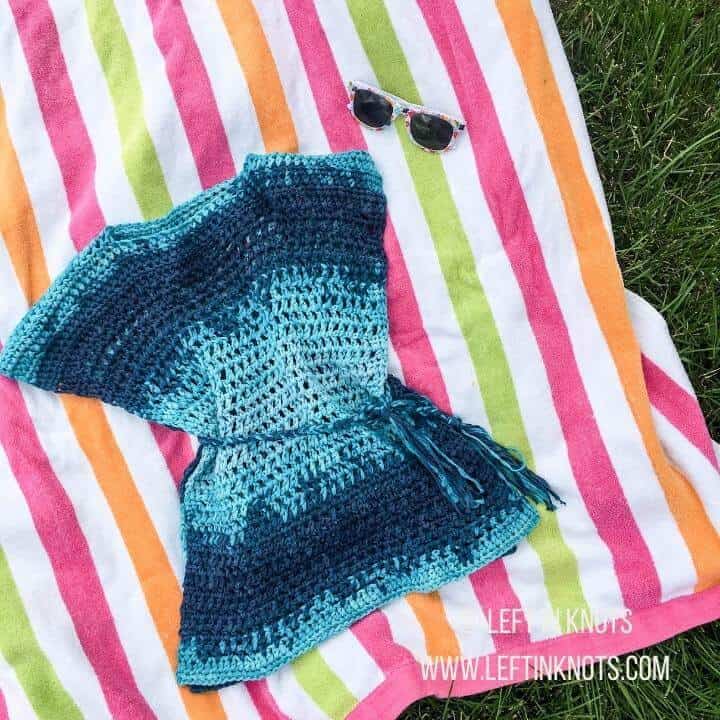
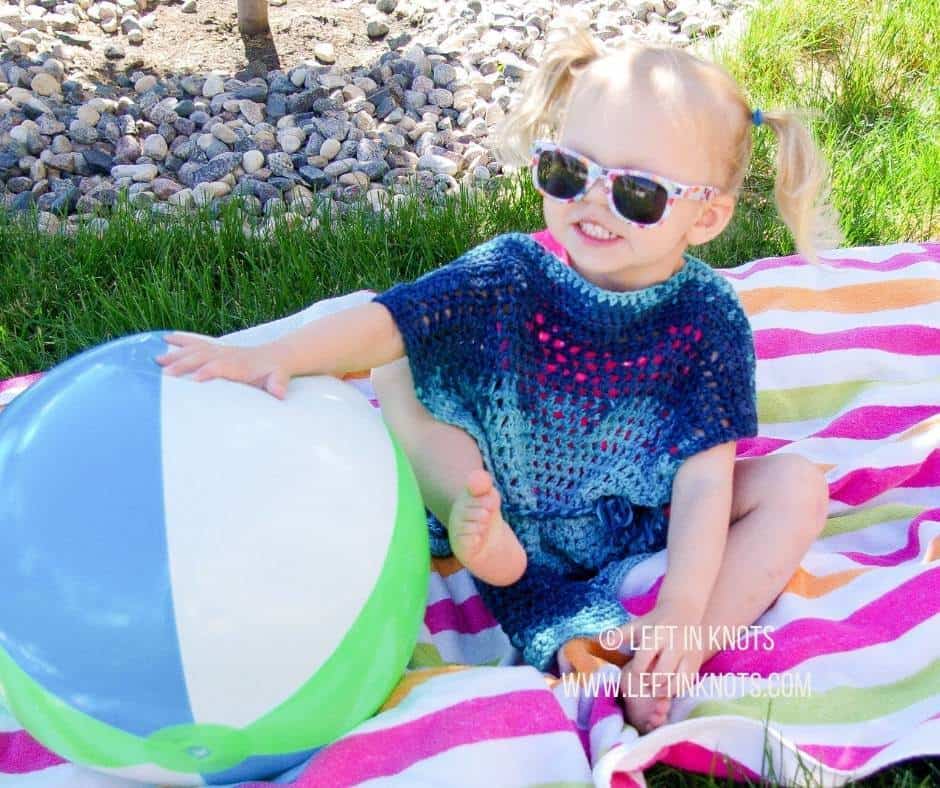
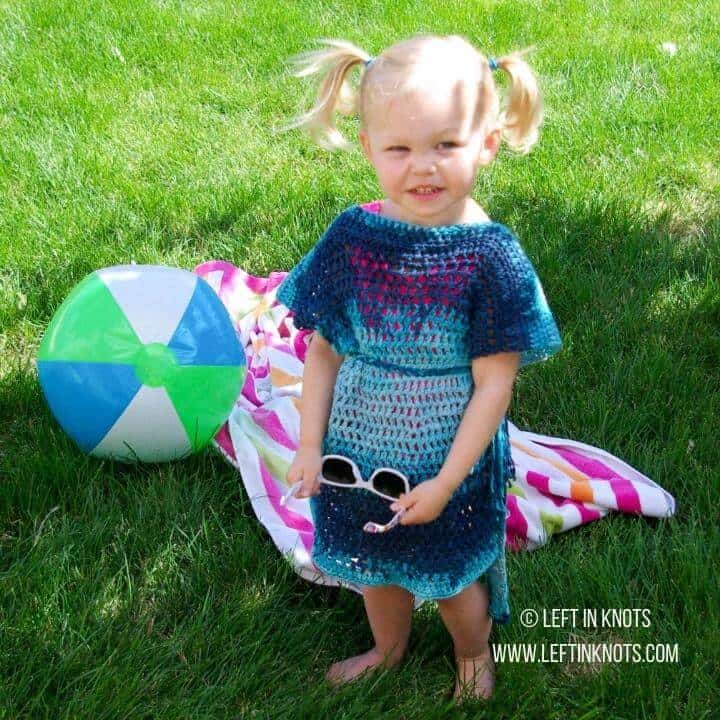
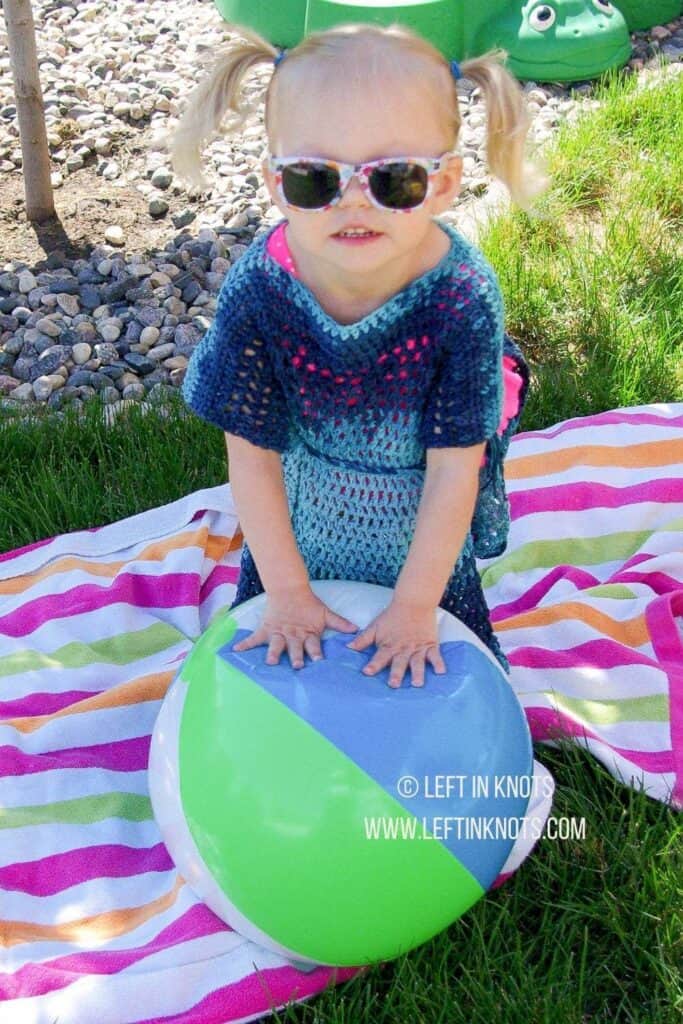
This Crochet Beach Cover Up is designed to have solid stitching at the shoulders to protect that sensitive area from sun and an open-mesh throughout the rest of the piece for fast drying! It's perfect for a beach day or pool party. This toddler-sized pattern is extremely easy (beginner friendly!) and used just over 500 yards of yarn. Keep reading for the free crochet pattern.
A Perfect Project for Cotton Tape Yarn
About a month ago, Ice Yarns sent me two different yarns to work with (thank you!) and this Cotton Tape Yarn was the first I chose to try out. I had never used a tape style yarn, and my-oh-my was I pleasantly surprised! I'll be honest, some cotton yarns are just a little bit tough for me to enjoy working with them. But not this! This 100% cotton tape yarn is silky smooth, and because it is a tape-style yarn it also has an amazing, flow-y texture.
I am in love with the way the colors of this yarn worked up. It is certainly a color block effect, but with randomly (or strategically...I guess I'm not sure) placed splotches of color it makes a really fabulous, wavey color transition from one shade of blue to the next.
Ice Yarns ship directly from Turkey, where we know that many luxurious yarns are made! Shipping can be a little costly, but Ice Yarns offsets that cost by having crazy inexpensive prices. And your yarn will get to you quickly! They have worldwide 2-day shipping when you order from their site. If you can't get your hands on this cotton tape yarn, you could always try substituting another worsted weight cotton for the Ocean Waves Cover Up.
Show off Your Crochet Projects
Don’t forget to share pictures of your projects with me in my Facebook Group or by tagging @leftinknots on Instagram. I can’t wait to see what you make!
Ocean Waves Cover Up - Free Crochet Pattern
Supplies:
- Ice Yarns Cotton Tape (2 skeins/504 yds.) or a comparable worsted weight cotton or cotton blend
- I/5.5mm crochet hook (I use Clover Amour)
- Scissors (I always keep these travel scissors in my hook case)
- Yarn needle
Abbreviations:
- st/sts: stitch/stitches
- ch: chain
- HDC: half-double crochet
Helpful Video Tutorials
Gauge
14 sts x 10 rows = 4" square
Finished Size:
- Shoulder to Bottom Edge (appox. knee length) = approx. 18"
- Width = approx. 16"
- Neck Hole (width) = approx. 7"
Pattern Notes
- Ch sts at the beginning of a row do NOT count as a stitch
- This pattern is loosely sized to fit children sizes 2T-5. My daughter (pictured) is a 2T/3T clothing right now and she has some room to grow into this.
- Adjusting the length: Each addition/subtraction of 4 rows will add/subtract 2” in length. e.g. if you wanted the make the garment 2 inches shorter, you would subtract 4 rows from both the front and the back of the piece.
- Adjusting the width: Each addition/subtraction of approx. 7 sts will add/subtract approx. 2” of width. Just make sure that you always start with an even number of chain stitches (so that you will have an odd number of HDC sts across in Row 1), and also make sure you center your neck hole if you adjust the width.
- Please note that the belt on this piece could be a potential strangulation hazard. Please secure it to the garment by sewing it on. Do not leave your child unsupervised when wearing this garment OR you can omit the belt all together. I think buttons would be cute on the sides too 🙂
- The video tutorial below is just an abbreviated "help you get started" video - not a beginning to end filming of the pattern.
Instructions
ch 62
Row 1: HDC in second ch from the hook and HDC across (61)
Row 2: ch 1, HDC across
Row 3: ch 1, HDC in 3, *ch 1, skip 1, HDC, repeat from * 27 more times, HDC in last two stitches (61 sts total, 28 ch 1 spaces)
Row 4: ch 1, HDC in 2, *ch 1, skip 1, HDC, repeat from * 28 more times, HDC in last st (61 sts total, 29 ch 1 spaces)
Row 5-35: repeat rows 3 (on odd rows) and 4 (on even rows)
Rows 36-40: ch 1, HDC across (61)
Row 41: ch 1, HDC in 21, ch 19, skip 19, HDC in 21 (61)
Rows 42-46: ch 1, HDC across (61)
Row 47: ch 1, HDC in 3, *ch 1, skip 1, HDC, repeat from * 27 more times, HDC in last two stitches (61 sts total, 28 ch 1 spaces)
Row 48: ch 1, HDC in 2, *ch 1, skip 1, HDC, repeat from * 28 more times, HDC in last st (61 sts total, 29 ch 1 spaces)
Rows 49-79: repeat rows 3 (on odd rows) and 4 (on even rows)
Rows 80-81: ch 1, HDC across (61)
Tie off and weave in ends.
To make the belt: Cut 15 pieces of yarn to desired length (plan plenty of extra if you are braiding). I recommend about 4 feet. Knot all the strands together, leaving a long “tassel” at the end. Group the strands into three sections of five and braid. When finished, knot the other end and trim the tassel ends to the same approximate length. "Thread" the belt through some of the open mesh in the center of the back side of the piece until you have your desired lengths on each side. Using a sewing needle and thread, sew the belt into place so that it does not slip out.
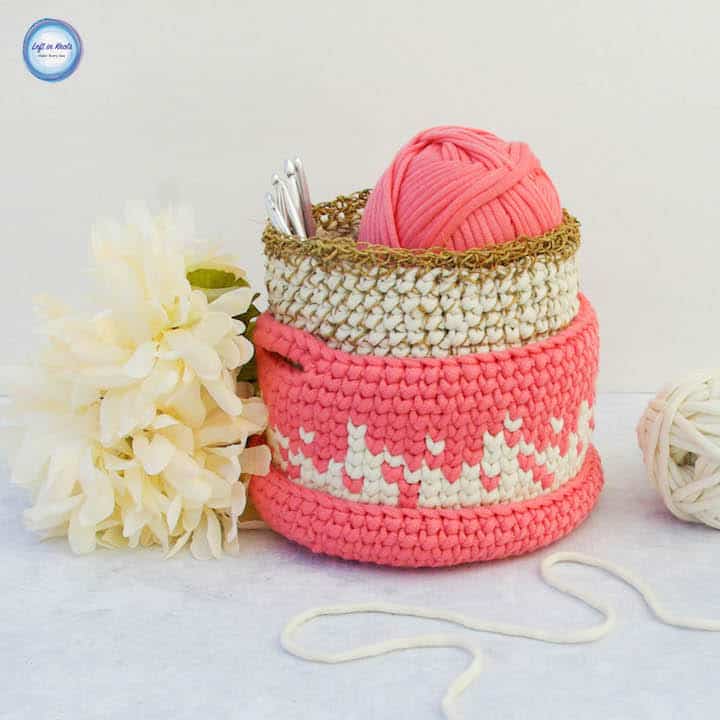
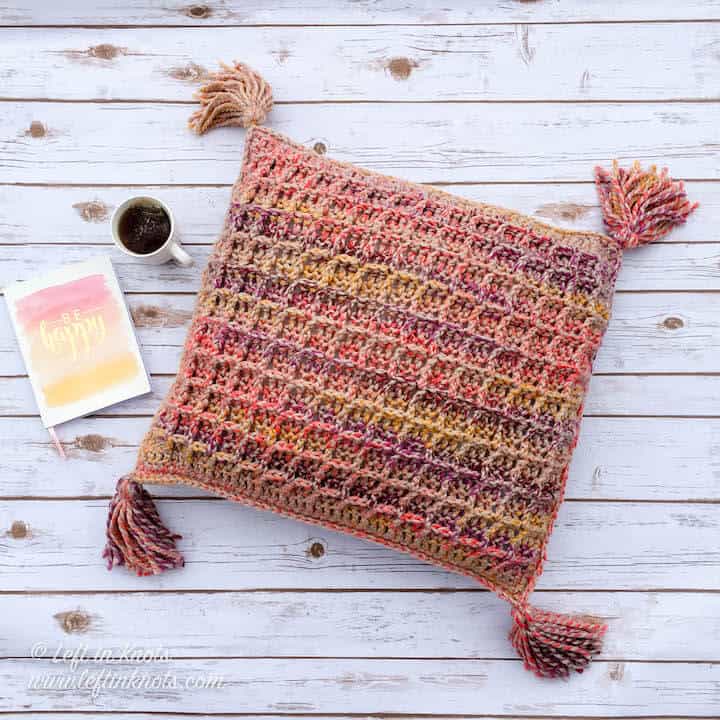
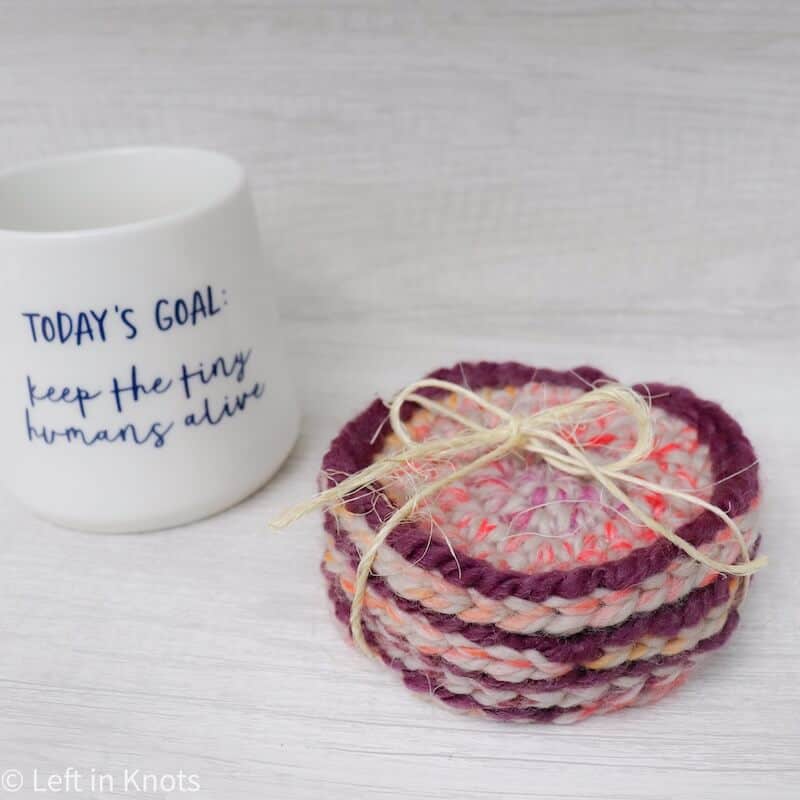
More Free Crochet Patterns You'll Love
Find all FREE CROCHET PATTERNS here
Now the legal stuff...You may sell items made from this pattern, but please credit me as the original designer. Also, please do not share the written pattern in print or electronically. The photos on this webpage belong to Megan Meyer of Left in Knots and may not be used for product sales/product listings. You may share a link back to my blog if you would like someone else to see or work with this pattern. Thank you for your cooperation and if you have any questions please feel free to contact me!
This post contains affiliate links. Thank you for supporting free patterns and yarn deals from Left in Knots!