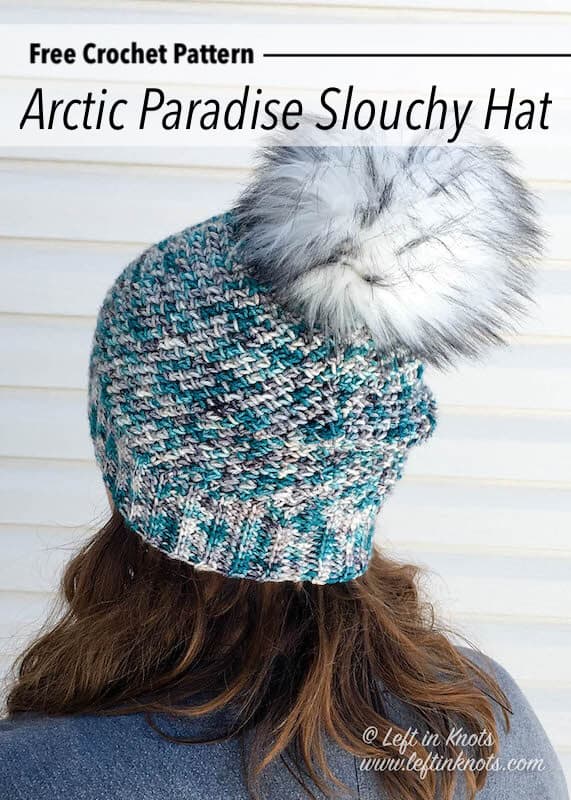
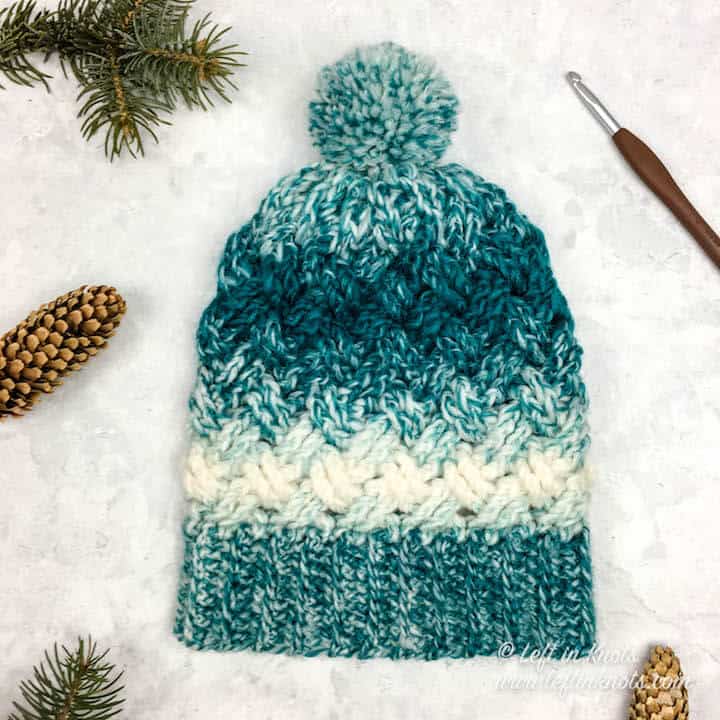
The Arctic Winters Beanie uses the herringbone HDC stitch in the round to create a stunning texture. This free pattern is easy and fast to make. Use a special skein of hand dyed yarn or any light worsted weight yarn; then top it with a faux fur pom for a modern touch.
Herringbone Half Double Crochet
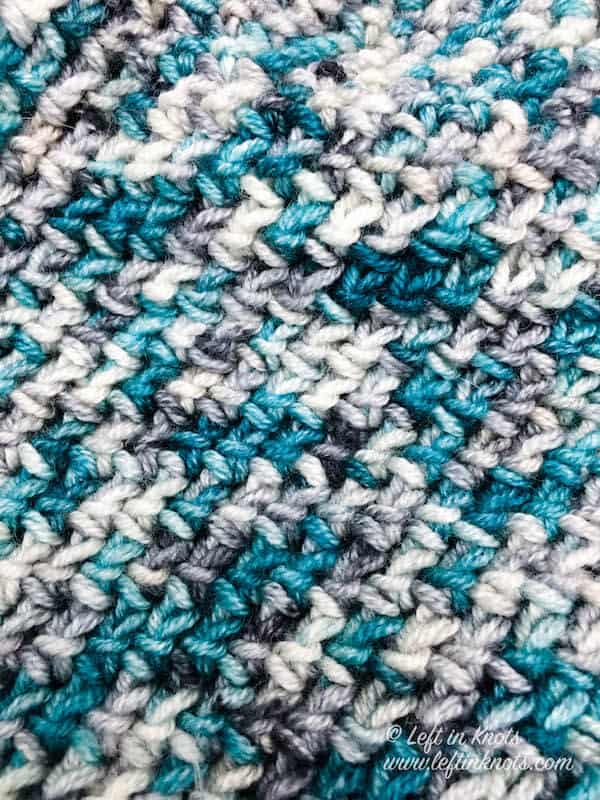
It was my first time using the herringbone half double crochet when I designed this hat. The pebbly texture and incredible squish is pretty hard to explain, so you are going to have to make one of these hats to see for yourself.
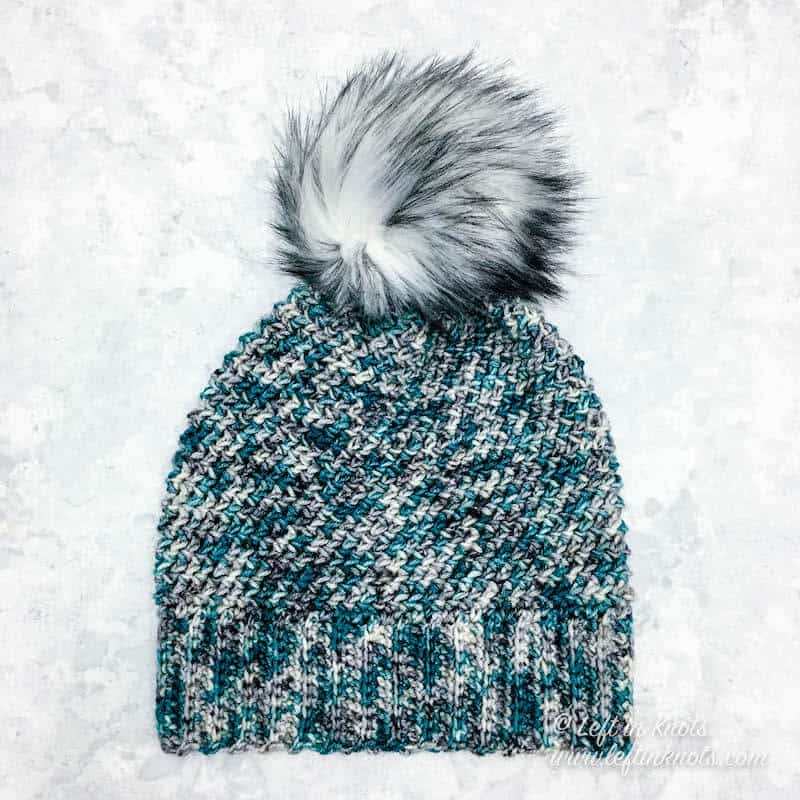
Typically, the herringbone half double crochet is worked back and forth in rows to create a herringbone effect. When worked in the round - don’t expect that herringbone look. Instead expect a different awesome texture that you are going to love.
Hand Dyed Yarn from Yarn Loving Lady
This pattern was made to feature Yarn Loving Lady’s yarn and is the newest addition to my collection of one-skein hand-dyed crochet patterns. The colorway I used was ‘Arctic Paradise’, and I am in LOVE with how this yarn worked up. It includes deep teal tones, shades of gray, and slate colored speckles.
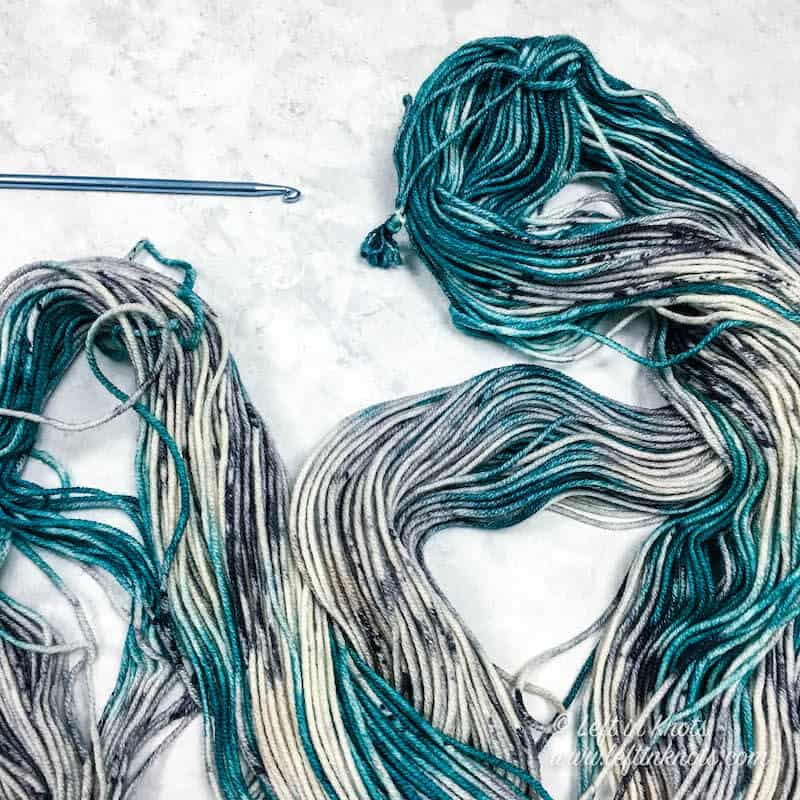
Now I know that hand-dyed yarn isn’t always the easiest to come by, so definitely feed free to use any yarn you have in your stash for this hat! BUT if you are just dying (hehehe) to try some hand dyed yarn of your own be sure to check out all of Lisa’s yarn in her shop. There are so many different colorways that I want to add to my stash - it was hard to pick just one!
Show off Your Crochet Projects
Don’t forget to share pictures of your projects with me in my Facebook Group or by tagging @leftinknots on Instagram. I can’t wait to see what you make!
Arctic Paradise Beanie - Free Crochet Pattern
Supplies:
- Approx. 200 yards of a Category 3 or 4 yarn - I used a hand-dyed worsted weight yarn from Yarn Loving Lady in ‘Arctic Paradise’ This yarn was a light worsted weight yarn. Please check your gauge.
- 4.5mm crochet hook - I love Clover Amour or check out these adorable custom polymer clay hooks!
- Scissors - I always keep these travel scissors in my hook case
- Yarn needle
- Faux fur pom or make your own Faux Fur Pom Pom with this free crochet pattern!
Abbreviations (written in U.S. terms):
- YO: yarn over
- ch: chain
- sl st: slip stitch
- BLO: back loop only
- SC: single crochet
- HHDC: herringbone half double crochet: YO, insert hook into next st, YO pull through the stitch AND your first loop, YO, pull through remaining two loops on the hook
- HDC2Tog: half double crochet two together
Video Tutorials To Help You Get Started:
How to Start a Hat with Single Crochet Ribbing - Click here to see the left handed version
Gauge
7 sts x 5 rows = 2” square in HHDC
Finished Size:
- Width = 9"
- Length = 10.25"
Pattern Notes
- Chain stitches at the beginning of rows/rounds do not count as a stitch
- The end of each round is joined to the first stitch of the round with a sl st.
Bottom Ribbing - Working in Rows
ch 12
Row 1: SC in the second ch from the hook and SC across (11). Turn
Row 2-66: ch 1, working in BLO, SC across (11). Turn.
When you finish the ribbed band, fold it so that Row 1 and 66 are on top of one another. Working through the back loop of Row 66 and the front loop of Row 1, seam the two rows together by slip stitching across. Do not cut your yarn. Continue on to work in rounds along the “raw” edge of ribbed band.
Round 1: ch 1, SC around the top of the band working one stitch per row (66). Attach to first SC of the round with a sl st.
Round 2-21: ch 1, HHDC around (66). Attach to the first st of the round with a sl st.
Round 22: ch 1, HDC2Tog around (33). Attach to the first st of the round with a sl st.
Tie off leaving a long (approx. 12”) tail of yarn. Using a yarn needle, weave the yarn back and forth through the stitches of Round 22. Pull tight to cinch the top of the hat closed. Make and attach a pom pom if desired. Weave in all ends
More Free Crochet Patterns You'll Love


Find all FREE CROCHET PATTERNS here
Now the legal stuff...You may sell items made from this pattern, but please credit me as the original designer. Also, please do not share the written pattern in print or electronically. The photos on this webpage belong to Megan Meyer of Left in Knots and may not be used for product sales/product listings. You may share a link back to my blog if you would like someone else to see or work with this pattern. Thank you for your cooperation and if you have any questions please feel free to contact me!
This post contains affiliate links. I receive a small commission for any purchases made through these links at no additional charge to you.