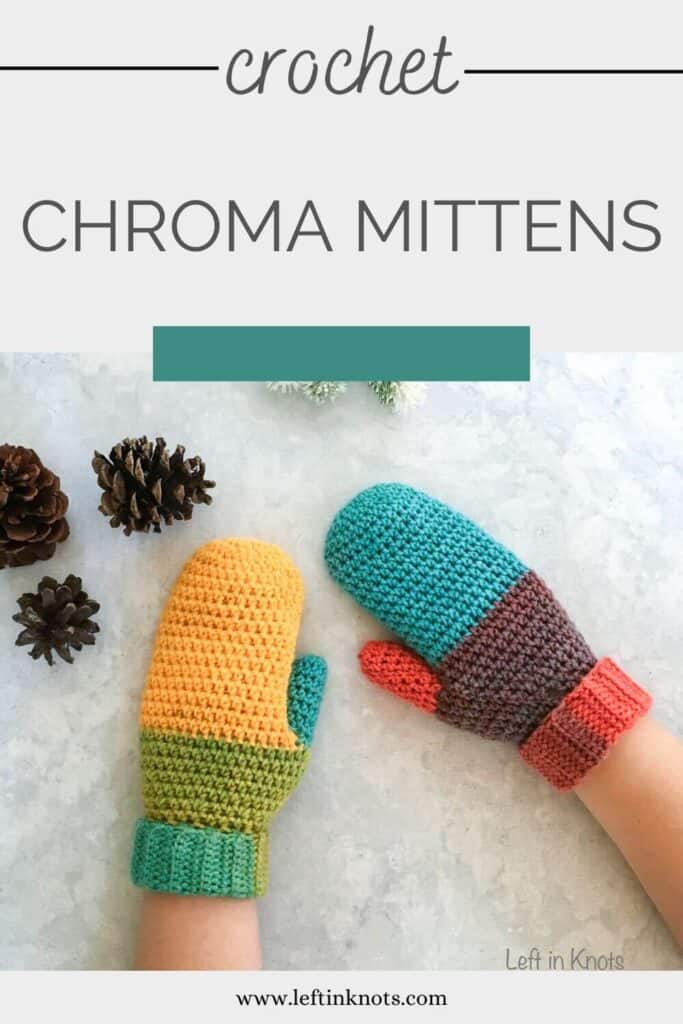
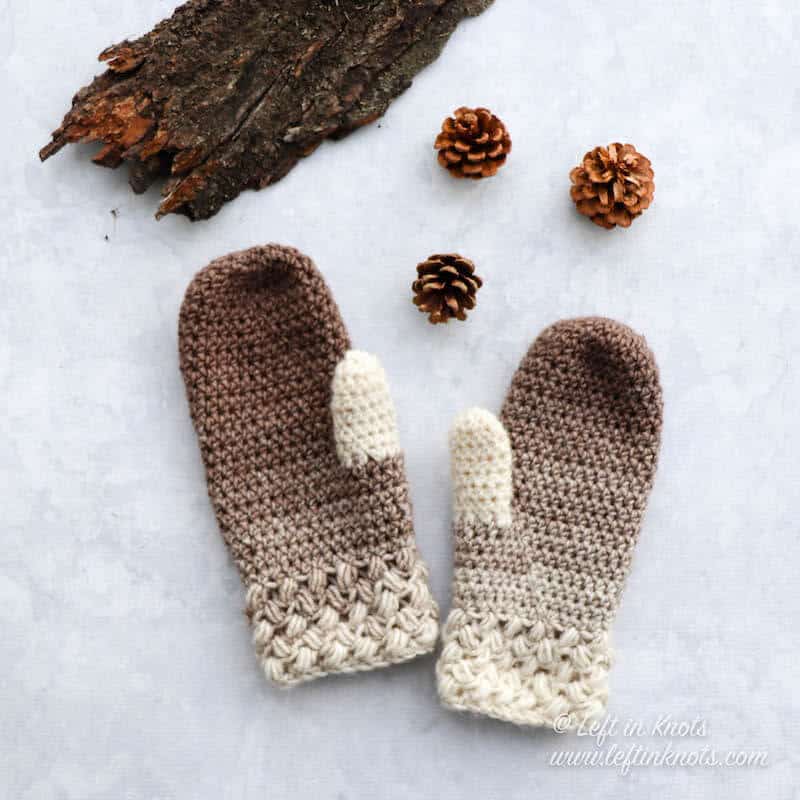
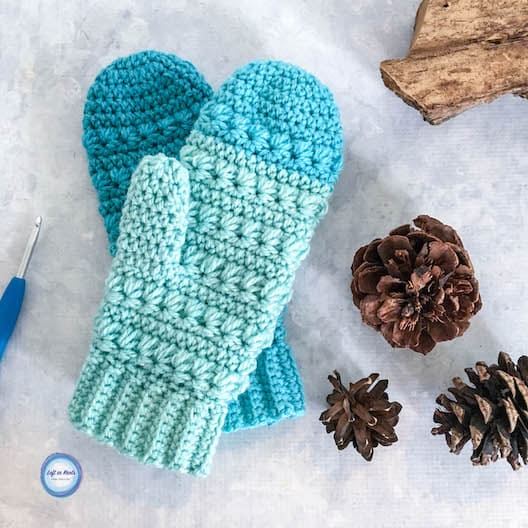
The easy crochet Chroma Mittens are a lightweight, adult sized mitten pattern that can be made with Lion Brand Mandala yarn. Perfect for cool temperatures, these mittens are lightweight and can even be worn when you are active outdoors. Keep reading for the free crochet pattern.
Easy Crochet Mittens with a Cuff
The Chroma Mitten crochet pattern is an easy, basic mitten pattern that adds a cute folded cuff at the wrist. If you have never crocheted mittens before, DON'T BE INTIMIDATED! It's really much easier than it looks! If you can crochet a top-down hat, you can make these mittens.
Easy Crochet Mitten Video Tutorial
If you are still intimidated by the idea of crocheting mittens, I have even more good news! I have two video tutorials included in this post to help you learn. The first will show you the basic construction of a crochet mitten from start to finish. The second will show you how to crochet the ribbing that makes the cuff. Put the videos together and you've got a complete tutorial!

Crochet Easy Matching Mittens, Scarf and Hat
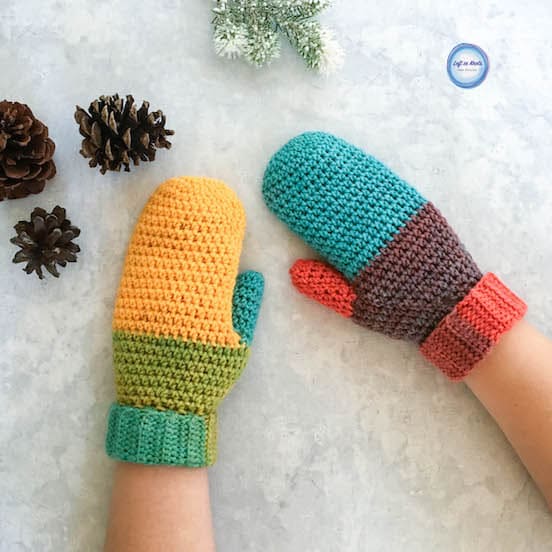
This is a light weight set, perfect to throw in your purse for when you forget how cold it is outside. Or in my case, you remember to bundle up your children but forget about yourself! I also have a matching Chroma Scarf and Chroma Hat that you can make to complete your set.
Show off Your Crochet Projects
Don’t forget to share pictures of your projects with me in my Facebook Group or by tagging @leftinknots on Instagram. I can’t wait to see what you make!
Chroma Mittens - Free Crochet Pattern
Supplies:
- One cake of Lion Brand Mandala Yarn (I used 'Wizard') or approx. 170 yards of a comparable Category 3 weight yarn
- H/5.0mm crochet hook - I use Clover Amour
- Scissors - I always keep these travel scissors in my hook case
- Yarn needle
Abbreviations (written in U.S. terms):
- ch: chain
- sl st: slip stitch
- SC: single crochet
- HDC: half double crochet
- HDC2Tog: half double crochet two together
- FLO: front loop only
- BLO: back loop only
Helpful Video Tutorials
How to Crochet a Mitten for Beginners (find the left handed video here)
How to Crochet Attached SC Ribbing (find the left handed video here - the right handed video loads with the page)
Gauge
8 sts x 6 rows = 2” square in HDC
Finished Size:
- Tip of fingers to bottom of wrist (cuff UNFOLDED) = 11.75"
- Width of finger section = 3.75"
- Width of wrist = 3"
- Length of thumb = 2.5"
- Width of thumb = 1.5"
Pattern Notes
- The chain stitches at the beginning of each round/row do not count as a stitch.
- The last stitch of each round is attached to the first stitch of the round with a slip stitch
- This pattern is written to fit an average adult. The size can easily be adjusted by adding or subtracting rounds. Additions or subtractions should happen between rounds 4-16
- To adjust the width of the thumb, start with whatever number of stitches you desire worked into the thumb hole space. To adjust the length, add or subtract rounds between Rounds 2-6.
- Adjust the length of the cuff by changing the number of chain stitches you start with.
Matching Patterns
Instructions
Start with magic circle
Round 1: Ch 1, Work 10 HDC into magic circle, pull tight (10)
Round 2: Ch 1, 2 HDC in each stitch around (20)
Round 3: Ch 1, *2 HDC, HDC, repeat from * around (30)
Round 4-16: Ch 1, HDC around (30)
Round 17: Ch 1, HDC, ch 6, skip 2 stitches and HDC around. (28 HDC + 6 ch stitches-this creates the thumb hole)
Round 18-20: Ch 1, HDC around (34)
Round 21: Ch 1, HDC in 6, HDC2tog, HDC in 15, HDC2tog, HDC in 9. (32)
Round 22: Ch 1, HDC around (32)
Round 23: Ch 1, *HDC in 2, HDC2tog, repeat from * around (24)
Round 24: Ch 1, HDC around (24). Do not cut yarn
Making the cuff (see photos below):
Starting where you ended Round 24, ch 19 sts. In the second chain from the hook, SC in the remaining 18 ch stitches. When you get back to the beginning of the ch, sl st into the first st of Round 24. This creates your first row of ribbing.
Row 2: sl st into the next st of Round 24, ch 1, SC in BLO across to create your next row of ribbing. Turn. (18)
Row 3: ch 1, SC in BLO across. Sl st into the next open st of Round 24. (18)
Row 4-24: Repeat Rows 2 (on even rows) and 3 (on odd rows) until you have gone around the entire base of the mitten.
Before seaming the cuff together, turn the mitten right side out (if you want a folded cuff). Working through the BLO of Row 24 and the FLO of your starting chain, sl st across to seam the cuff together. sl st into the last st of Round 24. Tie off yarn and weave in ends. Turn the mitten inside out again to complete the thumb.
Attaching the Thumb:
Round 1: Attach yarn into the thumb hole with a sl st. Ch 1, and work 14 HDC around the thumb hole. Some stitches may be worked into "non traditional" spaces such as stitch posts to achieve this number. (14)
Round 2-6: Ch 1, HDC around (14)
Round 7: Ch 1, HDC2tog around (7)
Cut and tie yarn leaving a long tail. Using a yarn needle, weave through every other stitch around the top. Pull to cinch the thumb shut and tie off.
More Free Crochet Patterns You'll Love
Find all FREE CROCHET PATTERNS here
Now the legal stuff...You may sell items made from this pattern, but please credit me as the original designer. Also, please do not share the written pattern in print or electronically. The photos on this webpage belong to Megan Meyer of Left in Knots and may not be used for product sales/product listings. You may share a link back to my blog if you would like someone else to see or work with this pattern. Thank you for your cooperation and if you have any questions please feel free to contact me!
This post contains affiliate links. Thank you for supporting free patterns and yarn deals from Left in Knots!