This simple crochet toddler shrug pattern was inspired out of necessity. It is warming up here a bit finally, but not so much that my daughter won't need a little extra something to wear over her Easter dress in a few weeks! It is an extra layer of warmth for your toddler that won't get in the way of their play. Keep reading for the free crochet pattern.
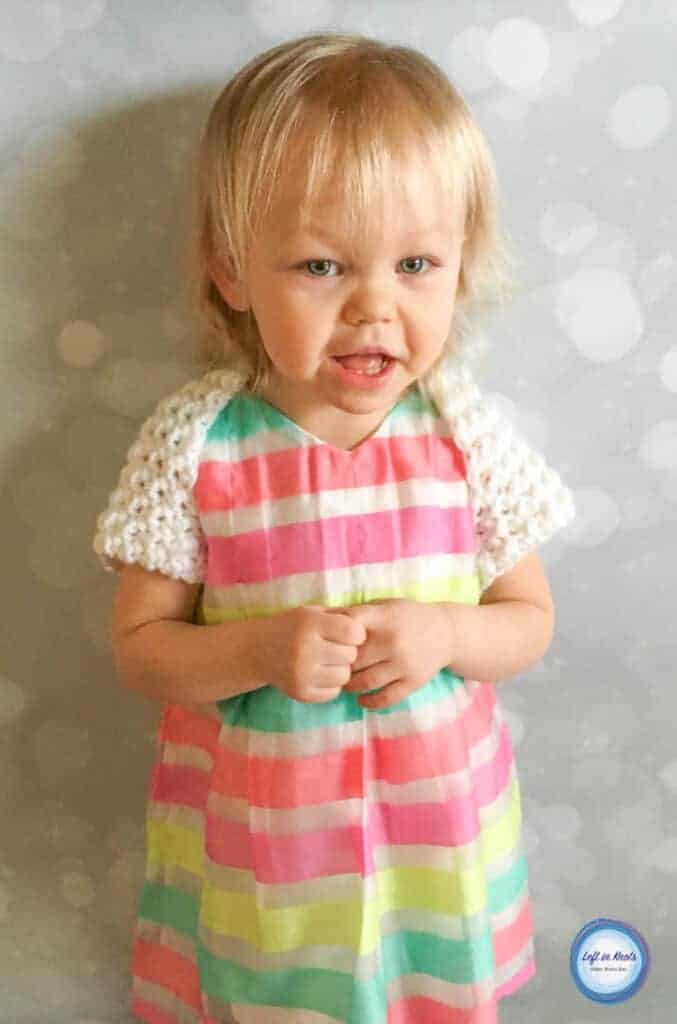
This crochet pattern couldn't be easier-so if you want to whip one up in time for Easter you can definitely get it done! I wrote this pattern to fit 2T-3T since that is what my daughter is currently wearing, but it would be insanely easy to size up or down as well. Check out my tips below in the pattern notes for how to adjust the size.

The other good news?? Made in this size, this is a nice one skein project 🙂 I used just under one skein of Lion Brand Wool Ease in 'White/Multi' so there are lovely little glittery flecks throughout the shrug. If you are hesitant to use a wool blend on a children's piece, you could substitute any worsted weight yarn you like! I think it would even be perfect made it cotton.
Show off Your Crochet Projects
Don’t forget to share pictures of your projects with me in my Facebook Group or by tagging @leftinknots on Instagram. I can’t wait to see what you make!
Toddler Shrug - Free Crochet Pattern
Supplies:
- Lion Brand Wool Ease (I used White/Multi)
- I/5.5mm crochet hook (I used Clover Amour)
- Yarn Needle
- Scissors (I always keep these travel scissors in my hook case)
Abbreviations:
- ch: chain
- sl st: slip stitch
- HDC: half double crochet
This rectangle is constructed using the "crunch stitch". This just means that you alternate between HDC and sl st across the row.
Finished Size (before stitching arm holes):
Length = approx. 9"
Width = approx. 15.5"
Gauge
12 sts x 8 rows = 4" square (in alternating HDC, sl st; aka "crunch stitch")
Pattern Notes
- Chain stitches at the beginning rows do not count as a stitch
- The tension of your sl st should "match" the tension of your HDC stitch-you will be working into these sl sts when you get to the next row.
- Adding/subtracting ch sts from the foundation ch in increments of 6 will increase/decrease the width of your finished piece by approximately 2"
- Adding/subtracting rows in increments of 4 will increase/decrease the length of your finished piece by approximately 2"
Instructions:
ch 51
Row 1: HDC in second ch from the hook, sl st in the next, *HDC, sl st, repeat from * across (50). Turn
Row 2-32: *HDC, sl st, repeat from * across (50). Turn
Now you have your rectangle. Tie off your yarn and leave a long tail. Fold your rectangle in half the long way (so it looks long and skinny). Use your tails to sew a whip stitch for about 1" to 1.5" from the corners. This creates the arm holes. Weave in your ends.
More Free Crochet Patterns You'll Love
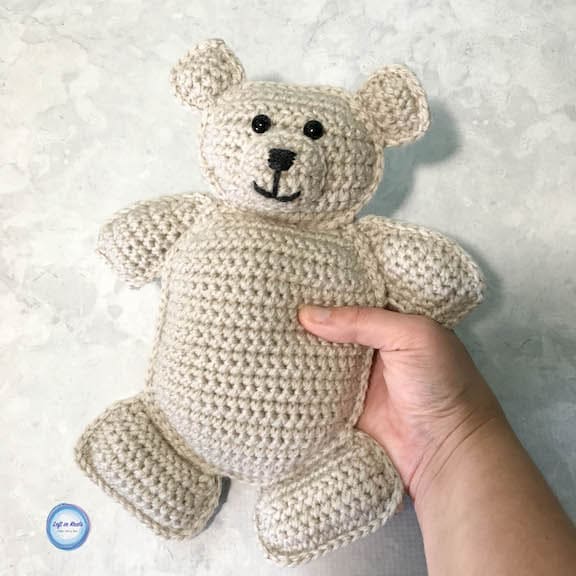
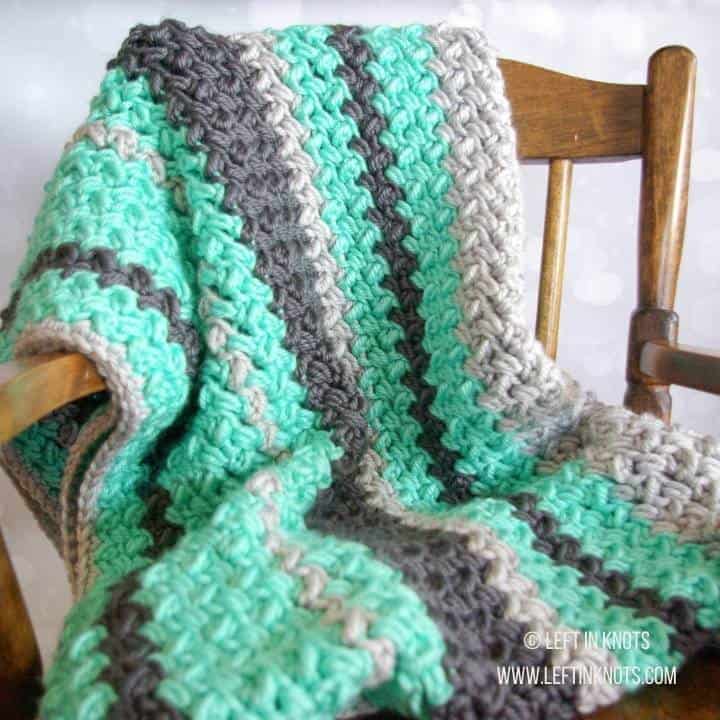
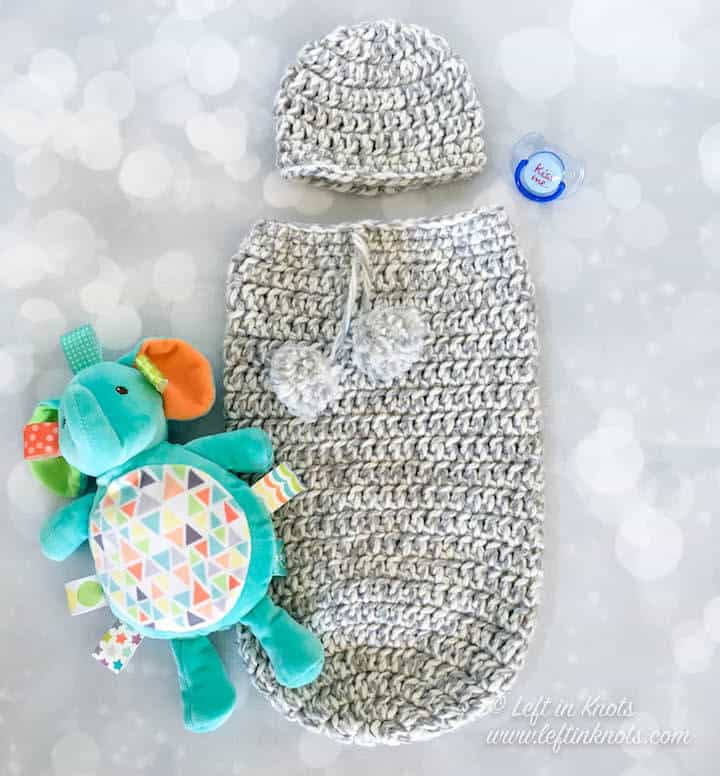
Find all FREE CROCHET PATTERNS here
Now the legal stuff...You may sell items made from this pattern, but please credit me as the original designer. Also, please do not share the written pattern in print or electronically. The photos on this webpage belong to Megan Meyer of Left in Knots and may not be used for product sales/product listings. You may share a link back to my blog if you would like someone else to see or work with this pattern. Thank you for your cooperation and if you have any questions please feel free to contact me!
This post contains affiliate links. Thank you for supporting free patterns and yarn deals from Left in Knots!